How to set up smart thermostats for optimal comfort
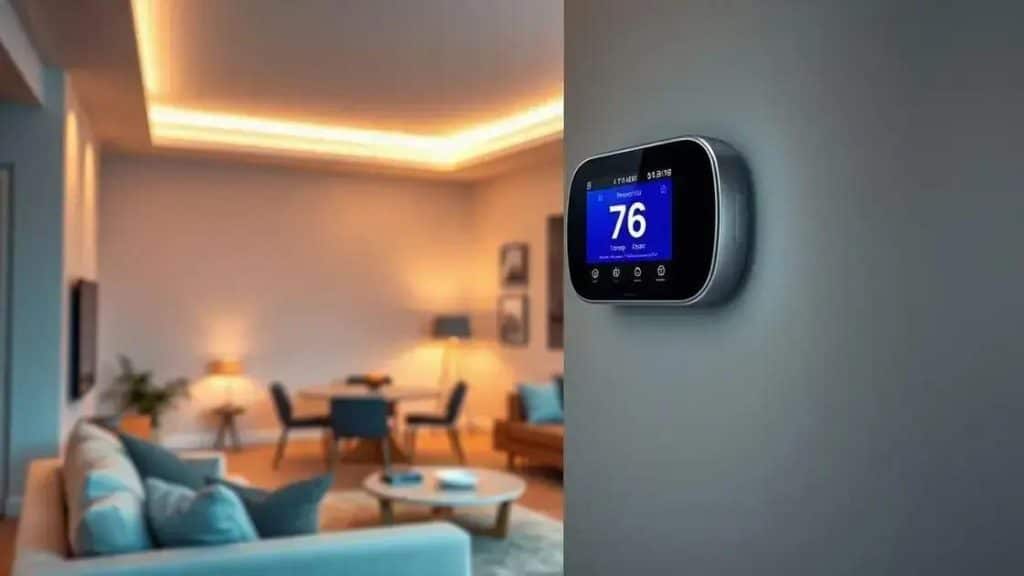
To set up smart thermostats effectively, ensure compatibility with your system, wire correctly, and utilize scheduling features to optimize energy savings and comfort throughout the year.
Setting up smart thermostats can dramatically improve your home’s energy efficiency and comfort. Have you ever wondered how these devices work and how easy it is to install one? In this article, we’ll explore everything you need to know to get started.
Understanding the benefits of smart thermostats
Understanding the benefits of smart thermostats is crucial for any homeowner looking to improve energy efficiency and comfort. These devices not only allow you to control home temperatures remotely, but they also learn your habits over time.
When it comes to energy savings, smart thermostats can make a noticeable difference. For instance, they adjust heating and cooling automatically based on your daily routines. This means your system won’t run when it’s not needed, which reduces energy costs.
Key Benefits of Smart Thermostats
Among the main advantages, we can highlight:
- Remote access via mobile apps, giving you control from anywhere.
- Energy usage reports that help you understand consumption patterns.
- Integration with home automation systems for seamless operation.
- Seasonal scheduling to adapt to changing weather conditions.
Moreover, smart thermostats can provide alerts and reminders, ensuring that you are informed about maintenance needs or energy-saving tips. With features like geo-fencing, the thermostat can sense when you leave home and adjust the temperature accordingly, which can lead to substantial savings.
In addition to saving money, they also contribute positively to the environment by optimizing energy use. Less energy means a smaller carbon footprint, making these devices an eco-friendly choice.
Ultimately, investing in a smart thermostat equips your home with the technology to enhance comfort while saving money and helping the planet. By understanding these benefits, you can make an informed decision to upgrade your home environment.
Key features to look for in smart thermostats
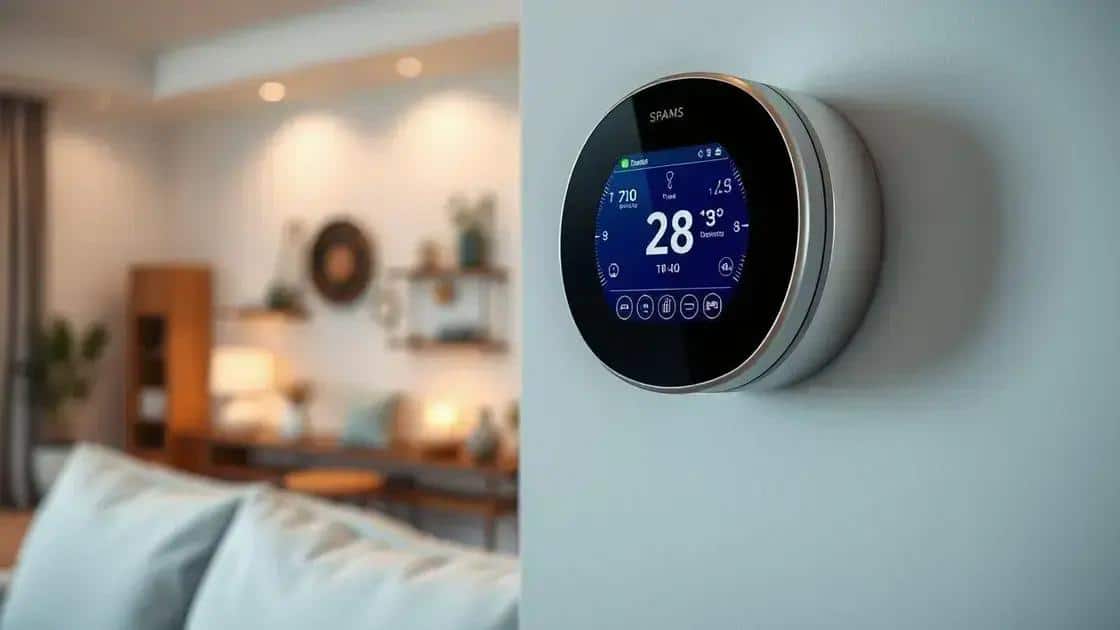
Choosing a smart thermostat can be overwhelming with so many options available. It’s essential to know the key features to look for in smart thermostats to ensure you select the right one for your home.
First, compatibility with your heating and cooling system is crucial. Make sure that the smart thermostat you choose can work well with the existing setup in your home. This feature saves potential installation headaches down the line.
Essential Features
Consider the following essential features:
- Wi-Fi Connectivity: Allows remote access via smartphone apps.
- Learning Capability: Adapts to your schedule for optimized heating and cooling.
- Energy Reports: Provides usage statistics to help reduce your bills.
- Voice Control: Enables hands-free operation with smart assistants.
Another important aspect is the user interface. A clear, easy-to-use display makes it simple to change settings or check energy usage at a glance. Additionally, some smart thermostats offer a touchscreen interface, which can enhance user experience.
Consider features like geo-fencing, which uses your smartphone’s location to adjust the temperature as you leave or return home. This not only maintains comfort but also maximizes energy efficiency by ensuring the system only runs when you need it.
Don’t forget about the potential for integration with other smart home devices. A thermostat that works seamlessly with your existing smart home ecosystem can greatly enhance convenience and functionality.
Step-by-step guide to installation
Installing a smart thermostat can seem tricky, but following a step-by-step guide to installation makes it manageable. Start by gathering the necessary tools like a screwdriver and a level. It’s important to turn off the power to your heating and cooling system before proceeding.
Next, remove your old thermostat. Take note of the wire connections, which you can photograph for reference. This step helps avoid confusion when connecting the new smart thermostat.
Wiring the Smart Thermostat
Now, you can begin wiring the smart thermostat:
- Connect the wires: Match the wires from your wall to the terminals on the new thermostat according to your previous photo.
- Use labels: If needed, most smart thermostats come with stickers to label your wires, which can simplify the process.
- Secure the thermostat: After connecting the wires, securely mount the smart thermostat to the wall using screws.
- Attach the base: Ensure the base is level before tightening screws fully.
Once the thermostat is securely in place, power on your heating and cooling system. You should see the smart thermostat power up, indicating it’s ready for setup. Follow the onscreen instructions to connect it to your Wi-Fi network. Make sure to download the corresponding app on your smartphone for easy control.
During the setup process, you’ll be prompted to add your heating and cooling systems, so it’s essential to provide accurate details. This configuration ensures the thermostat operates efficiently and meets your home’s needs.
Finally, after completing the setup, you can test the thermostat functions. Adjust the temperature settings to see if your HVAC system responds correctly. If everything works smoothly, you’re all set!
Tips for optimizing thermostat settings
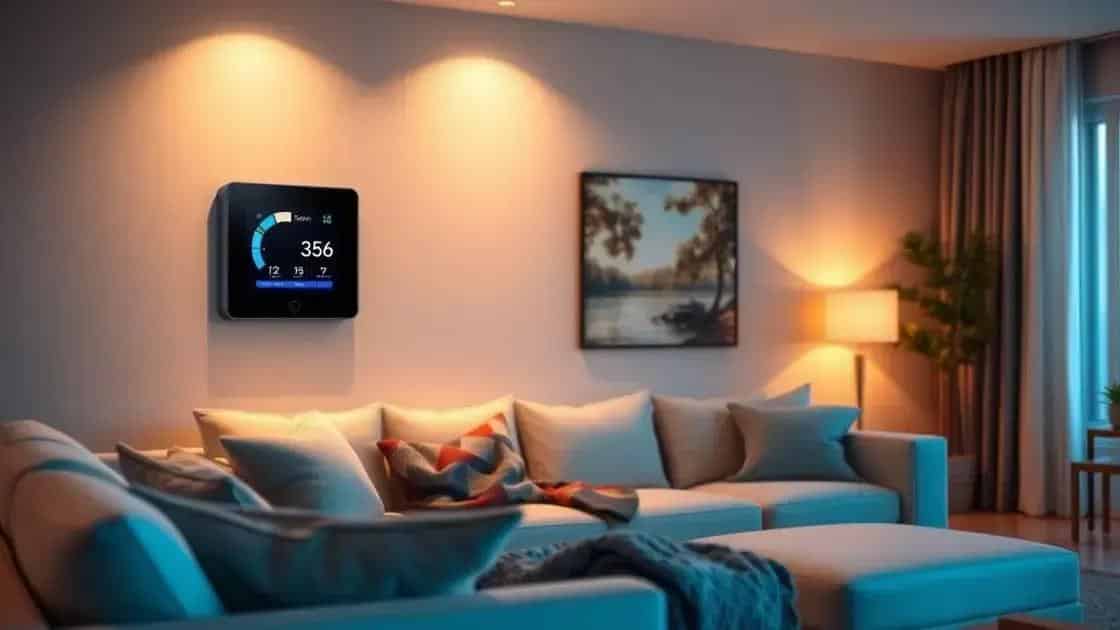
Optimizing your thermostat settings can lead to significant energy savings and increased comfort in your home. Here are some tips for optimizing thermostat settings to help you achieve the best results.
Start by adjusting the temperature based on the season. In winter, set your thermostat to around 68°F while you’re home and lower it when you are away or sleeping. In summer, aim for 78°F when home and raise it during your absence. Small adjustments can greatly impact your energy bills.
Utilizing Scheduling Features
Most smart thermostats offer scheduling options. Using these features allows you to create temperature profiles for different times of the day. Set the comfort level for mornings when you’re getting ready and adjust it to save energy while you’re at work.
- Morning Routine: Program a warmer temperature to start your day.
- Away Mode: Set a lower temperature when you are not at home.
- Evening Comfort: Increase the temperature before you return.
- Sleep Setpoint: A slightly cooler temperature can promote better sleep.
Another essential tip is to take advantage of the weather forecast feature. Many smart thermostats can adapt based on the local weather, adjusting your settings to maximize efficiency. For instance, if a heat wave is expected, the thermostat can cool your home before the temperatures rise.
Additionally, consider utilizing the eco mode that some thermostats offer. This mode aims to conserve energy while still keeping your home at a comfortable level. It frequently adjusts temperatures based on your preferences and habits, resulting in energy savings without sacrificing comfort.
Lastly, make sure to regularly review and adjust your settings. As seasons change or your schedule evolves, adapting your thermostat’s programming helps maintain the perfect balance between comfort and energy efficiency.
FAQ – Frequently Asked Questions about Smart Thermostats
What are the benefits of using a smart thermostat?
Smart thermostats help save energy, improve home comfort, and allow remote control of your heating and cooling system.
How do I install a smart thermostat?
Installation involves turning off your system’s power, removing the old thermostat, wiring the new one, and following setup instructions on the app.
What temperature settings should I use during different seasons?
In winter, set it to around 68°F when home and lower when away; in summer, aim for 78°F when home and raise it when away.
How can I optimize my thermostat settings?
Utilize scheduling, adjust for seasonal changes, and consider using eco mode to enhance energy savings while maintaining comfort.
