Affordable DIY Smart Security: 3-Zone Camera Setup Under $200
In an age where home security is paramount, many homeowners are seeking effective yet affordable solutions. Professional security systems can often come with hefty price tags and recurring monthly fees, making them inaccessible for some. However, the rise of smart home technology has democratized security, putting powerful tools directly into the hands of consumers. This guide will walk you through the process of creating a robust DIY smart security camera setup with three distinct motion zones, all for under $200. Yes, you read that right – comprehensive home surveillance doesn’t have to break the bank!
The concept of DIY smart security is not just about saving money; it’s about empowerment. It’s about understanding your home’s unique vulnerabilities and tailoring a solution that fits your specific needs without relying on external services. Modern smart cameras offer features once reserved for high-end systems, such as high-definition video, night vision, two-way audio, and crucially, customizable motion detection zones. These zones allow you to define specific areas within the camera’s field of view that you want to monitor for activity, reducing false alarms and focusing alerts on what truly matters.
By the end of this comprehensive guide, you’ll have a clear understanding of how to select the right components, install them effectively, configure your motion zones, and integrate your new security system into your smart home ecosystem. Let’s embark on this journey to a safer, smarter home.
Understanding Your Security Needs: The Foundation of DIY Smart Security
Before diving into product selection, it’s crucial to assess your home’s security needs. What areas are most vulnerable? Where do you want to deter potential intruders? Do you need to monitor packages at your front door, keep an eye on your backyard, or simply monitor a specific entry point?
- Front Door/Porch: This is often the primary entry point and where package theft can occur. A camera here should have a wide field of view and good night vision.
- Backyard/Patio: These areas can be secluded and offer easy access for intruders. Coverage here should ideally encompass gates, windows, and any potential hiding spots.
- Side Entrances/Windows: Often overlooked, side entrances and ground-floor windows can be vulnerable.
- Driveway/Garage: Monitoring vehicles and garage access is also a common concern.
Identifying these key areas will help you determine the number of cameras you need and their ideal placement. For our sub-$200 budget with three motion zones, we’ll primarily focus on systems that allow a single camera to cover multiple critical areas or a combination of two very affordable cameras to achieve broader coverage. The beauty of DIY smart security is its flexibility.
The Power of Motion Zones in DIY Smart Security
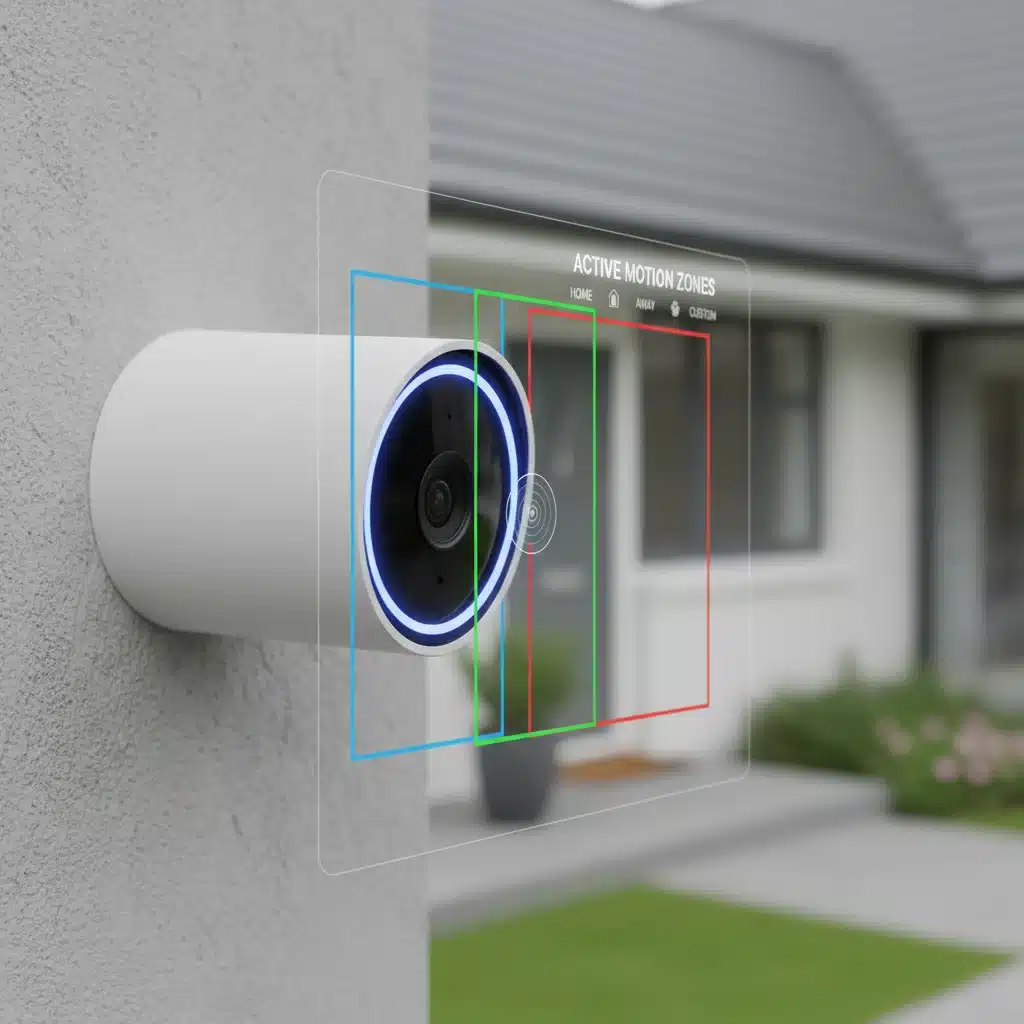
Motion zones are a game-changer for smart security cameras. Instead of alerting you to every leaf that blows by or car that drives past, motion zones allow you to draw specific areas within your camera’s view that, when motion is detected, will trigger an alert. This significantly reduces false alarms, saving you from constant notifications and ensuring that when you do get an alert, it’s likely something worth paying attention to.
Imagine you have a camera overlooking your front yard. You might want to be alerted if someone steps onto your porch, but not if a car drives down the street. With motion zones, you can configure one zone specifically for your porch, ignoring the street beyond. This level of customization is what makes modern DIY smart security so effective.
Choosing the Right Cameras: Budget-Friendly Options for DIY Smart Security
The market is flooded with smart security cameras, but finding reliable, feature-rich options under $200 requires careful selection. Here’s what to look for and some popular contenders:
Key Features to Prioritize:
- High-Definition Video (1080p minimum): Clear footage is essential for identifying faces or license plates.
- Night Vision: Most cameras offer infrared (IR) night vision, but some also feature color night vision, which can be a significant advantage.
- Motion Detection with Customizable Zones: This is non-negotiable for our setup. Ensure the camera’s app allows you to draw and save multiple zones.
- Two-Way Audio: Useful for communicating with visitors or deterring intruders.
- Local Storage (SD card slot) or Affordable Cloud Storage: To avoid recurring fees, local storage is ideal. If cloud storage is necessary, check its pricing.
- Weather Resistance (IP rating) for Outdoor Use: If you’re placing cameras outdoors, an IP65 or higher rating is crucial.
- Wi-Fi Connectivity: Most budget-friendly cameras connect via Wi-Fi. Ensure your home network is strong enough.
- Ease of Installation and App Interface: A user-friendly app makes configuration much simpler.
Top Budget-Friendly Camera Brands (as of current market trends):
- Wyze Cam v3/v4: Often considered the king of budget cameras. Excellent features for its price, including color night vision, local storage, and robust motion detection with zones. You can often get two for under $100.
- TP-Link Kasa Cam Outdoor/Indoor: Kasa offers reliable cameras with good build quality and a user-friendly app. Often come with competitive pricing and good feature sets.
- Eufy Security Cameras (e.g., SoloCam series): Eufy often provides local storage options (no monthly fees) and strong battery life for wireless models. Their app is intuitive, and they offer excellent value.
- Blink Outdoor/Indoor: Amazon’s Blink cameras are known for their long battery life and affordability, though cloud storage might be more prominent. They offer custom motion zones.
For our sub-$200 budget, you could realistically purchase two Wyze Cam v3/v4 cameras, or one Eufy SoloCam with some budget left over for accessories. The key is to check current sales and bundles. Two strategically placed cameras can give you excellent coverage and allow for more focused motion zones. This forms the core of your DIY smart security system.
Installation: Strategic Placement for Optimal DIY Smart Security
Once you’ve selected your cameras, proper installation is critical for maximizing their effectiveness. Think like an intruder: where would you try to enter? Where are the blind spots?
General Placement Tips:
- High and Out of Reach: Mount cameras high enough (8-10 feet) to prevent tampering, but low enough to capture clear facial features.
- Avoid Direct Sunlight/Backlighting: Direct sun can wash out images. Position cameras to avoid strong light sources directly facing the lens.
- Consider Power Access: Most budget cameras are wired for power. Plan routes for power cables or choose battery-powered options if wiring is difficult.
- Wi-Fi Signal Strength: Test your Wi-Fi signal at the intended mounting location before drilling. A weak signal will lead to dropped connections and unreliable performance.
- Overlap Fields of View (if using multiple cameras): If you have two cameras covering adjacent areas, try to have their fields of view overlap slightly. This eliminates blind spots.
- Protect from Elements: Even weather-resistant cameras benefit from being under an overhang or eave to extend their lifespan.
Specific Location Considerations:
- Front Door: Mount above the door frame, aiming slightly downwards to cover the porch, steps, and part of the walkway.
- Backyard: Position to cover gates, back doors, and any ground-floor windows. Consider a corner mount for wider coverage.
- Driveway: Aim to capture the entire driveway and any vehicles, as well as the path to the front door.
Remember, the goal is to deter and record. Visible cameras are often a deterrent in themselves, but discreet placement can also be effective for capturing unsuspecting activity. This mindful installation is a cornerstone of effective DIY smart security.
Configuring Motion Zones: Precision Monitoring for Your Home
This is where the ‘smart’ in DIY smart security truly shines. Once your cameras are installed and connected to your home Wi-Fi network, you’ll use the camera’s companion app to configure the motion zones.
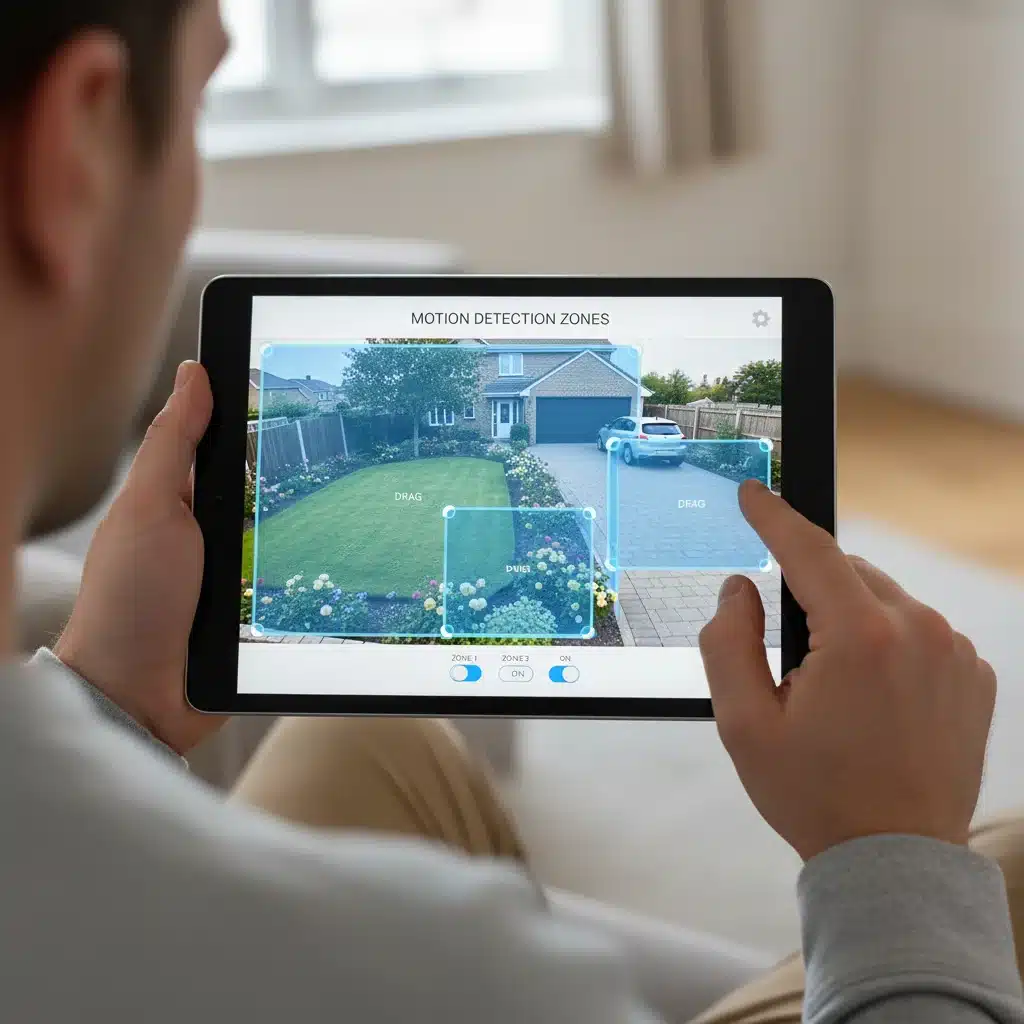
Step-by-Step Motion Zone Setup:
- Access Camera Settings: Open your camera’s app and navigate to the specific camera you want to configure. Look for settings related to ‘Motion Detection,’ ‘Detection Zones,’ or ‘Activity Zones.’
- Live View and Zone Creation: The app will typically display a live feed from your camera. You’ll be able to draw shapes (usually rectangles or polygons) directly onto this live view.
- Define Your First Zone: Identify the most critical area. For a front door camera, this might be your porch. Draw a box around this area. Name it something descriptive, like ‘Porch Activity.’
- Define Your Second Zone: Next, identify another important area. Perhaps the walkway leading to your porch, or a package delivery area. Draw a second zone and name it, e.g., ‘Walkway.’
- Define Your Third Zone: If your camera has a wide enough field of view, you might define a third zone for a nearby window or a portion of your driveway. Name this zone, e.g., ‘Driveway Entrance.’
- Adjust Sensitivity: Each zone (or the camera overall) will have a motion sensitivity setting. Start with a medium setting and adjust as needed. Too high, and you’ll get false alarms; too low, and you might miss genuine events.
- Test Thoroughly: Walk through each zone yourself. Have a friend or family member do the same. Observe if the camera triggers an alert when expected and, crucially, if it ignores motion outside the zones.
- Refine and Repeat: Don’t be afraid to adjust zone shapes and sensitivity. This fine-tuning is what makes your DIY smart security system truly effective and tailored to your environment.
Some advanced cameras may offer ‘person detection’ or ‘vehicle detection’ within these zones, further reducing false alarms from animals or swaying branches. If your budget cameras offer these, enable them!
Integrating with Your Smart Home Ecosystem: Beyond Basic Monitoring
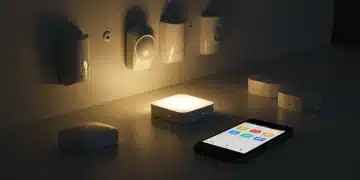
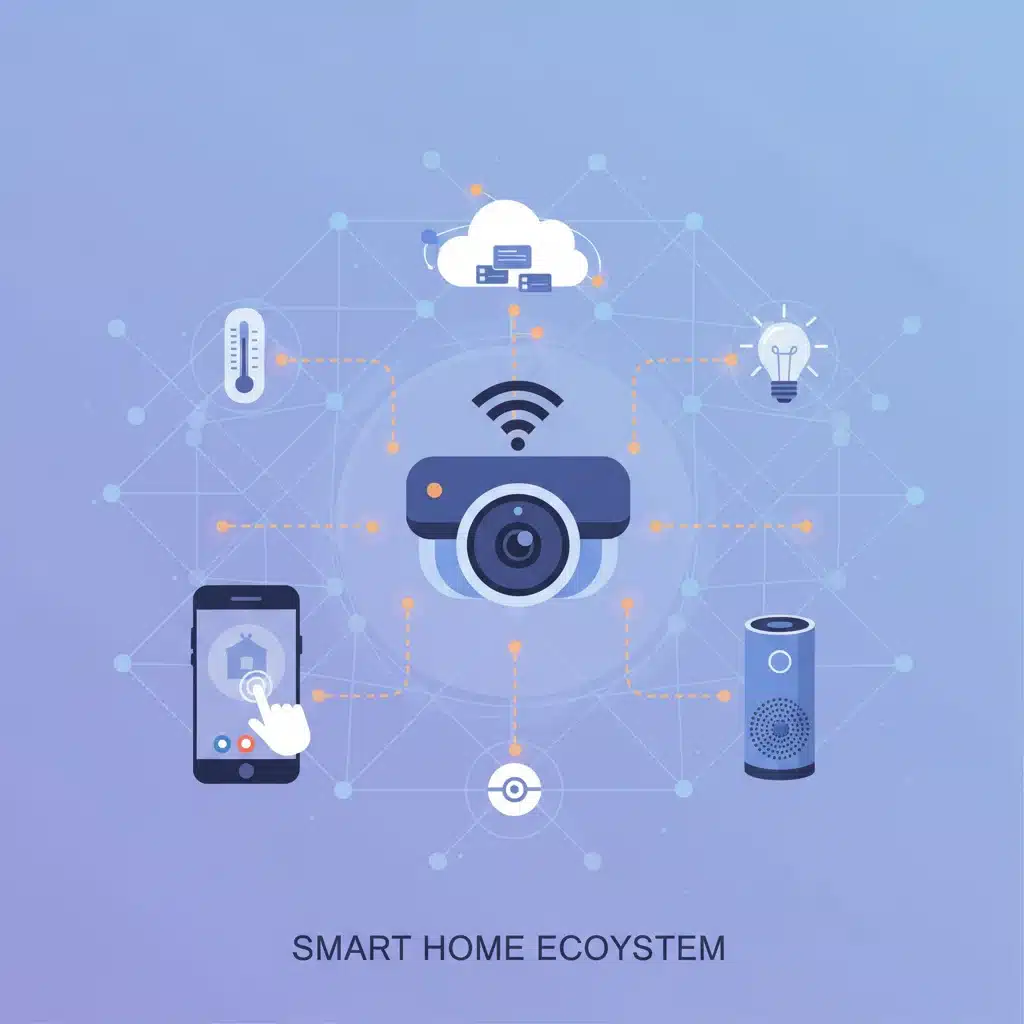
The true power of DIY smart security comes from its integration capabilities. While standalone camera apps provide essential monitoring, connecting your cameras to a broader smart home ecosystem enhances their utility and creates a more cohesive security strategy.
Common Smart Home Platforms:
- Amazon Alexa: Many cameras integrate with Alexa, allowing you to view live feeds on Echo Show devices or receive motion announcements on Echo speakers.
- Google Home/Assistant: Similar to Alexa, Google Home integration enables live viewing on Nest Hubs and motion notifications.
- IFTTT (If This Then That): A powerful automation tool that connects disparate smart devices. You can set up applets like ‘If camera detects motion in Zone 1, then turn on porch lights.’
- HomeKit (Apple): While fewer budget cameras natively support HomeKit, some offer workarounds or are beginning to include support.
Automation Scenarios for Enhanced Security:
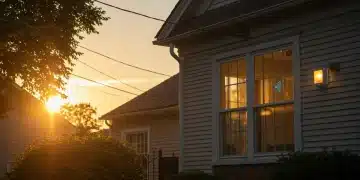
- Lighting Integration: When motion is detected in a specific zone after dark, trigger smart outdoor lights to turn on. This not only illuminates the area for better camera footage but also acts as a powerful deterrent.
- Smart Speaker Announcements: Have your smart speaker announce ‘Motion detected at the front door’ when an event occurs in your porch zone.
- Smart Lock Integration: While more advanced, some systems can be configured to, for example, ensure doors are locked if motion is detected when no one is home.
- Siren/Alarm Activation: Some cameras have built-in sirens. You can often set these to activate automatically upon motion detection in critical zones.
Leveraging these integrations transforms your basic camera setup into a proactive and responsive DIY smart security system. Check the compatibility of your chosen cameras with your existing smart home devices before purchase, or plan your smart home ecosystem around your security needs.
Maintaining Your DIY Smart Security System
A set-it-and-forget-it approach won’t cut it for optimal security. Regular maintenance ensures your DIY smart security system remains effective:
- Check Camera Lenses: Dust, cobwebs, or dirt can obscure the lens. Clean them periodically with a soft, damp cloth.
- Monitor Wi-Fi Connection: Ensure your cameras maintain a strong and stable Wi-Fi connection. Consider a Wi-Fi extender if signal strength is an issue.
- Review Footage Regularly: Even if you don’t receive alerts, occasionally review recorded footage to ensure everything is working as expected and that the image quality is still good.
- Update Firmware: Keep your camera’s firmware updated. Manufacturers frequently release updates that improve performance, add features, and patch security vulnerabilities.
- Check Storage: If using local SD card storage, ensure it’s not full or corrupted. If using cloud storage, verify your subscription is active.
- Battery Life (if applicable): For battery-powered cameras, monitor battery levels and recharge/replace as needed.
- Re-evaluate Motion Zones: Seasonal changes (e.g., growing foliage, snow accumulation) might require you to adjust your motion zones to prevent false alarms or cover newly exposed areas.
Proactive maintenance ensures your investment in DIY smart security continues to pay off by providing reliable surveillance and peace of mind.
Advanced Tips for Maximizing Your Budget DIY Smart Security
Once you’ve mastered the basics, consider these advanced tips to get even more out of your sub-$200 DIY smart security setup:
- Utilize Privacy Zones: Many cameras offer privacy zones, allowing you to black out specific areas in the camera’s view that you don’t want to record (e.g., a neighbor’s window). This is important for privacy compliance and neighborly relations.
- Schedule Motion Detection: If you only want to be alerted during specific hours (e.g., when you’re at work or asleep), schedule your motion detection. This further reduces unnecessary notifications.
- Consider a Cheap DVR/NVR with IP Cameras: While slightly beyond the sub-$200 budget for a full system, if you have old IP cameras or can find used ones cheaply, a basic Network Video Recorder (NVR) can offer continuous recording and more advanced features. However, for most budget setups, direct-to-cloud/SD card is simpler.
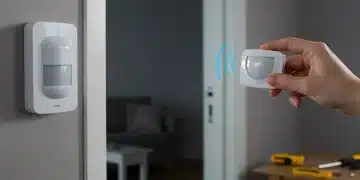
- Combine with Other Sensors: While not cameras, integrating affordable door/window sensors (e.g., from Wyze or Aqara) can complement your camera system, providing another layer of DIY smart security.
- Strong Passwords and Two-Factor Authentication (2FA): Always use strong, unique passwords for your camera accounts and enable 2FA if available. This is crucial for protecting your privacy and security.
- Review Local Laws: Be aware of local laws regarding surveillance, especially if your cameras capture public spaces or neighbor’s property.
These extra steps can significantly enhance the effectiveness and peace of mind provided by your affordable DIY smart security system.
Conclusion: Empowering Your Home with DIY Smart Security
Building a robust DIY smart security camera system with three motion zones for under $200 is not just feasible; it’s an intelligent and empowering decision for any homeowner. By carefully selecting budget-friendly yet feature-rich cameras, strategically placing them, and meticulously configuring motion zones, you can create a highly effective surveillance system that rivals more expensive professional installations.
The benefits extend beyond mere surveillance. The ability to receive targeted alerts, communicate remotely, and integrate with your existing smart home devices provides unparalleled control and peace of mind. You’re not just buying cameras; you’re investing in a personalized, adaptable, and cost-effective security solution that you control.
So, take the leap! Research the cameras mentioned, plan your placement, and get ready to transform your home’s security without emptying your wallet. With a little effort and the right knowledge, you can achieve a sophisticated DIY smart security setup that keeps your home and loved ones safe.