Install Smart Water Leak Sensors to Prevent Costly Damage: A DIY Guide
Installing smart water leak sensors is a proactive DIY measure to detect leaks early, preventing costly water damage, reducing water waste, and offering peace of mind through real-time alerts on your smartphone.
Protect your home from devastating water damage by learning how to install smart water leak sensors. Be proactive and save money.
Why Install Smart Water Leak Sensors?
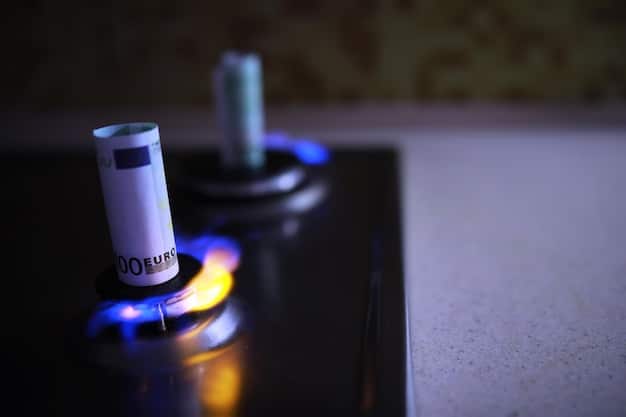
Water leaks, whether from burst pipes, leaky appliances, or hidden plumbing issues, can cause significant damage to your home. Installing smart water leak sensors is a relatively simple, yet highly effective, DIY project that can save you thousands of dollars in repair costs. These sensors provide real-time alerts, allowing you to address leaks quickly and prevent major damage.
Beyond the financial benefits, consider the environmental impact. Undetected leaks contribute to water waste, a growing concern in many parts of the US. By installing these sensors, you’re not only protecting your home but also contributing to water conservation efforts.
Benefits of Smart Water Leak Sensors
Smart water leak sensors offer a range of benefits that make them a worthwhile addition to any home security system.
- Early Leak Detection: Receive immediate notifications on your smartphone when a leak is detected.
- Damage Prevention: Address leaks quickly to prevent costly water damage.
- Reduced Water Waste: Minimize water waste by identifying and fixing leaks promptly.
- Peace of Mind: Gain peace of mind knowing your home is protected 24/7.
These sensors can be easily integrated with other smart home devices, creating a comprehensive system that protects your property from various risks.
In summary, smart water leak sensors are a cost-effective way to safeguard your property from water damage. By installing them, you are assured of receiving real-time alerts that enable timely intervention and can prevent costly damage.
Choosing the Right Smart Water Leak Sensor
With numerous options available, selecting the right smart water leak sensor can seem overwhelming. Consider factors like connectivity, placement, battery life, and additional features to find the best fit for your needs.
Some sensors require a smart home hub, while others connect directly to your Wi-Fi network. Decide which option aligns better with your existing smart home setup and personal preferences.
Connectivity Options
The connectivity of your water leak sensor determines how it communicates with your smartphone and other smart home devices. Common options include Wi-Fi, Z-Wave, and Zigbee.
- Wi-Fi: Connects directly to your home Wi-Fi network, no hub required.
- Z-Wave: Requires a Z-Wave hub for connectivity, offering enhanced security and range.
- Zigbee: Similar to Z-Wave, using a Zigbee hub for integration with other smart devices.
Consider the range and reliability of each connectivity option, especially if you plan to install sensors in areas far from your router or hub.
Choosing the right smart water leak sensor requires careful consideration of your connectivity needs, battery life expectations, and the specific areas you want to monitor. With a little research, you can find a sensor that provides reliable protection and peace of mind.
Tools and Materials Needed
Before you begin the installation process, gather all the necessary tools and materials to ensure a smooth and efficient DIY project. Having everything on hand will save you time and frustration.
The basic tools required include a screwdriver (both Phillips and flathead), pliers, and a measuring tape.
Additionally, you will need some basic materials.
Essential Tools and Materials
To install your smart water leak sensors successfully, you’ll need the following:
- Smart Water Leak Sensors: Choose sensors that meet your connectivity and placement needs.
- Screwdriver Set: Phillips and flathead screwdrivers for mounting brackets.
- Pliers: For tightening or loosening connections if necessary.
- Measuring Tape: To ensure accurate placement of sensors.
Properly gathering these tools ensures the installation process occurs smoothly and efficiently. It is important to have everything at hand so that the project will be successful the first time.
Gathering the required tools and materials ahead of time not only streamlines the installation process but also minimizes the risk of encountering unexpected obstacles. By investing a little preparation, you can ensure a hassle-free DIY experience.
Step-by-Step Installation Guide
Installing smart water leak sensors is a straightforward DIY project that can be completed in a few simple steps. Follow this guide to ensure proper installation and optimal performance.
Begin by identifying the key locations where leaks are most likely to occur.
Identifying Leak-Prone Areas
Before installing your sensors, strategically identify areas prone to leaks, such as:
- Under sinks and near faucets in bathrooms and kitchens.
- Around washing machines and dishwashers.
- Near water heaters and sump pumps.
- In basements or crawl spaces where pipes are exposed.
Choosing the correct location for your sensors will ensure that they are triggered at the first sign of a potential leak. Once the location is determined, you can install the sensors appropriately.
With careful attention to detail and proper placement, you can easily install smart water leak sensors and enjoy the peace of mind that comes with knowing your home is protected from water damage.
Connecting to Your Smart Home System
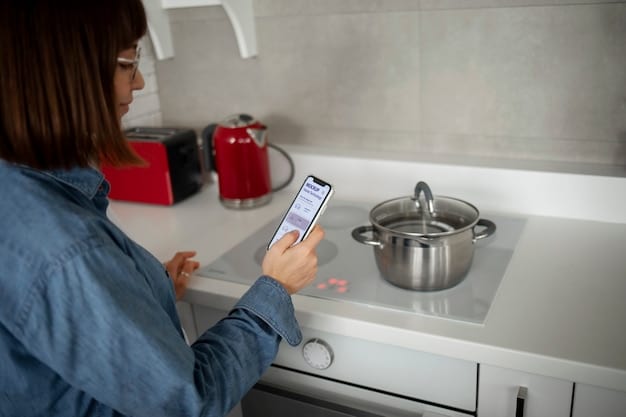
Once the sensors are installed, it’s time to connect them to your smart home system. This process typically involves downloading the manufacturer’s app and following the on-screen instructions.
If your sensors use a smart home hub, ensure that the hub is properly connected to your Wi-Fi network before attempting to add the sensors.
Integration with Smart Home Hubs
To integrate your sensors with smart home hubs:
- Open the hub’s app on your smartphone.
- Select “Add Device” or a similar option.
- Follow the app’s instructions to pair the sensors with the hub.
The correct integration strategy ensures that the hub and the water leak sensors are connected efficiently. This way they will work well together at identifying water leaks and triggering alerts.

Connecting your smart water leak sensors to your smart home system is an essential step in ensuring that you receive timely alerts and can take quick action to prevent water damage in your home.
Maintenance and Testing
To ensure your smart water leak sensors continue to function properly, regular maintenance and testing are essential. Check the sensors periodically to ensure they are clean and free from obstructions.
Additionally, test the sensors regularly to confirm they are still detecting leaks effectively.
Regular Testing Procedures
Follow these steps to test your sensors:
- Simulate a leak by placing a damp cloth near the sensor.
- Check your smartphone for an alert notification.
- Verify that the sensor’s alarm is triggered.
These periodic tests ensure that your water leak sensors are activated when they need to be. Also, the tests confirm that alerts are being sent and are being received.
Regular maintenance and testing are critical to ensuring that your smart water leak sensors continue to provide reliable protection against water damage. It is important to make sure they can detect leaks and you can be alerted when necessary.
| Key Point | Brief Description |
|---|---|
| 💧 Early Detection | Smart sensors provide instant alerts to your smartphone. |
| 💰 Cost Savings | Prevent expensive repairs by addressing leaks quickly. |
| 🌍 Water Conservation | Reduce water waste by identifying and fixing leaks promptly. |
| 🏠 Smart Integration | Connect to your smart home system for comprehensive protection. |
FAQ
▼
Place sensors in areas prone to leaks, such as under sinks, near dishwashers, washing machines, water heaters, and in basements where pipes are exposed to ensure early detection.
▼
They detect moisture and send alerts to your smartphone via Wi-Fi or a smart home hub, enabling quick response to prevent significant damage.
▼
Some sensors connect directly to Wi-Fi and do not require a hub, while others use Z-Wave or Zigbee and need a compatible smart home hub to function properly.
▼
It is recommended to test your sensors at least once a month to ensure they are functioning correctly. Simulate a leak to verify that alerts are being sent to your device.
▼
Most sensors use standard batteries like AA or AAA. Battery life varies, so check the manufacturer’s specifications and replace them as needed for continual protection.
Conclusion
Installing smart water leak sensors is a simple, yet effective, DIY project that can protect your home from costly water damage. By following this guide, you can easily set up these sensors and enjoy the peace of mind that comes with knowing your home is protected 24/7. Stay proactive and safeguard your property today.


