DIY Smart Leak Detection: Install Water Sensors to Prevent Water Damage
Water damage is a silent destroyer, creeping into our homes, often unnoticed until it’s too late. From a small, persistent drip under the sink to a catastrophic burst pipe, the consequences can range from minor repairs to extensive structural damage, mold growth, and significant financial strain. The statistics are sobering: water damage is one of the most common and costly homeowner insurance claims. But what if you could detect these issues early, before they escalate into major problems? This is where smart leak detection comes into play, offering a proactive and intelligent solution to protect your most valuable asset – your home.
Welcome to the ultimate DIY guide to installing smart water sensors. Our goal is to empower you with the knowledge and tools to implement an effective leak detection system, potentially preventing up to 20% of future water damage by 2026. This isn’t just about technology; it’s about peace of mind, safeguarding your property, and avoiding the headaches and heartaches that come with unexpected water incidents. We’ll walk you through everything from understanding the types of sensors available to strategic placement, installation, and integration into your smart home ecosystem. Let’s dive in and transform your home into a fortress against water damage!
The Hidden Threat: Why Water Damage is So Costly
Before we delve into the solutions, it’s crucial to understand the magnitude of the problem. Water damage isn’t just about the immediate mess; it’s about the long-term repercussions. Consider these points:
- Exponential Costs: A small leak can quickly become a large one, leading to thousands of dollars in repairs. According to industry reports, the average water damage claim costs thousands, often exceeding homeowners’ deductibles.
- Structural Integrity: Prolonged water exposure can compromise the structural integrity of your home, weakening wood, corroding metal, and damaging foundations.
- Mold and Mildew: Within 24-48 hours of a water intrusion, mold and mildew can begin to grow, posing serious health risks and requiring specialized, expensive remediation.
- Lost Valuables: Irreplaceable family heirlooms, important documents, and cherished possessions can be ruined by water, leading to emotional distress in addition to financial loss.
- Insurance Headaches: While insurance helps, filing claims can be a lengthy and stressful process, often leading to increased premiums.
The good news is that many of these issues are preventable. Early detection is the key, and that’s precisely what smart leak detection systems offer.
Understanding Smart Leak Detection Systems
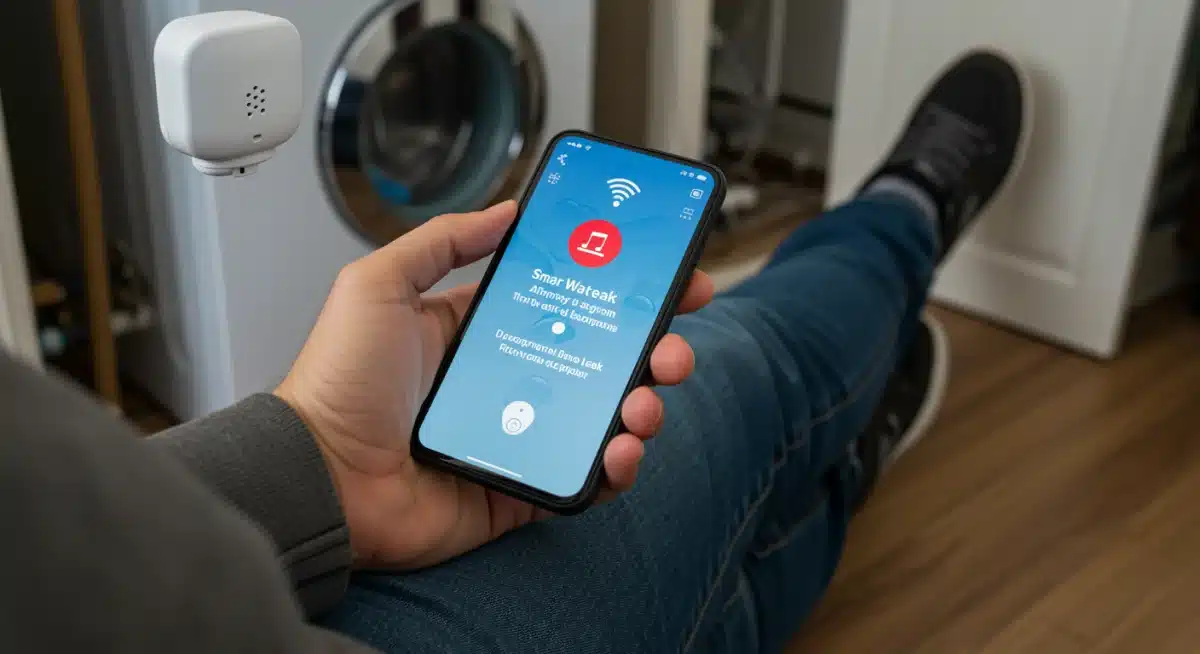
At its core, a smart leak detection system consists of sensors that detect the presence of water and communicate this information to you, usually via a smartphone app, email, or audible alarm. These systems leverage wireless technology to provide real-time alerts, allowing you to act swiftly and minimize damage.
Types of Water Sensors:
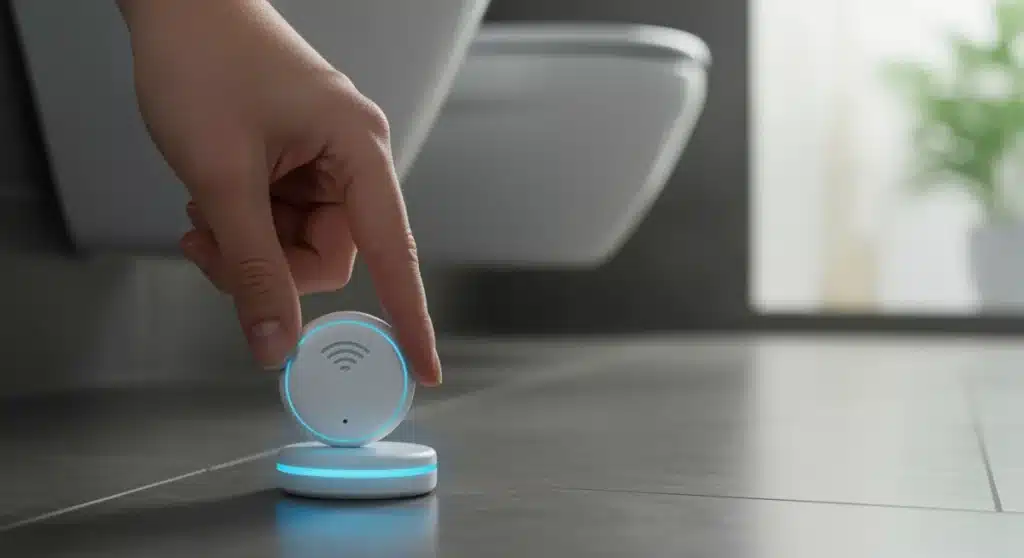
- Spot Sensors: These are the most common type, designed to be placed directly on the floor in areas prone to leaks. They have conductive probes that trigger an alarm when bridged by water.
- Rope Sensors: Ideal for covering larger areas or wrapping around pipes, these sensors consist of a long, flexible cable that detects water along its entire length.
- Whole-Home Systems with Shut-off Valves: The most advanced systems not only detect leaks but can also automatically shut off your main water supply when a leak is detected, offering the ultimate protection.
Connectivity Options:
Most smart water sensors connect to your home network via:
- Wi-Fi: Directly connects to your home’s Wi-Fi network, often requiring no additional hub.
- Zigbee/Z-Wave: These are low-power wireless protocols that require a central hub (often integrated into smart home platforms like SmartThings, Hubitat, or even some Alexa/Google Home devices) to communicate. They offer excellent battery life and mesh networking capabilities.
- Bluetooth: Less common for whole-home systems due to limited range, but some individual sensors might use it for local alerts.
When choosing your sensors, consider your existing smart home ecosystem. Do you already have a hub? Do you prefer a standalone Wi-Fi solution? This decision will influence your sensor selection for effective smart leak detection.
Strategic Placement: Where to Install Your Water Sensors
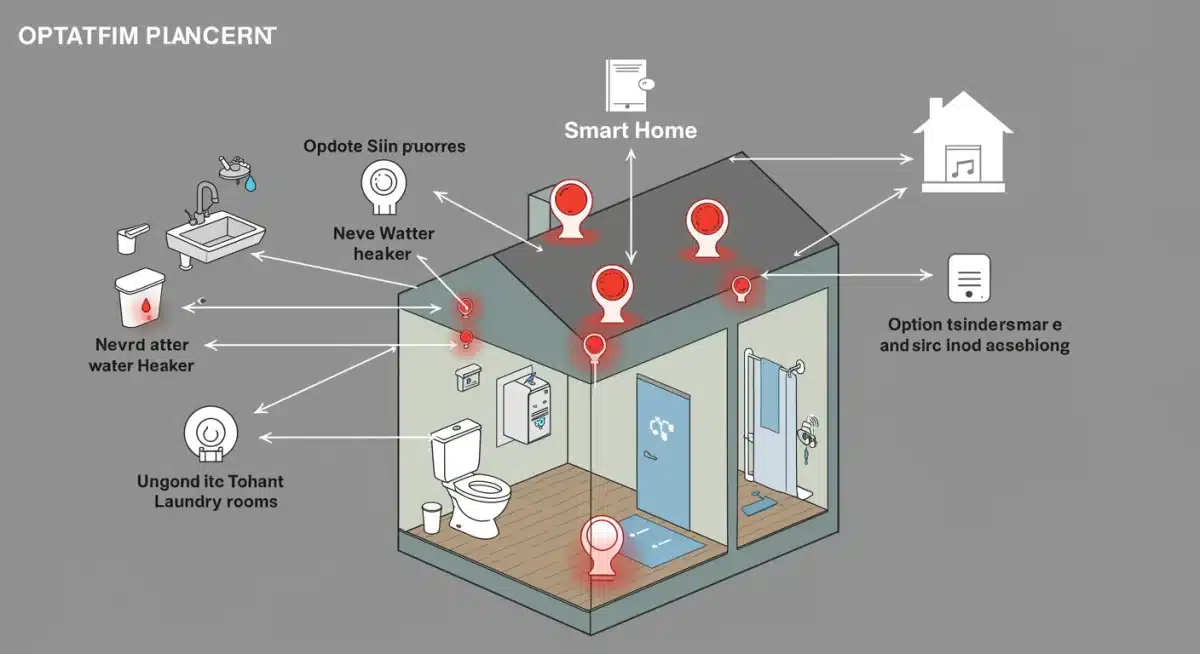
The effectiveness of your smart leak detection system hinges on the strategic placement of your sensors. Think like water – where would it go if a pipe burst or an appliance failed? Here are the critical areas in your home:
1. Kitchen: The Heart of Potential Leaks
- Under the Kitchen Sink: This is a prime location. Leaks often go unnoticed here from drain pipes, supply lines, or even a faulty garbage disposal.
- Behind the Refrigerator: If you have a refrigerator with an ice maker or water dispenser, there’s a water line running to it. A leak here can quickly damage flooring and cabinetry.
- Near the Dishwasher: Dishwashers are connected to both water supply and drainage. Place a sensor on the floor directly in front or to the side of the appliance.
2. Bathrooms: High-Risk Zones
- Behind Toilets: The supply line to the toilet is a common culprit for slow, hidden leaks.
- Under Bathroom Sinks: Similar to kitchen sinks, these areas are prone to leaks from pipes and drains.
- Near Showers/Tubs: While less common for catastrophic leaks, persistent drips or faulty seals can lead to water seeping into subflooring. Place a sensor on the floor nearby, especially if you suspect issues.
3. Laundry Room: Appliance Vulnerability
- Behind/Under Washing Machine: This is a high-priority spot. Washing machine hoses are notorious for bursting, causing massive flooding in a short amount of time.
- Near Utility Sink: If you have a utility sink, place a sensor nearby to catch leaks from its plumbing.
4. Basement and Utility Areas: Hidden Dangers
- Near Water Heater: Water heaters have a finite lifespan and can leak from the tank or connections. This is an absolute must for sensor placement.
- Near Sump Pump: If your basement has a sump pump, a sensor can alert you if it fails or if the pit overflows.
- Under Main Water Line Entry: The point where your main water line enters your home is another critical area.
- Near Furnaces/HVAC Condensate Pans: HVAC systems produce condensate that needs to drain. If the drain clogs, the pan can overflow.
5. Other Areas to Consider:
- Attic (if plumbing is present): Some homes have water heaters or pipes in the attic.
- Crawl Spaces: Often damp and out of sight, crawl spaces can hide significant leaks.
- Unfinished Basements: Place sensors in various spots, especially near exterior walls where leaks from foundation cracks might occur.
Remember, the goal is to cover as many potential leak points as possible. A little forethought in placement goes a long way in ensuring comprehensive smart leak detection.
DIY Installation: Step-by-Step Guide
Installing most smart water sensors is remarkably straightforward, designed for the average homeowner. Here’s a general guide:
Step 1: Choose Your Sensors and System
Based on the types of sensors and connectivity options discussed, select the system that best fits your needs and budget. Read reviews and ensure compatibility with any existing smart home hubs you may have.
Step 2: Unbox and Power Up
Most sensors come with batteries pre-installed or require you to insert them. Follow the manufacturer’s instructions for initial power-up.
Step 3: Download the App and Connect
Download the accompanying smartphone app for your chosen sensor system. Follow the in-app instructions to connect your sensors to your home’s Wi-Fi or smart home hub. This usually involves putting the sensor in ‘pairing mode’ and selecting it within the app.
Step 4: Test Connectivity
Once connected, perform a connectivity test. Many apps allow you to ‘ping’ the sensor to ensure it’s communicating with the hub or Wi-Fi network. Place the sensor briefly in its intended location to check signal strength.
Step 5: Strategic Placement (Revisited)
Now, place each sensor in its designated high-risk area. Ensure the water detection probes are in direct contact with the floor or surface where water would accumulate. For rope sensors, lay them out to cover the desired length.
Step 6: Configure Alerts
Within the app, configure your alert preferences. This is crucial for effective smart leak detection. You’ll typically be able to set up notifications for:
- Push Notifications: Direct alerts to your smartphone.
- Email Alerts: Sent to your primary email address.
- SMS Messages: Some systems offer text message alerts.
- Audible Alarms: Many sensors have built-in sirens.
Consider adding multiple contacts (e.g., a spouse, trusted neighbor, or friend) to receive alerts if you’re away from home.
Step 7: Perform a Live Test
This step is critical to confirm your system is working correctly. Take a small amount of water (a few drops) and carefully apply it to the sensor’s probes. The sensor should immediately trigger an alarm and send notifications to your configured devices. If it doesn’t, troubleshoot the connection or placement.
Step 8: Regular Maintenance
Periodically check your sensor batteries (most apps will notify you when they’re low) and perform a quick test with water every few months to ensure continued functionality. Keep the sensor probes clean and free of dust or debris.
Integrating Smart Leak Detection with Your Smart Home
The true power of smart leak detection lies in its ability to integrate with other smart home devices. This can elevate your protection from simple alerts to automated responses.
Automated Shut-off Valves: The Ultimate Protection
As mentioned, some advanced systems include or can be paired with smart water shut-off valves. These devices are installed directly on your main water line and can automatically close the valve when a leak is detected by any of your sensors. This can prevent extensive damage by stopping the water flow at its source. While the installation of a shut-off valve might require a plumber, the integration with your smart sensors is often a DIY task through the app.
Lighting and Sound Cues:
Imagine this: a leak is detected, and not only does your phone buzz, but your smart lights in the affected room turn red, and your smart speaker announces, ‘Water leak detected in the basement!’ This can be achieved through integrations with platforms like IFTTT (If This Then That), SmartThings, or Home Assistant.
Camera Integration:
If you have smart cameras in your home, you might be able to set up a rule that, upon a leak detection, the camera in that area records a short clip or takes a snapshot, giving you visual confirmation of the issue.
Benefits Beyond Damage Prevention
While preventing costly water damage is the primary driver for installing a smart leak detection system, there are several other compelling benefits:
- Insurance Savings: Many insurance providers offer discounts for homes equipped with smart leak detection systems, recognizing the reduced risk of claims. Check with your insurance agent!
- Peace of Mind: Knowing that your home is constantly monitored for leaks, especially when you’re away on vacation or at work, offers invaluable peace of mind.
- Property Value: A smart home with integrated safety features can be more attractive to potential buyers, potentially increasing your home’s resale value.
- Energy Efficiency (Indirect): Addressing leaks promptly can prevent long-term issues like dampness, which can contribute to higher energy bills due to increased HVAC usage to combat humidity.
- Health Benefits: By preventing mold and mildew growth, you’re also protecting the health of your household members from respiratory issues and allergies.
Common Questions and Troubleshooting Tips
Q: What if my Wi-Fi goes out?
A: Most Wi-Fi-connected sensors will cease to function during an internet outage as they rely on the network for communication. However, many have built-in audible alarms that will still sound locally. Systems relying on Zigbee/Z-Wave hubs often have local processing capabilities, meaning they might still trigger local alarms or even shut off water if the hub is locally controlled, even without internet access.
Q: How long do the batteries last?
A: Battery life varies significantly by sensor and connectivity type. Wi-Fi sensors tend to consume more power, often lasting 1-2 years. Zigbee/Z-Wave sensors, being low-power, can last 3-5 years or even longer. Your app should provide battery status alerts.
Q: Can I install a smart water shut-off valve myself?
A: While some DIY-friendly options exist (like those that clamp onto your existing ball valve), installing a cut-in shut-off valve often involves modifying your main water line, which is best left to a licensed plumber to ensure proper installation and avoid creating new leaks.
Q: My sensor isn’t detecting water during a test. What should I do?
A: First, ensure the probes are clean and free of debris. Second, verify the sensor is powered on and connected to your network/hub. Third, make sure you’re using enough water to bridge the gap between the probes. If issues persist, consult the manufacturer’s troubleshooting guide or customer support.
Q: Can these sensors detect frozen pipes?
A: Some advanced smart water sensors also include temperature monitoring capabilities and can alert you if temperatures drop to freezing levels, giving you time to take preventative action before pipes burst. Check the specifications of your chosen sensor.
The Future of Home Protection: Proactive, Not Reactive
The landscape of home protection is rapidly evolving, moving from reactive measures (dealing with damage after it occurs) to proactive prevention. Smart leak detection systems are at the forefront of this revolution. By investing a relatively small amount of time and money now, you are making a significant investment in the long-term safety and value of your home. The ability to receive instant alerts, and in some cases, automatically halt water flow, means you can often mitigate a potential disaster before it even begins to cause serious damage.
Think of your smart water sensors as silent guardians, tirelessly monitoring the vulnerable points of your plumbing system. They don’t replace regular home maintenance, but they provide an invaluable layer of security, catching the unforeseen and giving you the upper hand against one of homeownership’s most persistent threats. By embracing this DIY approach, you’re not just installing gadgets; you’re building a more resilient, smarter, and safer home for yourself and your family.
Conclusion: Empowering Homeowners with Smart Leak Detection
Congratulations! You’ve now gained a comprehensive understanding of smart leak detection, from its fundamental principles to strategic installation and integration. You’re equipped to take control of your home’s water safety, transforming potential catastrophes into minor inconveniences. The proactive step of installing smart water sensors is one of the most effective ways to protect your property, save money on costly repairs, and foster invaluable peace of mind.
Start today by identifying the high-risk areas in your home, choosing the right sensors for your needs, and following our easy DIY installation guide. Embrace the power of smart technology to create a safer, more secure living environment. Your home, and your wallet, will thank you for it. Don’t wait for the drip to become a flood – get smart about leak detection now!


