DIY Smart Thermostat Installation: Save Energy & Money This Winter
DIY smart thermostat installation offers homeowners a practical way to upgrade their home’s energy efficiency, providing potential savings of up to 15% on heating and cooling costs during the winter months by automating temperature control and optimizing energy usage.
As winter approaches, homeowners are looking for ways to cut down on energy bills. One effective and increasingly popular method is a DIY smart thermostat installation, allowing you to control your home’s temperature more efficiently and potentially save up to 15% on energy costs this winter.
Understanding Smart Thermostats and Their Benefits
Smart thermostats are a modern upgrade to traditional thermostats, offering a range of features designed to improve energy efficiency and comfort. They learn your heating and cooling patterns, automatically adjust temperatures, and can even be controlled remotely via smartphone.
What Makes a Thermostat “Smart”?
Unlike conventional thermostats that require manual adjustments, smart thermostats use algorithms and machine learning to optimize temperature settings. They can learn your daily routines, track weather patterns, and adjust accordingly to minimize energy consumption.
Key Benefits of Upgrading
- Energy Savings: Automatically adjusts temperature to reduce energy waste.
- Remote Control: Manage your home’s temperature from anywhere.
- Increased Comfort: Consistent temperatures throughout the day and night.
- Home Automation: Integrates with other smart home devices for a seamless experience.
By understanding these benefits, homeowners can make an informed decision about upgrading to a smart thermostat and taking control of their energy consumption. A smart thermostat is not just about convenience; it’s an investment in a more efficient and comfortable home.
Tools and Materials Needed for DIY Installation
Before diving into the installation process, it’s essential to gather all the necessary tools and materials. Having everything on hand will make the process smoother and more efficient, reducing the chances of encountering unexpected setbacks.
Essential Tools for the Job
A successful DIY smart thermostat installation requires a few basic tools. Make sure you have these readily available:
- Screwdriver Set: Both Phillips head and flathead screwdrivers are needed.
- Wire Strippers: For safely stripping the ends of wires.
- Pencil: For marking screw holes and wire positions.
- Level: To ensure the thermostat is mounted straight.
Safety First: Necessary Materials
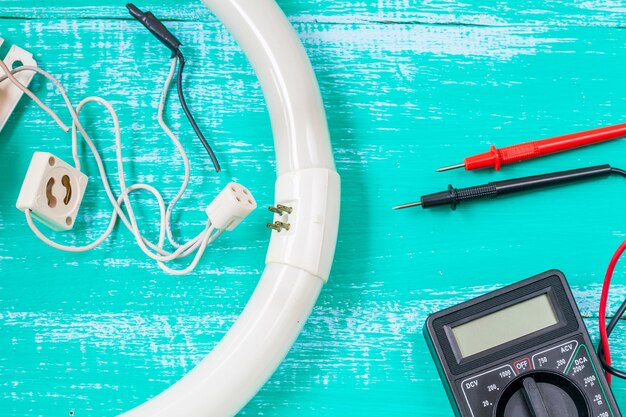
Safety should always be a top priority when working with electrical components. Gather these materials to ensure a safe installation:
- Voltage Tester: To confirm the power is off before working with wires.
- Wire Connectors: To safely connect wires.
- Electrical Tape: To insulate any exposed wire.
Having these tools and materials prepared ensures a safe and efficient installation. Don’t skip the safety steps; they are crucial for protecting yourself and your home. With everything ready, you can proceed with confidence and get your smart thermostat up and running in no time.
Step-by-Step Guide to Installing Your Smart Thermostat
Installing a smart thermostat can seem daunting, but with the right guidance, it’s a manageable DIY project. Follow these steps carefully to ensure a successful and safe installation.
Step 1: Turn Off the Power
Before touching any wires, turn off the power to your thermostat at the circuit breaker. This is the most critical safety step to prevent electrical shock. Use a voltage tester to confirm that the power is indeed off.
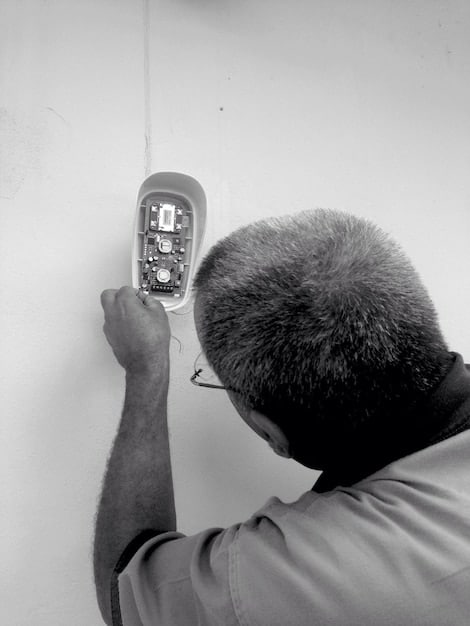
Step 2: Remove the Old Thermostat
Carefully remove the cover of your old thermostat. You may need to unscrew it from the wall. Once open, take a picture of the wiring. This photo will be an invaluable reference when connecting the new thermostat.
Step 3: Label the Wires
Use the labels provided with your new thermostat to mark each wire. Match the labels to the corresponding terminals on your old thermostat. This step is crucial for connecting the wires correctly later on.
Step 4: Disconnect and Install the New Thermostat Base
After labeling, disconnect the wires from the old thermostat. Install the new thermostat base, ensuring it’s level. Connect the labeled wires to the corresponding terminals on the new base, following the manufacturer’s instructions.
Step 5: Attach the Thermostat and Turn On the Power
Attach the thermostat to the base. Once everything is securely connected, turn the power back on at the circuit breaker. Follow the manufacturer’s instructions to configure the thermostat and connect it to your home’s Wi-Fi network.
By following these steps, you can confidently install your smart thermostat and start enjoying its energy-saving benefits. Remember to double-check all connections and consult the manufacturer’s instructions for any specific requirements.
Troubleshooting Common Installation Issues
Even with careful planning, you might encounter some issues during the installation process. Knowing how to troubleshoot common problems can save you time and frustration.
No Power to the Thermostat
If your thermostat isn’t turning on, the first thing to check is the power supply. Ensure that the circuit breaker is on and that the thermostat is receiving power. Use a voltage tester to confirm.
Incorrect Wiring
Improperly connected wires can cause various issues, from the thermostat not functioning correctly to damaging your HVAC system. Refer to the picture you took of the old thermostat wiring and double-check each connection.
Wi-Fi Connectivity Problems
Smart thermostats require a stable Wi-Fi connection to function optimally. If you’re having trouble connecting, ensure your Wi-Fi network is working, and the thermostat is within range. Restarting your router might also help.
Thermostat Not Controlling Temperature
If the thermostat is on but not controlling the temperature, there might be an issue with the settings or calibration. Consult the manufacturer’s instructions to ensure the thermostat is properly configured and calibrated.
By addressing these common issues, you can overcome most installation challenges and ensure your smart thermostat is working correctly. If you’re unsure about any step, consulting a professional HVAC technician may be the best course of action.
Maximizing Energy Savings with Your Smart Thermostat
Installing a smart thermostat is just the first step. To truly maximize energy savings, it’s important to understand how to use its features effectively.
Programming Your Thermostat for Efficiency
- Set a Schedule: Program your thermostat to adjust temperatures automatically based on your daily routines.
- Use Geofencing: Enable geofencing to adjust the temperature when you leave or approach home.
- Optimize Nighttime Settings: Lower the temperature at night while you sleep to save energy.
Leveraging Smart Features
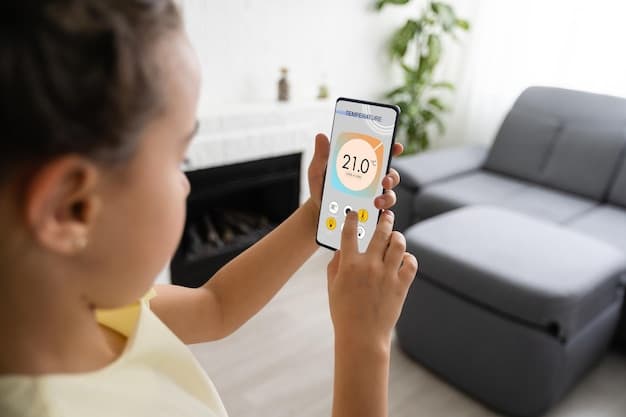
- Remote Access: Use the app to adjust the temperature when you’re away from home.
- Energy Reports: Monitor your energy usage and identify areas for improvement.
- Integration with Other Devices: Connect your thermostat with other smart home devices for a more automated and efficient home.
By programming your thermostat effectively and leveraging its smart features, you can significantly reduce your energy consumption and save money. The key is to tailor the settings to your specific needs and habits, making your home more comfortable and efficient.
Long-Term Benefits and Cost Analysis
While the initial cost of a smart thermostat might seem high, the long-term benefits and potential cost savings make it a worthwhile investment. Understanding these factors can help you make an informed decision.
Calculating Your Energy Savings
Smart thermostats can save you up to 15% on your energy bills. To estimate your savings, compare your energy usage before and after installation. Most smart thermostats provide detailed energy reports that can help you track your progress.
Government Rebates and Incentives
Many utility companies and government programs offer rebates and incentives for installing energy-efficient devices like smart thermostats. Check with your local energy provider and government agencies to see if you qualify for any savings.
Increased Home Value
Upgrading to a smart thermostat can also increase the value of your home. As more homebuyers seek energy-efficient and technologically advanced homes, a smart thermostat can be a selling point.
Considering these long-term benefits and cost savings, a smart thermostat is a smart investment for any homeowner looking to reduce energy consumption, save money, and increase their home’s value. The ability to control and monitor your energy usage from anywhere adds convenience and peace of mind.
| Key Point | Brief Description |
|---|---|
| 💡 Energy Savings | Smart thermostats can save up to 15% on energy bills. |
| 📱 Remote Control | Control your home’s temperature from anywhere via smartphone. |
| 🔧 DIY Installation | Install it yourself with basic tools and save on professional fees. |
| 🏡 Increased Value | A smart thermostat can increase the value of your home. |
Frequently Asked Questions
▼
Smart thermostats can save you up to 15% on your heating and cooling bills. The actual savings depend on your usage patterns and the efficiency of your HVAC system.
▼
Most smart thermostats are designed for DIY installation. With basic tools and a step-by-step guide, you can install it yourself in about an hour.
▼
You’ll need a screwdriver set, wire strippers, a pencil, a level, a voltage tester, wire connectors, and electrical tape for the installation.
▼
Yes, most smart thermostats come with a mobile app that allows you to control the temperature from anywhere with an internet connection.
▼
Refer to the manufacturer’s instructions for troubleshooting tips. If you’re unsure, consider consulting a professional HVAC technician.
Conclusion
Installing a DIY smart thermostat is a simple yet effective way to improve energy efficiency and reduce costs this winter. By following the steps outlined in this guide, you can confidently upgrade your home and start enjoying the benefits of a smarter, more efficient heating and cooling system.


