Install a Whole-House Smart Lighting System for Under $1000: A DIY Project
Installing a whole-house smart lighting system for under $1000 is achievable through careful planning, DIY installation, and selecting affordable smart bulbs and switches, enhancing your home’s ambiance, security, and energy efficiency without breaking the bank.
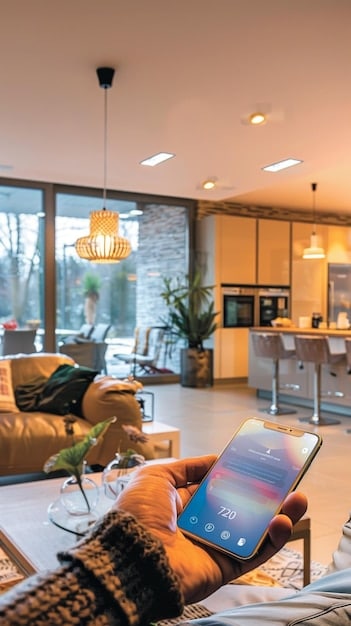
Want to transform your home with smart lighting but worried about the cost? You can install a whole-house smart lighting system for under $1000. This DIY project will show you how to enhance your home’s ambiance, security, and energy efficiency affordably.
Planning Your Smart Lighting Project
Before diving into the installation, careful planning is essential. This involves assessing your current lighting situation and determining your specific needs and goals for a smart lighting system.
Consider the following aspects:
Assess Your Current Lighting
Start by evaluating the existing lighting fixtures in each room. Note the types of bulbs (incandescent, LED, etc.), the number of fixtures, and how often each is used.
Define Your Smart Lighting Needs
Decide what you want to achieve with smart lighting. Are you aiming for energy savings, enhanced security, or customized ambiance? Prioritize your desired features.
By understanding your current setup and desired outcomes, you can create a targeted plan that maximizes the impact of your investment.
Choosing the Right Smart Lighting Components
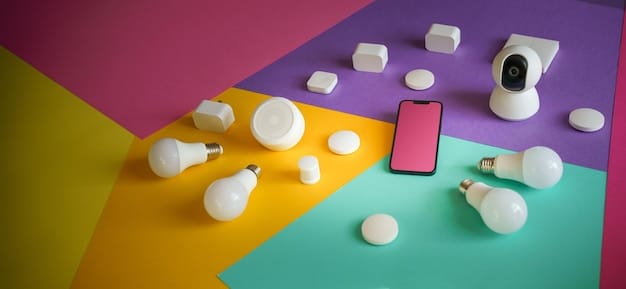
Selecting the right components is crucial for a cost-effective and functional smart lighting system. This involves choosing between different types of smart bulbs, switches, and hubs.
Here are some key considerations:
- Smart Bulbs vs. Smart Switches: Determine whether you prefer using smart bulbs that directly replace your existing bulbs or smart switches that control the power to your existing fixtures.
- Hub Requirements: Some smart lighting systems require a central hub to communicate, while others connect directly to your Wi-Fi network. Choose a system that suits your technical comfort level and network setup.
- Compatibility: Ensure that all your chosen components are compatible with each other and with any existing smart home devices or ecosystems you have (e.g., Amazon Alexa, Google Assistant, Apple HomeKit).
Budget-Friendly Brands
Explore affordable smart lighting brands like TP-Link Kasa, Wyze, and Sengled. These brands offer a good balance of features and price, making them ideal for budget-conscious DIYers.
Carefully selecting your components based on your specific needs and budget will ensure a smooth and cost-effective installation process.
Essential Tools and Materials
Having the right tools and materials on hand will make the installation process smoother and safer. Prepare your workspace and gather the necessary items before you begin.
Basic Tools
You’ll need some basic tools such as:
- Screwdrivers (various sizes and types)
- Wire strippers
- Pliers
- Voltage tester
Safety First
Safety should be your top priority. Turn off the power at the breaker before working on any electrical wiring. Use a voltage tester to ensure that the circuit is de-energized.
Gathering the required Tools and material before you get started will make sure that the installation process runs smoothly.
Installing Smart Bulbs and Switches
The installation process involves replacing existing bulbs with smart bulbs and installing smart switches in place of traditional switches. Follow these steps carefully for a successful installation.
Installing Smart Bulbs
Installing smart bulbs is as simple as replacing regular bulbs. Just screw them into the existing fixtures and follow the manufacturer’s instructions for connecting them to your smart home network.
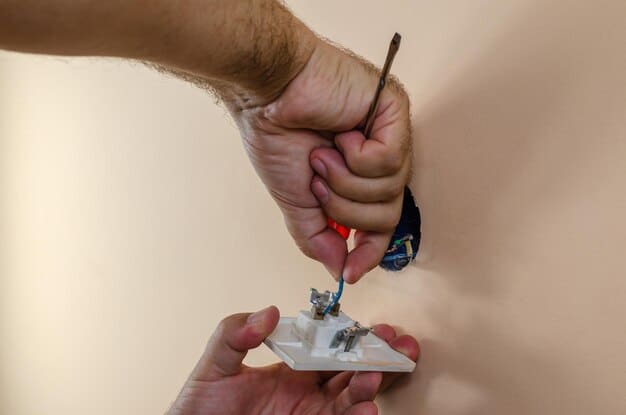
Installing Smart Switches
Installing smart switches requires a bit more effort but is still manageable for most DIYers. Be sure to turn off the power at the breaker before starting. Follow these general steps:
- Remove the old switch from the wall box.
- Disconnect the wires from the old switch.
- Connect the wires to the new smart switch according to the manufacturer’s instructions.
- Mount the smart switch in the wall box and secure it with screws.
- Restore power at the breaker.
Always adhere to safety precautions with all electrical work. When in doubt, it’s always best to hire a professional electrician.
Setting Up Your Smart Lighting System
After installing the smart bulbs and switches, you need to configure them using a smartphone app or web interface. This involves connecting the devices to your Wi-Fi network and setting up schedules or routines.
Here’s a general overview:
- Download the manufacturer’s app and create an account.
- Follow the app’s instructions to connect your smart bulbs and switches to your Wi-Fi network.
- Name each device for easy identification (e.g., “Living Room Lamp,” “Kitchen Overhead”).
Creating Schedules and Routines
Take advantage of the smart features by creating schedules and routines. For example, you can set the lights to turn on automatically at sunset or gradually dim in the evening to create a relaxing ambiance.
Proper configuration of your new device is required to take full advantage of the features it provide and to make sure it meets your home’s lighting goals.
Troubleshooting Common Smart Lighting Issues
Even with careful planning and installation, you may encounter some issues with your smart lighting system. Here are some common problems and how to troubleshoot them.
- Connectivity Issues: Ensure that your smart bulbs and switches are within range of your Wi-Fi router. If not, consider using a Wi-Fi extender or moving the router closer to the devices.
- Compatibility Problems: Check that all your devices are compatible with your smart home ecosystem (e.g., Amazon Alexa, Google Assistant, Apple HomeKit). Update the firmware and software of your devices to ensure compatibility.
- Dimming Issues: Some LED bulbs are not compatible with certain dimmers. Check the compatibility list for your smart dimmer switch and choose LED bulbs that are known to work well with it.
By understanding the causes and how to resolve common issues , you will get the most benefit out of your smart home investment.
| Key Point | Brief Description |
|---|---|
| 💡 Planning | Assess current lighting and define smart lighting goals to save money. |
| 💰 Budget | Consider brands like TP-Link & Sengled. |
| 🛠️ Installation | Replace traditional bulbs/switches and configure settings. |
| ⚙️ Troubleshooting | Address connectivity, compatibility, and dimming issues. |
Frequently Asked Questions
▼
Yes, with careful planning and by choosing budget-friendly brands and DIY installation, it’s definitely possible. Focus on essential areas first and expand over time.
▼
Not necessarily. Some smart bulbs and switches connect directly to your Wi-Fi network without requiring a hub. However, a hub can offer more advanced features and better integration.
▼
Yes, most smart bulbs use LED technology, which is significantly more energy-efficient than traditional incandescent bulbs. This can lead to substantial energy savings over time.
▼
Many smart lighting systems are compatible with voice assistants like Amazon Alexa, Google Assistant, and Apple HomeKit, allowing you to control your lights with voice commands.
▼
If you’re not comfortable with electrical wiring, it’s always best to hire a qualified electrician to install smart switches. Your safety is the top priority!
Conclusion
Installing a whole-house smart lighting system for under $1000 is an attainable and rewarding DIY project. By carefully planning, choosing the right components, and following the installation steps, you can transform your home into a smart, energy-efficient, and comfortable living space without exceeding your budget.


