Upgrade to Smart Smoke Detectors: A DIY Guide with Remote Alerts
Upgrade your smoke detectors to smart alarms is a straightforward DIY project enhancing your home safety with remote notifications, ensuring you’re always informed, even when you’re away.
Enhance your home’s safety by learning how to upgrade your smoke detectors to smart alarms with remote notifications. This DIY project is a game-changer for home security.
Why Upgrade to Smart Smoke Detectors?
Upgrading to smart smoke detectors offers numerous benefits compared to traditional models. These advanced devices provide more than just a local alarm; they integrate seamlessly into your smart home ecosystem, providing enhanced safety and convenience. Let’s delve into the reasons why this upgrade is worth considering.
Remote Notifications
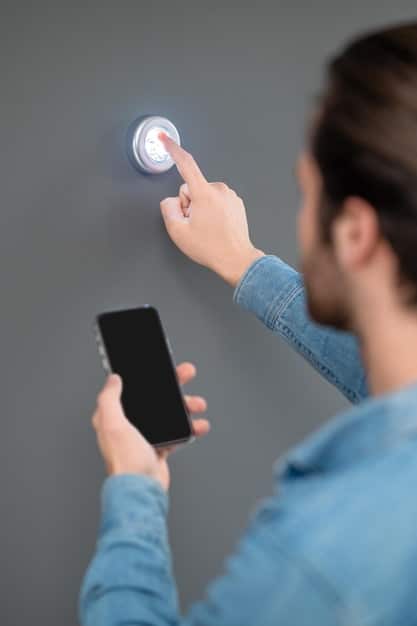
One of the most significant advantages of smart smoke detectors is their ability to send remote notifications. Unlike traditional detectors that only sound an alarm within the house, smart detectors alert your smartphone or other connected devices, no matter where you are.
Enhanced Monitoring and Control
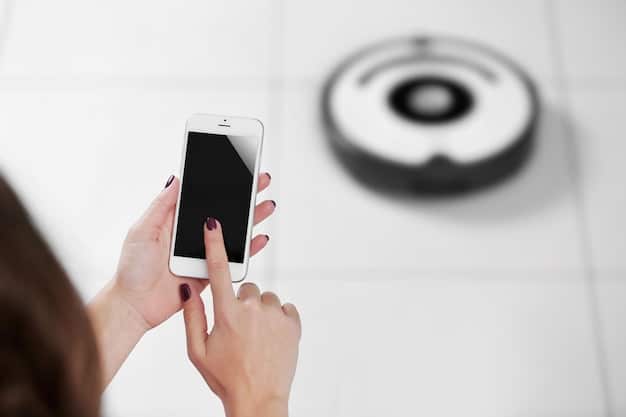
Smart smoke detectors offer enhanced monitoring and control features. Through a dedicated app, you can check the status of each detector in your home, ensuring they are functioning correctly. You can also receive alerts for low batteries, preventing unexpected failures. Some models even allow you to silence false alarms remotely, which can be particularly useful when you’re away from home.
- Immediate alerts to your smartphone or tablet
- Real-time monitoring of battery status and device health
- Remote silencing of false alarms
- Integration with other smart home devices for a comprehensive safety network
The ability to monitor and control your smoke detectors from anywhere provides a sense of security and peace of mind. Whether you’re at work, on vacation, or simply in another part of the house, you can stay informed and take action if needed.
Upgrading to smart smoke detectors is a smart investment in your home’s safety and your peace of mind. The enhanced monitoring and control features, coupled with remote notifications, provide a level of protection that traditional detectors simply can’t match.
Essential Tools and Materials
Before starting your DIY upgrade, gathering the necessary tools and materials is crucial for a smooth installation process. Having everything on hand will save you time and prevent frustration. Here’s a breakdown of the essential items you’ll need:
Smart Smoke Detectors
The most important component is, of course, the smart smoke detectors themselves. When selecting your detectors, consider factors such as compatibility with your existing smart home system (if any), battery life, and the specific features offered. Some popular brands include Nest Protect, First Alert Onelink, and Ring Alarm Smoke Detector. Ensure you purchase enough detectors to cover all required areas in your home, typically each bedroom, hallway, and common living space.
Basic Tools for Installation
Next, you’ll need a set of basic tools to safely and effectively install the smart smoke detectors. Here’s a list of tools that ensure you can complete the installation without any complications:
- Screwdrivers (Phillips-head and flat-head): Ensure your existing mounting hardware matches.
- Ladder or Step Stool: For reaching high ceilings safely.
- Drill (if needed): For creating new mounting holes.
- Pencil: For marking screw locations.
Ensuring you have these tools at your disposal will help the installation process become as seamless as possible and eliminate frustration.
With the right tools and materials, you’ll be well-prepared to upgrade your smoke detectors to smart alarms and enjoy the added safety and convenience they offer. So, take the time to gather these essentials, and you’ll be one step closer to a smarter, safer home.
Step-by-Step Installation Guide
Follow this detailed guide to replace your old smoke detectors with new smart ones. By following these steps, you may install new smart smoke detectors and provide more protection with the security of your house.
Preparation Is Key
Before getting your hands dirty, turn off the power to the existing smoke detector at the circuit breaker if it’s hardwired. Remove the old smoke detector by twisting it off its mounting bracket. Disconnect any wiring and carefully note the wire connections. If this feels beyond your abilities, then consider contacting a trained professional. At the same time, read through the instructions.
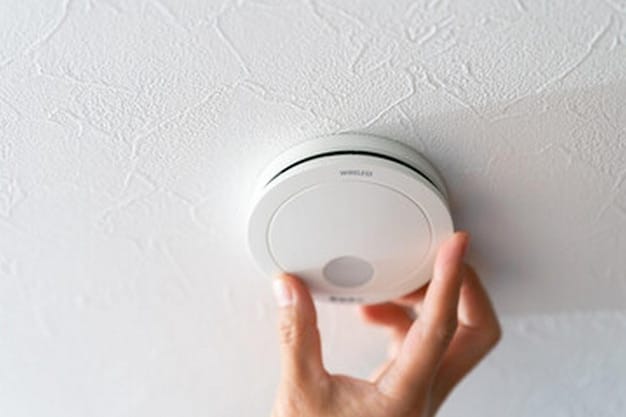
Mounting the New Detector
For battery powered detectors, or after you’ve disconnected the previous wiring, attach the mounting bracket for your new smart smoke detector to the ceiling or wall, using screws. The placement should ideally align with the existing screw holes, but you may need to drill new ones where safe. Once the mounting bracket is securely attached, install the batteries into the smart smoke detector and then attach the detector to the mounting bracket using a twist-lock mechanism.
Connecting to Your Smart Home System
Connecting your new smart smoke detectors to your home network is key to enjoying all their features, including remote monitoring and alerts. These steps will help ensure everything is installed and connected to the network.
Downloading and Setting Up the App
First, download the manufacturer’s app on your smartphone or tablet. Most smart smoke detectors come with a simple setup process through their app. Follow the on-screen instructions to create an account, if necessary, and connect your smoke detector to your home Wi-Fi network.
- Enable app notifications to receive alerts on your phone.
- Check that all smart smoke detectors are able to connect to WiFi.
- Update WiFi login information if needed.
Linking with Other Smart Devices
After setting up the app, think about linking your smart smoke detectors with other compatible smart home devices. For example, you can set your smart lights to blink red when a smoke alarm is given or configure your smart thermostat to shut off the cooling system to avoid smoke circulation.
Testing and Maintenance
After installation and setup, testing and maintenance are essential to ensure your smart smoke detectors function correctly and continue to provide reliable protection. Make a habit of testing your smoke detectors regularly and maintaining them well throughout their service life.
Regular Testing
Make it a habit to test your smart smoke detectors monthly. Most models have a test button that, when pressed, sounds the alarm. This verifies that the horn is working and that the detector can detect smoke. Check the batteries every six months and replace them yearly.
Troubleshooting Common Issues
Even with regular testing, you may encounter some common issues. Here are a couple of fixes to the issues:
- False Alarms: False alarms can be caused by steam, cooking smoke, or dust. If you experience frequent false alarms, try relocating the detector further away from the bathroom or kitchen.
- Connectivity Problems: Ensure your Wi-Fi network is stable and that the smart smoke detector is within range. Check the detector’s battery level and replace it if needed.
- App Issues: If you’re having trouble with the app, try updating it to the latest version or reinstalling it entirely. If the problem persists, contact the manufacturer’s customer support.
Benefits of Professional Installation
While upgrading to smart smoke detectors can be a DIY project, opting for professional installation has several distinct advantages. Professional installers bring expertise, ensuring that your smoke detectors are installed correctly and optimized to work effectively within your home. Hiring an expert to install will ensure ease of mind and that your insurance will accept a claim if something does occur.
Ensuring Correct Placement
Professional installers know the best places in your home to place smoke detectors. They know to find the sweet spot, avoiding areas that get moisture, dust, and other hazards that can shorten lifespans of detectors.
Handling Complex Wiring
If your home has hardwired smoke detectors, a professional electrician can safely disconnect and replace them. Working with electrical wiring is risky if you don’t have the knowledge and skills. A professional can ensure it is done with all the safety standards and ensures no electrical components are damaged.
| Key Point | Brief Description |
|---|---|
| 🚨 Remote Alerts | Receive alerts on your smartphone, no matter where you are, for enhanced safety. |
| 🛠️ DIY Installation | Upgrade your smoke detectors with basic tools, following step-by-step instructions. |
| 📱 Smart Home Integration | Connect to your smart home system for comprehensive monitoring and control. |
| ✅ Regular Testing | Test monthly to ensure proper function; check batteries every six months. |
▼
Smart smoke detectors offer remote notifications, enhanced monitoring, and integration with other smart home devices, thus providing a comprehensive safety network. They also allow remote silencing of false alarms.
▼
You’ll need a Phillips-head and flat-head screwdriver, a ladder or step stool, a drill if needed, and a pencil for marking. Having these tools ready ensures a smooth and efficient installation.
▼
It is advisable that you test your smart smoke detectors monthly using the test button. Regular checks ensure they function correctly. Also, replace the batteries at least once a year or as recommended by the manufacturer.
▼
Relocate the detector if false alarms are frequent, especially if it’s near steam or cooking areas. Also, check and clean the detector regularly to remove dust. Some smart detectors allow you to silence false alarms remotely.
▼
Professional installation ensures correct placement and handling of complex wiring, especially for hardwired detectors. While DIY is possible, professionals provide expertise and safety, ensuring optimal functionality.
Conclusion
Upgrading your smoke detectors to smart alarms with remote notifications enhances your home’s safety and convenience. By following this guide, you can complete the DIY project efficiently, ensuring your home is well-protected with advanced technology.


