Upgrade Your Doorbell: DIY to Smart Video for Enhanced Home Security
Upgrading your existing doorbell to a smart video doorbell is a straightforward DIY project that significantly enhances home security by providing real-time video monitoring, two-way communication, and motion detection capabilities.
Ready to boost your home’s security and convenience? Upgrading to a smart video doorbell is a simple DIY project that delivers significant peace of mind. Let’s explore how to upgrade your existing doorbell to a smart video doorbell with DIY installation.
Why Upgrade to a Smart Video Doorbell?
Smart video doorbells offer a range of benefits that traditional doorbells simply can’t match. From enhanced security to increased convenience, these devices are transforming how homeowners interact with their front doors. Let’s delve into the advantages of making the switch.
Enhanced Home Security
One of the primary reasons to upgrade to a smart video doorbell is the boost in home security. These devices provide constant monitoring of your front door, allowing you to see who’s there, even when you’re not home.
Convenience and Peace of Mind
Beyond security, smart video doorbells offer unparalleled convenience. Imagine being able to answer the door from anywhere in the world, or receiving notifications when a package is delivered. These features provide peace of mind and make life easier.
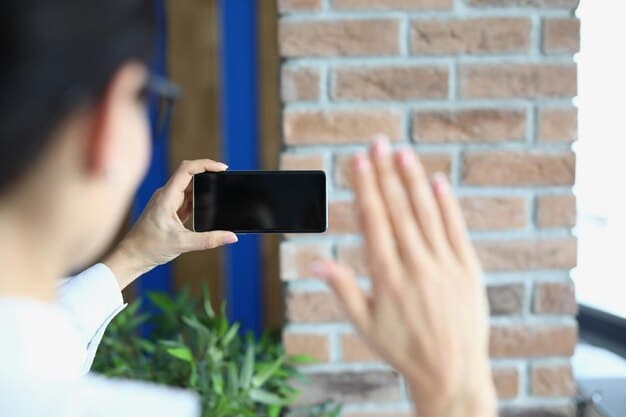
- Remote Monitoring: View live video and recorded clips from your smartphone, tablet, or computer.
- Two-Way Communication: Speak to visitors through the doorbell, even when you’re not home.
- Motion Detection: Receive alerts when motion is detected near your door, helping you stay informed about activity around your property.
Smart video doorbells not only provide security but also add a layer of convenience to your daily life. Knowing you can monitor your front door from anywhere brings invaluable peace of mind.
Choosing the Right Smart Video Doorbell
Selecting the right smart video doorbell involves considering several factors to ensure it meets your specific needs and preferences. With various models available, it’s essential to evaluate features, compatibility, and budget.
Key Features to Consider
When choosing a smart video doorbell, pay attention to features such as video resolution, field of view, night vision, and motion detection sensitivity. These elements will impact the device’s performance and your overall satisfaction.
Compatibility and Integration
Consider whether the doorbell integrates with other smart home devices you may already have, such as smart locks or security systems. Compatibility ensures seamless operation and enhanced functionality.
- Video Resolution: Opt for a doorbell with at least 1080p resolution for clear, detailed video.
- Field of View: Choose a wide-angle lens to capture a broad view of your front yard.
- Night Vision: Ensure the doorbell has infrared night vision for clear nighttime monitoring.
By carefully evaluating these features and considering your specific needs, you can choose a smart video doorbell that provides optimal security and convenience.
Gathering Your Tools and Materials
Before starting the installation process, it’s essential to gather all the necessary tools and materials. Having everything on hand will make the project run smoothly and efficiently. A well-prepared workspace can save time and prevent frustration.
Essential Tools
You’ll need a few basic tools, including a screwdriver (both Phillips and flathead), a drill with appropriate drill bits, wire strippers, and a voltage tester. These tools are crucial for safely and effectively installing your new doorbell.
Required Materials
In addition to tools, you’ll need materials such as wire connectors, mounting screws, and possibly a mounting plate or adapter, depending on your existing doorbell setup. Ensure you have everything you need before beginning.

- Screwdriver Set: Ensure you have both Phillips and flathead screwdrivers.
- Drill and Drill Bits: Select drill bits appropriate for the surface you’ll be mounting the doorbell on.
- Wire Strippers: Use wire strippers to safely remove insulation from wires.
Proper preparation is key to a successful DIY installation. By gathering all the necessary tools and materials beforehand, you’ll be well-equipped to tackle the project with confidence.
Step-by-Step DIY Installation Guide
Installing a smart video doorbell is a straightforward process that can be completed in a few simple steps. By following this guide, you’ll be able to upgrade your doorbell and enjoy the enhanced security and convenience it provides.
Step 1: Disconnect Power
Before you begin, turn off the power to your doorbell circuit at the breaker box. This is crucial for your safety and prevents electrical shock. Always double-check that the power is off using a voltage tester.
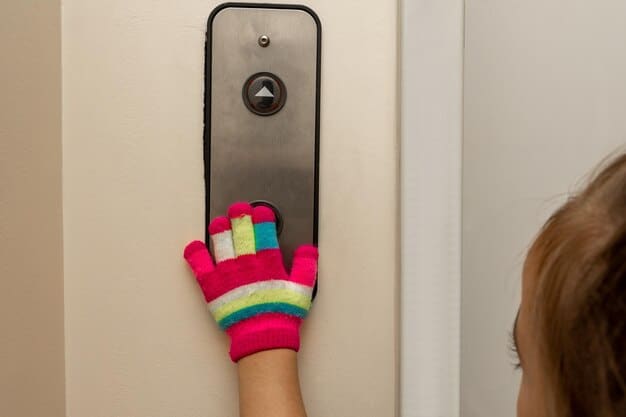
Step 2: Remove the Old Doorbell
Carefully remove your existing doorbell from the wall. Disconnect the wires and label them for easy reconnection later. Take a photo of the wiring setup for reference.
Step 3: Install the Mounting Plate
Attach the mounting plate that came with your new smart video doorbell to the wall. Use the appropriate screws and ensure it’s level for the best video angle.
Step 4: Connect the Wires
Connect the wires from your home to the terminals on the back of the smart video doorbell. Use wire connectors to ensure a secure connection. Refer to the photo you took earlier for guidance.
Step 5: Attach the Doorbell
Mount the smart video doorbell onto the mounting plate. Secure it with the provided screws. Make sure it’s firmly attached and properly aligned.
Step 6: Restore Power and Test
Turn the power back on at the breaker box. Follow the doorbell’s instructions to connect it to your Wi-Fi network and test all its features, including video, audio, and motion detection.
With these steps, you can confidently install your smart video doorbell and enjoy the enhanced security and convenience it offers.
Troubleshooting Common Installation Issues
While installing a smart video doorbell is typically a simple process, you may encounter a few common issues along the way. Troubleshooting these problems can ensure a smooth and successful installation.
Wi-Fi Connectivity Problems
One common issue is difficulty connecting the doorbell to your Wi-Fi network. Ensure your Wi-Fi signal is strong enough and that you’re entering the correct password. Try moving your router closer to the doorbell if necessary.
Power Supply Issues
If the doorbell doesn’t power on after installation, check the voltage at the doorbell wires using a voltage tester. Ensure the voltage matches the requirements of your smart video doorbell.
- Weak Wi-Fi Signal: Improve signal strength by moving your router or using a Wi-Fi extender.
- Incorrect Wiring: Double-check your wiring connections against the doorbell’s instructions.
- Insufficient Power: Ensure your doorbell transformer provides adequate power (typically 16-24 VAC).
By addressing these common issues, you can overcome installation challenges and enjoy the full benefits of your smart video doorbell.
Maximizing Your Smart Video Doorbell’s Potential
Once your smart video doorbell is installed, there are several ways to maximize its potential and enhance your home security and convenience. Customizing settings and integrating with other smart home devices can unlock even greater benefits.
Customizing Settings
Explore the doorbell’s settings to customize motion detection sensitivity, video recording preferences, and notification settings. Tailoring these settings to your specific needs can improve the device’s effectiveness.
Integrating with Other Smart Home Devices
Consider integrating your smart video doorbell with other smart home devices, such as smart locks, security systems, and smart lights. This integration can create a comprehensive home security ecosystem.
- Adjust Motion Sensitivity: Reduce false alarms by fine-tuning motion detection sensitivity.
- Set Activity Zones: Define specific areas for motion detection to focus on relevant activity.
- Enable Cloud Recording: Store video footage in the cloud for easy access and review.
By customizing settings and integrating with other smart home devices, you can fully leverage the potential of your smart video doorbell and create a smarter, safer home.
| Key Point | Brief Description |
|---|---|
| 🛡️ Enhanced Security | Provides real-time monitoring and alerts for your front door. |
| 🏡 DIY Installation | Simple steps to upgrade your existing doorbell yourself. |
| 📲 Remote Access | Answer the door and monitor your home from anywhere. |
| 🛠️ Easy Troubleshooting | Quick solutions for common installation issues. |
Frequently Asked Questions (FAQ)
▼
DIY installation is generally straightforward. Most kits come with detailed instructions, and many online resources are available. Basic electrical knowledge and the right tools are helpful.
▼
Most smart video doorbells are designed to work with existing doorbell wiring. However, it’s essential to check the voltage requirements of the new doorbell to ensure compatibility.
▼
Some features may require a subscription, such as cloud storage for recorded video. However, many doorbells offer basic functionality without a subscription, including live viewing and motion alerts.
▼
Ensure your Wi-Fi signal is strong enough near the doorbell. You may need to move your router closer or use a Wi-Fi extender to improve connectivity. Also, check for any obstructions that could interfere with the signal.
▼
Adjust the motion sensitivity settings on your doorbell to reduce the frequency of false alerts. You can also set activity zones to focus on specific areas, such as your walkway, and ignore others, like the street.
Conclusion
Upgrading your existing doorbell to a smart video doorbell is a worthwhile DIY project that enhances your home security and offers increased convenience. By following these steps, you can easily install and configure your new doorbell to maximize its potential. Enjoy the peace of mind that comes with knowing you can monitor your front door from anywhere, at any time.


