DIY Smart Sprinkler System: 30% Water Savings with 5 Zones
Building a DIY smart sprinkler system with 5 zones can significantly reduce water usage by up to 30% this summer, optimizing irrigation for a healthier lawn and garden while saving money and conserving resources.
Are you looking to cultivate a lush, vibrant lawn while simultaneously cutting down on your water bill and environmental footprint? Implementing a DIY smart sprinkler system with 5 zones offers an innovative solution, promising to reduce water usage by up to 30% this summer. This guide will walk you through the essential steps to transform your garden’s irrigation into an intelligent, efficient, and cost-effective operation.
understanding the benefits of a smart sprinkler system
Integrating a smart sprinkler system into your home automation setup goes beyond mere convenience; it’s a strategic investment in water conservation and property value. These systems leverage advanced technology to deliver water precisely when and where it’s needed, eliminating wasteful over-watering and ensuring optimal plant health.
Traditional sprinkler systems often operate on rigid schedules, irrespective of actual weather conditions or soil moisture levels. This can lead to significant water waste, especially during rainy periods or when specific zones require less hydration. A smart system, however, adapts dynamically, making it an indispensable tool for eco-conscious homeowners.
precision irrigation for a healthier landscape
One of the primary advantages of a smart sprinkler system is its ability to provide precision irrigation. By dividing your property into distinct zones, each with unique watering requirements, you can cater to the diverse needs of different plant types and sun exposures.
- Zone-specific scheduling: Tailor watering times and durations for each area of your yard based on plant type, soil, and sun exposure.
- Weather integration: Automatically adjust schedules using local weather forecasts, preventing watering during rain or strong winds.
- Soil moisture sensing: Some advanced systems can integrate with soil moisture sensors to water only when the ground truly needs it.
This level of customization not only conserves water but also promotes deeper root growth and overall plant vigor, leading to a more resilient and attractive landscape. The reduction in water consumption translates directly into lower utility bills, offering a tangible return on your DIY investment.
Ultimately, a smart sprinkler system empowers you to maintain a beautiful outdoor space with minimal effort and maximum efficiency. It’s a testament to how smart home technology can positively impact both your lifestyle and the environment, making it a valuable addition to any modern home.
planning your 5-zone smart sprinkler layout
Effective planning is the cornerstone of a successful DIY smart sprinkler installation. Before you even think about digging, it’s crucial to map out your property and determine the optimal placement for your 5 zones. This strategic approach ensures comprehensive coverage and maximizes water efficiency, preventing both under and over-watering.
Consider the unique characteristics of each area in your yard. Factors such as sun exposure, soil type, plant varieties, and elevation changes all play a significant role in defining appropriate zones. A well-designed layout will be the blueprint for your system’s efficiency and your landscape’s health.
identifying distinct watering needs
Start by sketching your yard, marking areas with different plant types or environmental conditions. For instance, a sunny flower bed will have different watering needs than a shaded patch of grass or a vegetable garden. Grouping similar needs together forms the basis of your zones.
- Zone 1: Sunny lawn areas – typically require more frequent and deeper watering.
- Zone 2: Shaded garden beds – often need less water due to reduced evaporation.
- Zone 3: Drought-tolerant plants/xeriscaping – minimal watering frequency.
- Zone 4: Vegetable garden – consistent, moderate watering, often directly at the root.
- Zone 5: Shrubs and trees – deeper, less frequent watering to encourage deep root growth.
This detailed segmentation allows your smart controller to apply water precisely, avoiding waste in areas that don’t need it. Properly defining these zones is perhaps the most critical step in achieving that 30% water usage reduction.
Once your zones are clearly defined, you can begin to assess the type of sprinkler heads and flow rates required for each. This initial planning phase, though seemingly tedious, saves considerable time and resources during the installation and long-term operation of your smart system.
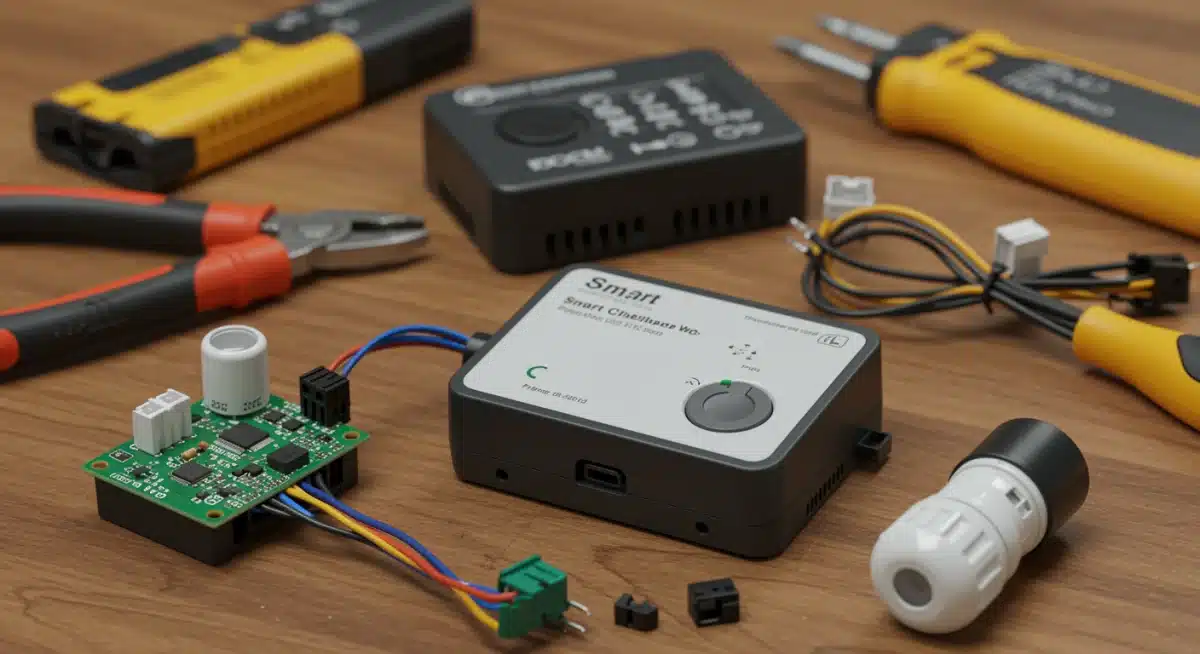
choosing the right smart controller and components
Selecting the appropriate smart controller is pivotal for your DIY smart sprinkler system. This device acts as the brain of your irrigation setup, managing schedules, integrating with weather data, and allowing remote control. With a multitude of options available, understanding the key features will guide your decision.
Beyond the controller, the quality of your sprinkler heads, valves, and piping directly impacts the system’s longevity and efficiency. Investing in durable, high-performance components will ensure reliable operation and minimize maintenance in the long run.
key features for smart controllers
When evaluating smart sprinkler controllers, look for features that enhance water efficiency and user convenience. Compatibility with your existing home ecosystem can also be a significant factor.
- Wi-Fi connectivity: Essential for remote control and weather data integration.
- Weather intelligence: Automatically adjusts watering based on local forecasts, rainfall, temperature, and humidity.
- Zone expandability: Ensure the controller supports at least 5 zones, with potential for future expansion.
- App control: An intuitive mobile app for easy scheduling and monitoring.
- Smart home integration: Compatibility with platforms like Amazon Alexa, Google Assistant, or Apple HomeKit.
Many popular brands offer controllers with varying degrees of sophistication and price points. Researching reviews and comparing features will help you find a unit that aligns with your budget and technical requirements.
selecting sprinkler heads and valves
The type of sprinkler head you choose should match the specific needs of each zone. Rotary heads are ideal for larger lawn areas, while spray heads work well for smaller, irregularly shaped sections. Drip irrigation is highly efficient for garden beds and individual plants.
Valves control the water flow to each zone. Opt for high-quality, solenoid-operated valves that are compatible with your chosen smart controller. Ensure all components are rated for outdoor use and can withstand local climate conditions.
Careful selection of these components ensures that your DIY smart sprinkler system delivers water efficiently and effectively across all 5 zones, contributing significantly to your goal of reducing water usage by 30%.
step-by-step installation guide for your smart system
Installing a DIY smart sprinkler system might seem daunting, but by breaking it down into manageable steps, you can achieve a professional-grade setup. This process typically involves connecting the controller, installing valves, laying pipes, and placing sprinkler heads in their designated zones.
Before beginning, gather all your tools and components. A clear workspace and a methodical approach will make the installation smoother and more efficient. Remember to turn off your main water supply before making any connections to prevent leaks and water damage.
wiring the smart controller and valves
The smart controller needs to be mounted in a sheltered location, usually near an outdoor power outlet and your main water line. Wiring involves connecting the common wire from your valves to the common terminal on the controller, and then each zone wire to its respective zone terminal.
- Mount the controller: Choose a secure, weather-protected spot.
- Connect power: Follow manufacturer instructions for power supply.
- Wire valves: Connect one wire from each valve to the common terminal, and the other to its specific zone terminal on the controller.
- Test connections: Briefly test each zone manually from the controller to ensure proper valve operation.
Ensure all wire connections are secure and protected from moisture. Proper wiring is crucial for the reliable operation of your DIY smart sprinkler system.
laying pipes and installing sprinkler heads
Once the controller and valves are set, it’s time to lay the underground piping and install the sprinkler heads. Dig trenches deep enough to protect pipes from damage and freezing, typically 6-12 inches deep.
Connect your main water line to the manifold of your zone valves. From each valve, run PVC or poly pipe to the designated sprinkler heads within that zone. Use appropriate fittings and sealants to prevent leaks. Install sprinkler heads at the recommended spacing and pop-up height for optimal coverage.
After all components are installed, slowly turn on the main water supply and check for any leaks. Make necessary adjustments to sprinkler head angles and spray patterns to ensure uniform coverage within each of your 5 zones. This careful installation will be key to achieving your water savings goal.
optimizing your system for maximum water savings
The true power of a smart sprinkler system lies in its ability to optimize watering schedules and patterns, directly leading to significant water savings. Once your DIY system is installed, the next crucial step is to fine-tune its settings to achieve that impressive 30% reduction in water usage.
This optimization involves leveraging the smart features of your controller, understanding your landscape’s specific needs, and making continuous adjustments based on observation. It’s an ongoing process that ensures your garden thrives while conserving a precious resource.
configuring weather-based adjustments
Most smart controllers come equipped with weather intelligence features that automatically adjust watering schedules. This is a cornerstone of water conservation.
- Enable local weather integration: Connect your controller to a reliable local weather station or online service.
- Set rain delays: Configure the system to skip watering cycles after detected rainfall.
- Adjust for temperature: Allow the system to increase watering during hot spells and decrease it during cooler periods.
- Consider evapotranspiration (ET): Utilize ET data, if available, which measures water loss from soil and plants, for highly precise watering.
By relying on real-time weather data, your DIY smart sprinkler system avoids unnecessary watering, preventing waste and ensuring your plants receive just the right amount of hydration.
fine-tuning zone settings and schedules
Even with weather integration, manual fine-tuning of each of your 5 zones is essential. Different plants, soil types, and sun exposures require varied watering approaches.
Access your controller’s app to set specific schedules for each zone. For instance, a lawn zone might benefit from deep, infrequent watering to encourage strong root growth, while a flower bed might need more frequent, shallower cycles. Consider cycle and soak settings to allow water to penetrate the soil gradually, reducing runoff.
Regularly observe your landscape. Are there dry spots? Areas that seem waterlogged? Adjust individual zone run times and start times accordingly. Over time, these small adjustments will lead to a perfectly optimized system that conserves water efficiently and maintains a healthy, beautiful garden.
troubleshooting common smart sprinkler issues
Even with meticulous planning and installation, you might encounter minor issues with your DIY smart sprinkler system. Understanding common problems and how to troubleshoot them can save you time and frustration, ensuring your system continues to run efficiently and conserve water.
Most issues can be resolved with a systematic approach, checking connections, settings, and physical components. Don’t hesitate to consult your controller’s manual or online resources for specific guidance.
connectivity and app problems
Smart controllers rely heavily on Wi-Fi connectivity. If your system isn’t responding or updating, check your network.
- Wi-Fi signal strength: Ensure your controller is within range of your router and has a strong signal. Consider a Wi-Fi extender if needed.
- Router reboot: Sometimes, a simple reboot of your home router can resolve connectivity issues.
- App updates: Make sure your smart sprinkler app is updated to the latest version.
- Firmware updates: Check if your controller’s firmware needs updating.
Persistent connectivity problems might indicate an issue with your home network or a faulty controller, though the latter is less common.
watering inconsistencies and leaks
If some zones aren’t watering or are watering unevenly, or if you notice unexplained wet spots, it’s time to investigate the physical components of your DIY smart sprinkler system.
Check the valves for each zone. Ensure they are fully opening and closing. Sometimes, debris can obstruct a valve. Inspect sprinkler heads for clogs, damage, or improper alignment. Clogged nozzles can lead to reduced water flow or uneven distribution. Clean or replace damaged heads as needed.
Leaks are a common culprit for water waste. Visually inspect all pipe connections and fittings for drips or puddles. Even small leaks can add up to significant water loss over time. Repair or replace any leaking components promptly to maintain your system’s efficiency and achieve your water-saving goals.
maintaining your DIY smart sprinkler for longevity
Regular maintenance is crucial for ensuring the longevity and continued efficiency of your DIY smart sprinkler system. A well-maintained system not only performs optimally but also helps sustain the significant water savings you’ve worked to achieve. Neglecting maintenance can lead to breakdowns, increased water waste, and costly repairs.
Think of maintenance as a seasonal routine, addressing different aspects of your system as the weather changes. This proactive approach will keep your DIY smart sprinkler system running smoothly for years to come.
seasonal checks and adjustments
As seasons change, the needs of your landscape and the demands on your sprinkler system evolve. Adjusting your system seasonally is vital.
- Spring startup: Inspect for winter damage, clean sprinkler heads, check for leaks, and gradually increase watering schedules as temperatures rise.
- Summer review: Monitor plant health, check for dry spots or over-watered areas, and fine-tune zone settings based on current weather patterns.
- Fall shutdown: Reduce watering frequency as plants go dormant, and prepare for winterization if you live in a freezing climate.
These seasonal checks help you identify and address minor issues before they escalate into major problems, ensuring consistent performance and water conservation.
winterization and preventative measures
For regions experiencing freezing temperatures, winterizing your smart sprinkler system is a non-negotiable step to prevent pipe damage.
The most effective method is to use an air compressor to blow out all water from the pipes. Ensure all valves are open during this process. Disconnect and store your smart controller indoors if recommended by the manufacturer. Consider insulating exposed pipes and backflow preventers to protect them from frost.
Beyond winterization, periodically check and clean your system’s filters to prevent clogs. Inspect sprinkler heads for wear and tear, replacing any that are damaged or inefficient. Regularly review your smart controller’s settings and app data to ensure it’s operating as intended and continually optimizing water usage. Proactive maintenance is the best way to safeguard your investment and maximize its environmental and economic benefits.
| Key Point | Brief Description |
|---|---|
| Water Savings Potential | Achieve up to 30% reduction in water usage this summer through intelligent irrigation. |
| 5-Zone Planning | Strategically divide your landscape into 5 distinct zones based on specific watering needs. |
| Smart Controller Choice | Select a Wi-Fi enabled controller with weather intelligence and app control for optimal performance. |
| Ongoing Maintenance | Regular seasonal checks and winterization ensure system longevity and sustained efficiency. |
frequently asked questions about DIY smart sprinkler systems
A well-installed and optimized DIY smart sprinkler system can reduce water usage by 20-50%, with 30% being a common and achievable average. Savings depend on factors like climate, plant type, and previous irrigation habits. Intelligent scheduling and weather integration are key drivers of this efficiency.
For many residential properties, a 5-zone system provides ample flexibility to address varying landscape needs. This allows for distinct watering schedules for different areas like sunny lawns, shaded beds, and specific garden types. Larger or more complex properties might benefit from additional zones.
Key tools include a shovel or trenching tool, PVC cutters or a hacksaw, pipe glue/primer, a wire stripper, screwdriver, and potentially an air compressor for winterization. Having basic plumbing knowledge and access to your home’s main water line is also crucial for a smooth installation process.
Yes, many smart sprinkler controllers offer compatibility with popular smart home platforms like Amazon Alexa, Google Assistant, and Apple HomeKit. This integration allows for voice control and the creation of automated routines that link your irrigation with other smart devices for enhanced convenience and efficiency.
It’s advisable to perform a quick visual inspection of your system weekly during active watering seasons. Conduct more thorough checks seasonally, especially during spring startup and fall shutdown. Regularly monitoring the system’s performance via its app can also help detect and address potential issues promptly.
conclusion
Embarking on the journey of installing a DIY smart sprinkler system with 5 zones is a tangible step towards a more sustainable and efficient home. By intelligently managing your garden’s hydration, you not only contribute to significant water conservation, potentially reducing usage by 30% or more this summer, but also cultivate a healthier, more vibrant landscape. The initial investment in time and resources for planning, component selection, and installation is quickly recouped through lower utility bills and the long-term health of your outdoor spaces. Embrace smart home technology to transform your irrigation, making it a seamless, eco-friendly, and cost-effective aspect of your modern living.


