Advanced DIY Smart Garage: Automate Your Door and Add 2 Security Features for 2026 Innovations
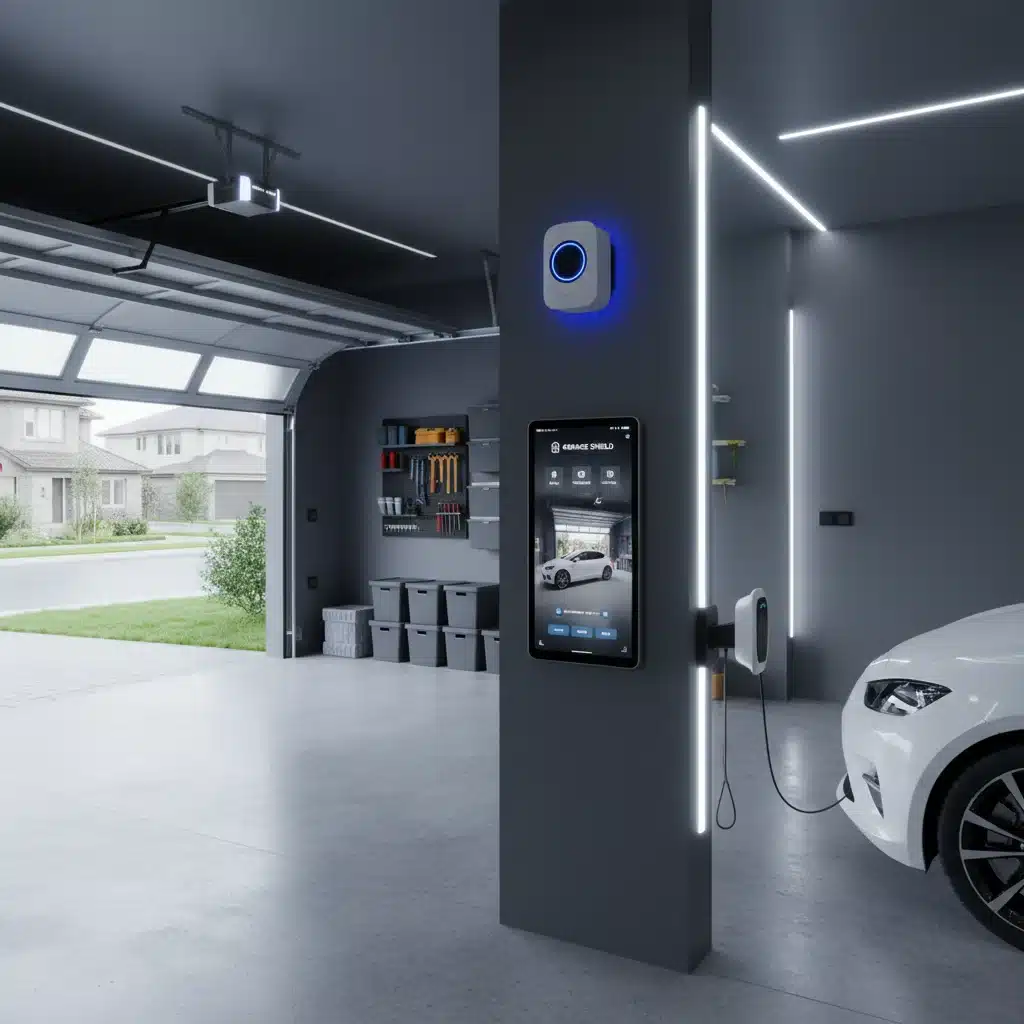
In an increasingly connected world, the concept of a smart home has moved beyond mere convenience, evolving into a necessity for modern living. Among the many areas ripe for technological integration, the garage often stands out as a prime candidate for significant upgrades. Far from being just a place to park your car or store forgotten items, your garage can become a sophisticated, secure, and seamlessly integrated extension of your smart home ecosystem. This comprehensive guide will walk you through the exciting journey of creating an advanced DIY Smart Garage, focusing on automating your garage door and bolstering its security with two cutting-edge features designed for the innovations of 2026.
The allure of a DIY Smart Garage lies in its dual benefits: unparalleled convenience and enhanced security. Imagine never having to worry if you left the garage door open again, or being able to grant access to a delivery driver remotely, all from the palm of your hand. Picture a garage that actively monitors for intruders, illuminates itself when you arrive home, and even detects potential hazards. These aren’t futuristic fantasies; they are achievable realities with the right knowledge and a bit of DIY spirit. Our goal is to empower you to transform your garage into a smart, secure, and efficient space, leveraging readily available technology and a step-by-step approach.
The landscape of smart home technology is constantly evolving, with new devices and protocols emerging regularly. For 2026, we anticipate even more sophisticated integration, predictive analytics, and robust security measures becoming standard. By undertaking this DIY Smart Garage project now, you’re not just upgrading your home; you’re future-proofing it. This guide is crafted to be accessible to enthusiasts of all skill levels, providing clear instructions, practical tips, and insights into choosing the best components for your specific needs. Let’s dive into making your garage smarter, safer, and more connected than ever before.
The Foundation: Automating Your Garage Door with a DIY Smart Garage Opener
The cornerstone of any advanced DIY Smart Garage is an automated garage door. This isn’t just about remote control; it’s about intelligent control, integrating your garage door into your broader smart home system. There are several approaches to achieving this, ranging from replacing your existing opener with a smart model to retrofitting your current opener with a smart controller. We’ll focus on the latter, as it’s often the most cost-effective and DIY-friendly option for many homeowners.
Choosing Your Smart Garage Door Opener Kit
When selecting a smart garage door opener kit, consider compatibility with your existing opener, your preferred smart home ecosystem (e.g., Apple HomeKit, Google Home, Amazon Alexa, Samsung SmartThings), and the features offered. Key features to look for include:
- Remote Control: Essential for opening and closing the door from anywhere via a smartphone app.
- Status Alerts: Notifications if the door is left open for too long or is opened unexpectedly.
- Scheduling: Ability to set specific times for the door to open or close.
- Voice Control: Integration with virtual assistants for hands-free operation.
- Geofencing: Automatic opening or closing as you approach or leave your home.
- Guest Access: Securely granting temporary access to others.
- Easy Installation: Kits designed for DIY enthusiasts.
Popular choices for a DIY Smart Garage opener kit include devices from brands like MyQ, Meross, Refoss, and Tailwind. These kits typically consist of a main controller unit, a door sensor (usually a tilt or magnetic sensor), and mounting hardware. Ensure the kit you choose is compatible with your garage door opener’s motor and safety sensors.
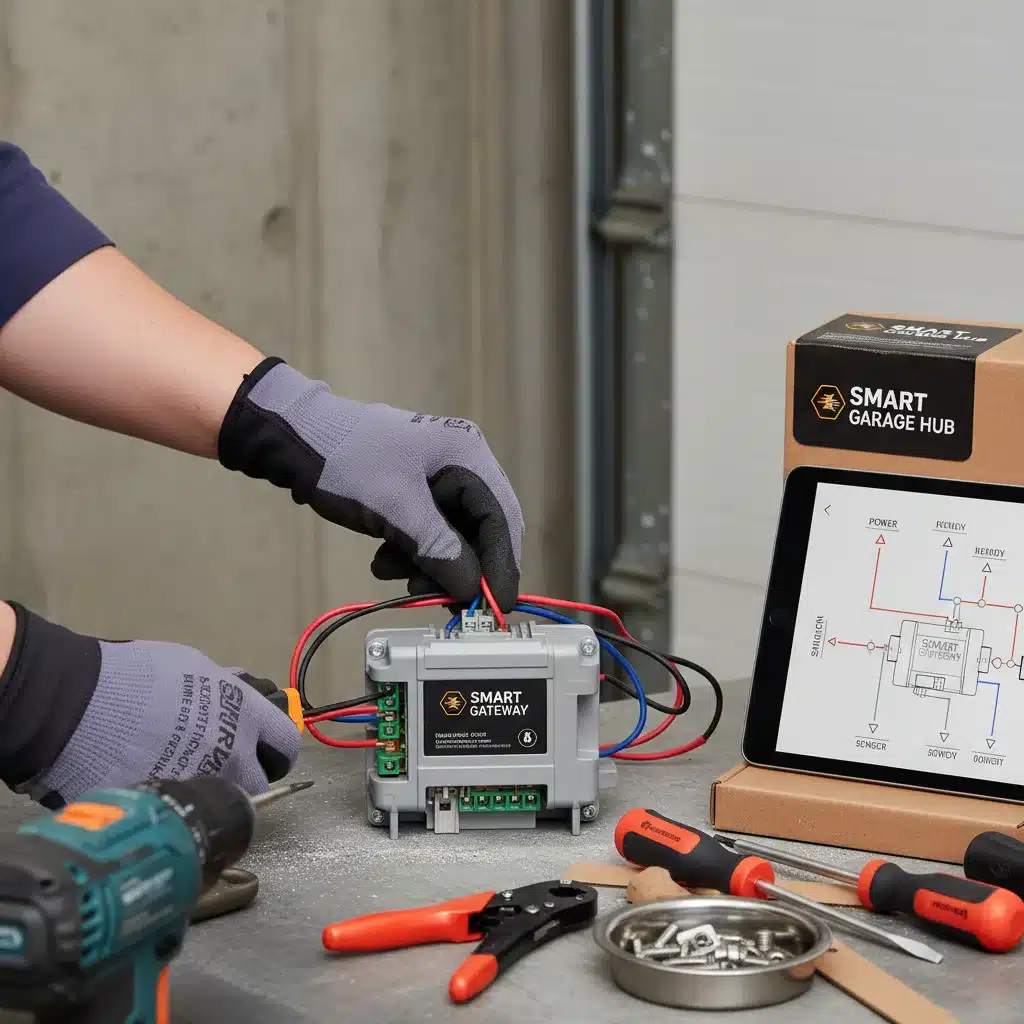
Step-by-Step Installation Guide for Your DIY Smart Garage Opener
The installation process for most smart garage door opener kits is straightforward and designed for the average DIY enthusiast. While specific steps may vary slightly depending on the brand, the general procedure for your DIY Smart Garage automation is as follows:
-
Preparation and Safety First:
Before you begin, ensure the power to your garage door opener is disconnected. Safety is paramount when working with electrical components and moving parts. Gather all necessary tools, which usually include a drill, screwdriver, ladder, and zip ties for cable management.
-
Mounting the Controller Unit:
The main controller unit typically mounts near your existing garage door opener motor. Choose a location that allows for easy access to a power outlet and is within Wi-Fi range. Secure the unit to the ceiling or a nearby beam using the provided screws or adhesive mounts. Make sure it’s not obstructing any moving parts of the garage door mechanism.
-
Connecting to Your Existing Opener:
This is a crucial step for your DIY Smart Garage. Most smart controllers connect to the same terminals on your garage door opener that your existing wall-mounted push button uses. Locate the ‘T’ or ‘Push Button’ terminals on your opener’s motor unit. These are usually low-voltage terminals. Connect the wires from your smart controller to these terminals. If you’re unsure, consult your garage door opener’s manual or the smart kit’s instructions for specific wiring diagrams. It’s generally a simple two-wire connection.
-
Installing the Door Sensor:
The door sensor is vital for the smart controller to know the current status of your garage door (open or closed). This is typically a tilt sensor that attaches to the top panel of your garage door. Clean the surface thoroughly before attaching the sensor with the provided adhesive or screws. Ensure it’s positioned correctly so that it accurately detects the door’s position when open and closed. Some kits use a magnetic sensor, which requires mounting a magnet to the door and a sensor to the door frame.
-
Powering On and App Setup:
Once all components are physically installed, reconnect power to your garage door opener. Download the manufacturer’s app on your smartphone. Follow the in-app instructions to connect your smart controller to your home Wi-Fi network. This usually involves putting the device into pairing mode and selecting your network. The app will then guide you through calibrating the door sensor and performing initial tests.
-
Testing and Integration:
Thoroughly test the system. Use the app to open and close the garage door, verifying that the door status updates correctly. Test any voice commands if integrated with virtual assistants. Ensure geofencing works as expected. This completes the core automation of your DIY Smart Garage.
Enhancing Security: Feature 1 – Smart Garage Camera with Motion Detection and Two-Way Audio
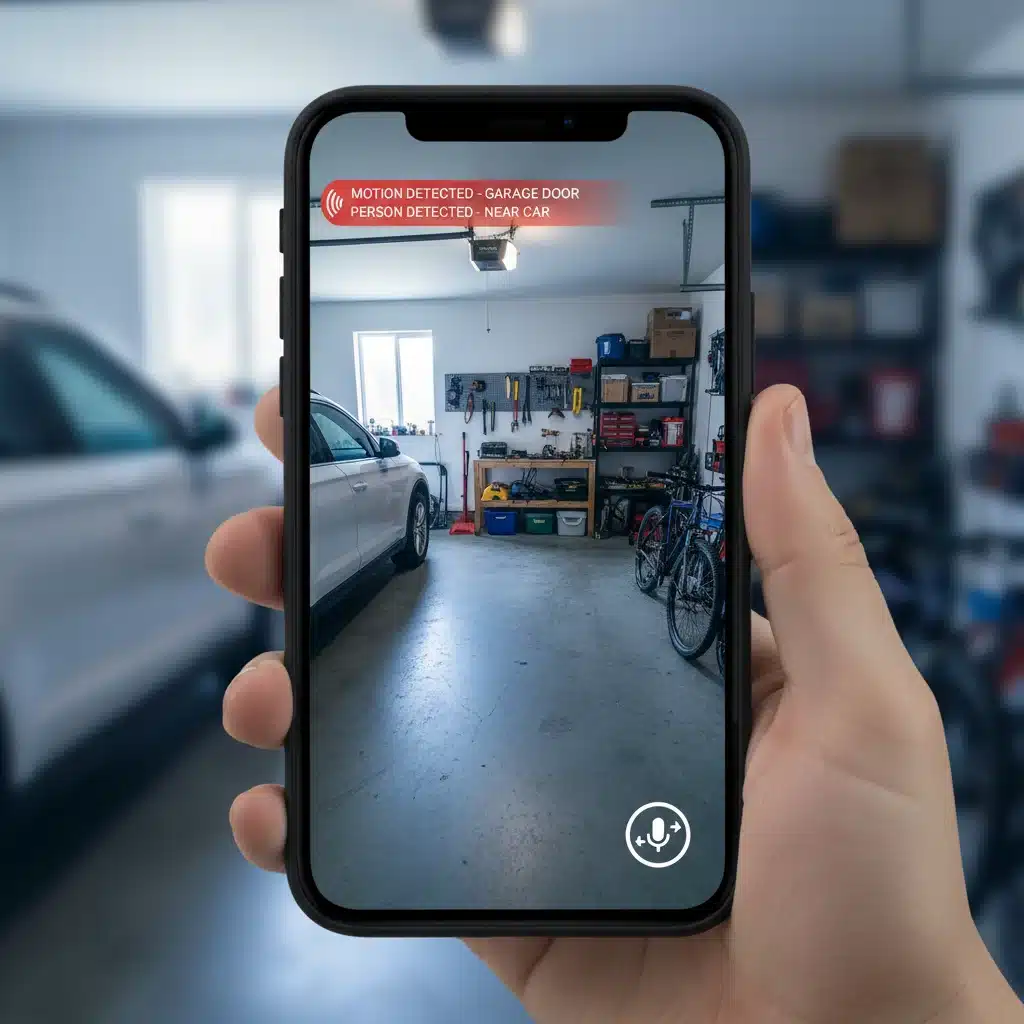
Beyond basic automation, a truly advanced DIY Smart Garage prioritizes security. The first essential security feature for 2026 is a smart garage camera equipped with motion detection and two-way audio. This goes far beyond a simple surveillance camera, offering interactive monitoring and proactive deterrence.
Why a Smart Garage Camera is Crucial
A smart garage camera provides an invaluable layer of security. It allows you to:
- Visually Monitor: See what’s happening in your garage in real-time, from anywhere.
- Receive Alerts: Get instant notifications on your phone when motion is detected, whether it’s an unexpected visitor or your kids coming home.
- Identify Intruders: Record footage that can be crucial evidence in case of a break-in.
- Two-Way Communication: Speak to delivery personnel, family members, or even deter potential intruders with your voice, even when you’re not home.
- Package Delivery Monitoring: Ensure packages left in your garage are secure.
- General Awareness: Keep an eye on your valuables, tools, and vehicles.
Choosing the Right Smart Garage Camera
When selecting a camera for your DIY Smart Garage, look for:
- High-Resolution Video: At least 1080p for clear images.
- Wide-Angle Lens: To cover as much of the garage as possible.
- Night Vision: Essential for monitoring in low-light or no-light conditions.
- Reliable Motion Detection: With adjustable sensitivity and ideally, person detection to reduce false alarms.
- Two-Way Audio: A built-in speaker and microphone for communication.
- Local and/or Cloud Storage: Options for saving recorded footage.
- Weather Resistance (if applicable): If mounting near the garage opening or in an uninsulated garage.
- Smart Home Integration: Compatibility with your existing smart home platform for unified control.
Brands like Arlo, Ring, Eufy, Wyze, and Nest offer excellent smart camera options suitable for a DIY Smart Garage setup.
Installation and Configuration of Your Smart Garage Camera
Installing a smart camera is generally straightforward:
-
Placement:
Identify an optimal location that provides a clear, unobstructed view of the garage’s entry points (garage door, pedestrian door, windows) and any valuable items. Consider mounting it high on a wall or ceiling to prevent tampering and provide a wider field of view. Ensure it’s within reach of a power outlet and your Wi-Fi signal.
-
Mounting:
Most cameras come with mounting brackets and screws. Securely attach the camera to the chosen surface. Angle it to cover the most critical areas. For a DIY Smart Garage, proper placement is key to effective monitoring.
-
Power and Wi-Fi Connection:
Plug in the camera. Download the manufacturer’s app and follow the setup instructions to connect the camera to your home Wi-Fi network. This usually involves scanning a QR code or entering network credentials.
-
Configuration:
Within the app, configure motion detection zones and sensitivity to minimize false alerts (e.g., ignoring moving shadows or pets). Set up notifications to be sent to your phone. Test the two-way audio feature. Explore options for continuous recording or event-triggered recording, and set up cloud or local storage as desired. Integrate the camera with your smart garage door opener system, if your chosen platforms allow, for a truly cohesive DIY Smart Garage experience.
Enhancing Security: Feature 2 – Smart Lighting with Occupancy and Ambient Light Sensors
The second critical security feature for your advanced DIY Smart Garage, especially looking towards 2026, is intelligent lighting. This isn’t just about turning lights on and off; it’s about creating a responsive, dynamic lighting system that enhances both security and convenience using occupancy and ambient light sensors.
The Power of Smart Lighting for DIY Smart Garage Security
Smart lighting, when integrated with sensors, becomes a powerful deterrent and a convenience booster:
- Deterrence: Sudden illumination upon detecting unexpected motion can startle and deter intruders.
- Visibility: Provides immediate light when you enter, eliminating fumbling in the dark and reducing trip hazards.
- Energy Efficiency: Lights only turn on when needed, and off when no occupancy is detected or when there’s sufficient natural light.
- Integration with Other Devices: Can be linked with your smart camera or garage door opener to trigger specific actions (e.g., lights turn on when the garage door opens, or flash if the camera detects an intruder).
- Simulated Occupancy: When away, lights can be programmed to turn on and off randomly to give the impression someone is home.
Choosing Smart Lighting Components and Sensors
For this DIY Smart Garage security feature, you’ll need:
- Smart Light Bulbs or Switches: Choose smart LED bulbs that fit your existing fixtures or smart light switches that can control your garage’s current lighting. Look for compatibility with your smart home hub.
- Occupancy/Motion Sensors: These detect movement. For a garage, choose sensors with a wide detection range and robust performance in varying temperatures. Some smart cameras have built-in motion sensors that can trigger lights.
- Ambient Light Sensors (Optional but Recommended): These measure the natural light level. They prevent lights from turning on unnecessarily during daylight hours, saving energy and enhancing the intelligence of your DIY Smart Garage. Many occupancy sensors have integrated ambient light detection.
Brands like Philips Hue, Lutron Caseta, Sengled, and various Z-Wave or Zigbee compatible devices offer excellent smart lighting and sensor solutions. Consider a system that communicates reliably and integrates well with your chosen smart home ecosystem.
Installation and Configuration of Smart Lighting and Sensors
The installation of smart lighting and sensors for your DIY Smart Garage involves a few key steps:
-
Replacing Bulbs or Switches:
If using smart bulbs, simply replace your existing garage light bulbs. If using smart switches, you’ll need basic electrical knowledge to replace your current light switches. Always turn off power at the breaker before working with electrical wiring.
-
Mounting Occupancy/Motion Sensors:
Strategically place occupancy sensors to cover entry points and high-traffic areas within your garage. Consider mounting them near the pedestrian door, the main garage door opening, and any areas where valuables are stored. Test their range and sensitivity to ensure optimal detection without excessive false triggers. For a comprehensive DIY Smart Garage, aim for overlapping coverage.
-
Pairing with Your Smart Home Hub:
Follow the manufacturer’s instructions to pair your smart bulbs/switches and sensors with your smart home hub or directly with their respective apps. This step is crucial for enabling smart control and automation.
-
Creating Automation Rules:
This is where the magic of your DIY Smart Garage truly shines. Use your smart home app to create automation rules (often called ‘routines’ or ‘scenes’):
- Motion-Activated Lighting: When the occupancy sensor detects motion, turn on the garage lights.
- Ambient Light Consideration: Add a condition that lights only turn on if the ambient light sensor detects low light levels.
- Timed Shut-Off: If no motion is detected for a specified period (e.g., 5-10 minutes), turn off the lights.
- Garage Door Trigger: When the garage door opens (detected by your smart opener), turn on the garage lights.
- Security Integration: If your smart camera detects an intruder, flash the garage lights brightly to deter them and draw attention.
-
Testing and Refinement:
Thoroughly test all your automation rules in different scenarios. Adjust sensor sensitivity, light duration, and rule conditions until your DIY Smart Garage lighting system operates exactly as you desire, balancing security, convenience, and energy efficiency.
Advanced Integration and Future-Proofing Your DIY Smart Garage for 2026
Once you’ve successfully automated your garage door and integrated these two key security features, the next step in creating an advanced DIY Smart Garage is to think about deeper integration and future possibilities. The year 2026 will undoubtedly bring even more sophisticated smart home capabilities, and by planning now, you can ensure your setup is ready.
Unified Smart Home Ecosystem
The true power of a DIY Smart Garage comes from its seamless integration into your overall smart home ecosystem. Ensure all your chosen devices communicate with a central hub or platform (e.g., HomeKit, Google Home, Alexa, SmartThings). This allows you to create complex routines and automations that involve multiple devices acting in concert:
- Arrival Scene: When your car approaches (geofencing from your smart garage opener), the garage door opens, the lights turn on, and the garage camera starts recording a short clip, all automatically.
- Departure Scene: When you leave, the garage door closes, lights turn off, and the security system (including garage camera) arms itself.
- Night Mode: At night, if the garage door is left open, a notification is sent, and the camera’s motion detection sensitivity is heightened.
Considering Emerging Technologies for Your DIY Smart Garage
Looking ahead to 2026, consider incorporating or planning for:
- Matter and Thread Compatibility: These new smart home standards aim to improve interoperability and reliability across different brands. Prioritize devices that support these protocols for long-term compatibility.
- AI-Powered Analytics: Future cameras and sensors will likely offer more advanced AI for distinguishing between pets, people, and vehicles, reducing false alarms even further. Some higher-end cameras already offer this.
- Predictive Maintenance: Imagine sensors that monitor your garage door opener’s motor for signs of wear and tear, alerting you before a breakdown occurs.
- Environmental Monitoring: Integrating sensors for temperature, humidity, or even carbon monoxide detectors can add another layer of safety and comfort to your DIY Smart Garage.
- Smart Storage Solutions: Integrating smart locks on storage cabinets or automated shelving systems could be the next frontier for garage organization and security.
Maintenance and Troubleshooting for Your DIY Smart Garage
Even the most advanced DIY Smart Garage requires occasional maintenance:
- Regular Cleaning: Keep camera lenses clean for clear footage. Dust can accumulate on sensors, affecting their performance.
- Battery Checks: Many sensors are battery-powered. Set reminders to check and replace batteries regularly.
- Firmware Updates: Keep your smart devices’ firmware updated to ensure optimal performance, security patches, and access to new features.
- Wi-Fi Strength: Ensure your garage has strong Wi-Fi coverage. A Wi-Fi extender might be necessary for larger garages or those far from your main router.
- Troubleshooting: If a device isn’t responding, try restarting it, checking its power source, and verifying its Wi-Fi connection before delving into more complex troubleshooting.
The Benefits of Your Advanced DIY Smart Garage
Investing the time and effort into creating an advanced DIY Smart Garage yields a multitude of benefits that extend far beyond simple convenience:
Enhanced Security and Peace of Mind
This is arguably the most significant advantage. With an automated door, a smart camera, and intelligent lighting, your garage becomes a formidable barrier against intruders. You gain real-time visibility and control, knowing that your vehicles, tools, and stored valuables are protected. The ability to remotely check on your garage, receive instant alerts, and even communicate with visitors or deter threats provides unparalleled peace of mind.
Unmatched Convenience
No more fumbling for keys or remotes. Geofencing ensures your garage door opens as you arrive, and closes securely as you leave. Voice control adds a hands-free dimension, perfect when your hands are full. Granting temporary access to family, friends, or service providers becomes effortless and secure. This level of automation simplifies daily routines and saves valuable time.
Increased Property Value
A smart home, especially one with a fully integrated DIY Smart Garage, is a highly attractive feature for potential homebuyers. It signifies a modern, well-maintained property that embraces technology for comfort and safety. This investment can significantly boost your home’s market appeal and resale value.
Energy Efficiency
Smart lighting, with its occupancy and ambient light sensors, ensures that lights are only on when and where they are needed. This eliminates wasted energy from lights left on accidentally, contributing to lower utility bills and a more environmentally friendly home. The ability to monitor and control devices remotely also prevents energy waste.
Personalized Control and Customization
The DIY nature of this project means you have complete control over how your garage operates. You can tailor automation rules, sensor sensitivities, and alert preferences to perfectly match your lifestyle and security requirements. This level of customization ensures your DIY Smart Garage is truly yours.
Future-Proofing Your Home
By implementing these smart technologies now, you’re not just solving today’s problems; you’re preparing your home for the technological advancements of tomorrow. Compatibility with emerging standards and the modular nature of smart home systems mean your garage can continue to evolve and integrate new features as they become available, keeping your home at the forefront of innovation.
Conclusion: Embrace the Future with Your DIY Smart Garage
Embarking on the journey of creating an advanced DIY Smart Garage is a rewarding endeavor that brings a significant upgrade to your home’s functionality, security, and overall intelligence. By automating your garage door and integrating cutting-edge security features like smart cameras with two-way audio and intelligent lighting with occupancy sensors, you’re not just adding gadgets; you’re building a more secure, convenient, and efficient living space.
The innovations anticipated for 2026 promise even greater connectivity and intelligence in our homes. By following this guide, you’ve equipped your garage to seamlessly integrate with these future developments, ensuring your investment continues to pay dividends in convenience and peace of mind for years to come. The satisfaction of building and customizing your own smart space, tailored to your exact needs, is a significant bonus.
So, take the leap, embrace the power of DIY, and transform your garage into the smart, secure hub it was always meant to be. Your future self, and your family, will thank you for the enhanced safety, comfort, and control that an advanced DIY Smart Garage brings.


