2026 Smart Home DIY Project: Multi-Room Audio with Open-Source Software
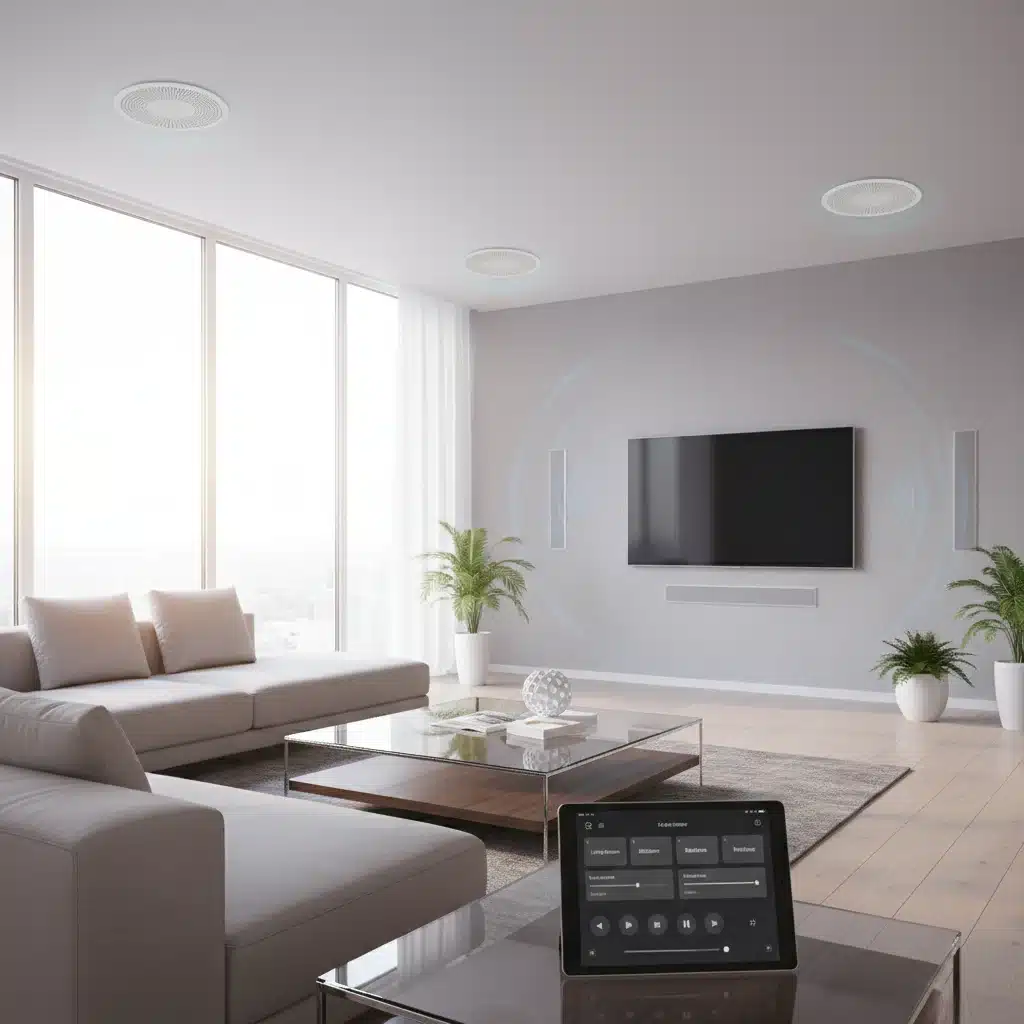
2026 Smart Home DIY Project: Set Up a Multi-Room Audio System Using Open-Source Software in 2 Weekends
Welcome to the future of home entertainment! In 2026, creating a truly immersive and personalized audio experience in your home is more accessible than ever. Forget expensive proprietary systems; with a bit of DIY spirit and the power of open-source software, you can build a sophisticated DIY multi-room audio system that rivals commercial offerings. This comprehensive guide will walk you through setting up a multi-room audio system using open-source solutions, transforming your home into an auditory paradise in just two weekends. We’ll cover everything from planning and hardware selection to software configuration and advanced features.
The Allure of DIY Multi-Room Audio in 2026
Imagine waking up to your favorite playlist gently filling your bedroom, seamlessly transitioning to the kitchen as you prepare breakfast, and then following you to the living room for your morning coffee – all without missing a beat. This is the magic of a multi-room audio system. While commercial options exist, they often come with hefty price tags and limited customization. Our DIY approach using open-source software offers unparalleled flexibility, cost-effectiveness, and the satisfaction of building something truly your own.
In 2026, the open-source community provides robust and mature platforms perfect for this project. Advances in single-board computers like the Raspberry Pi, coupled with powerful audio distribution software, make this an achievable and rewarding endeavor for anyone with a basic understanding of electronics and a willingness to learn.
Why Choose Open-Source for Your DIY Multi-Room Audio?
- Cost-Effectiveness: Avoid proprietary licensing fees and expensive hardware. Open-source solutions often run on affordable, off-the-shelf components.
- Flexibility and Customization: Tailor your system precisely to your needs. Open-source platforms allow for deep customization and integration with other smart home systems.
- Community Support: Benefit from a vast and active community of developers and users who contribute to documentation, forums, and ongoing improvements.
- Security and Privacy: With open-source, you have transparency over your system, reducing concerns about data collection and privacy often associated with closed-source alternatives.
- Learning Opportunity: This project is an excellent way to deepen your understanding of networking, Linux, and audio engineering.
Weekend 1: Planning, Hardware Acquisition, and Initial Setup
The first weekend is dedicated to laying the groundwork for your DIY multi-room audio system. This involves careful planning, selecting the right hardware, and performing the initial setup of your core components.
Step 1: Define Your Audio Zones and Requirements
Before buying anything, map out your home. Which rooms do you want to include in your multi-room audio system? Consider the following for each zone:
- Room Size and Acoustics: This will influence speaker choice and amplifier power.
- Speaker Type: Do you prefer bookshelf speakers, in-ceiling/in-wall speakers, or portable units?
- Power Requirements: Will you need separate amplifiers for passive speakers, or will active (powered) speakers suffice?
- Connectivity: How will each zone connect to the central audio server? Wired Ethernet is always preferred for stability, but Wi-Fi can be an option for less critical zones.
- Control: How do you envision controlling playback in each zone? Via a smartphone app, web interface, or dedicated hardware controllers?
A typical setup might include a central server (e.g., a powerful Raspberry Pi or an old PC) and multiple client devices (e.g., smaller Raspberry Pis or dedicated audio streamers) in each zone.
Step 2: Essential Hardware Components for Your DIY Multi-Room Audio
Here’s a breakdown of the hardware you’ll likely need:
Central Server (Master Node):
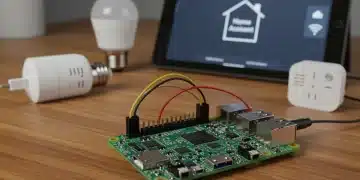
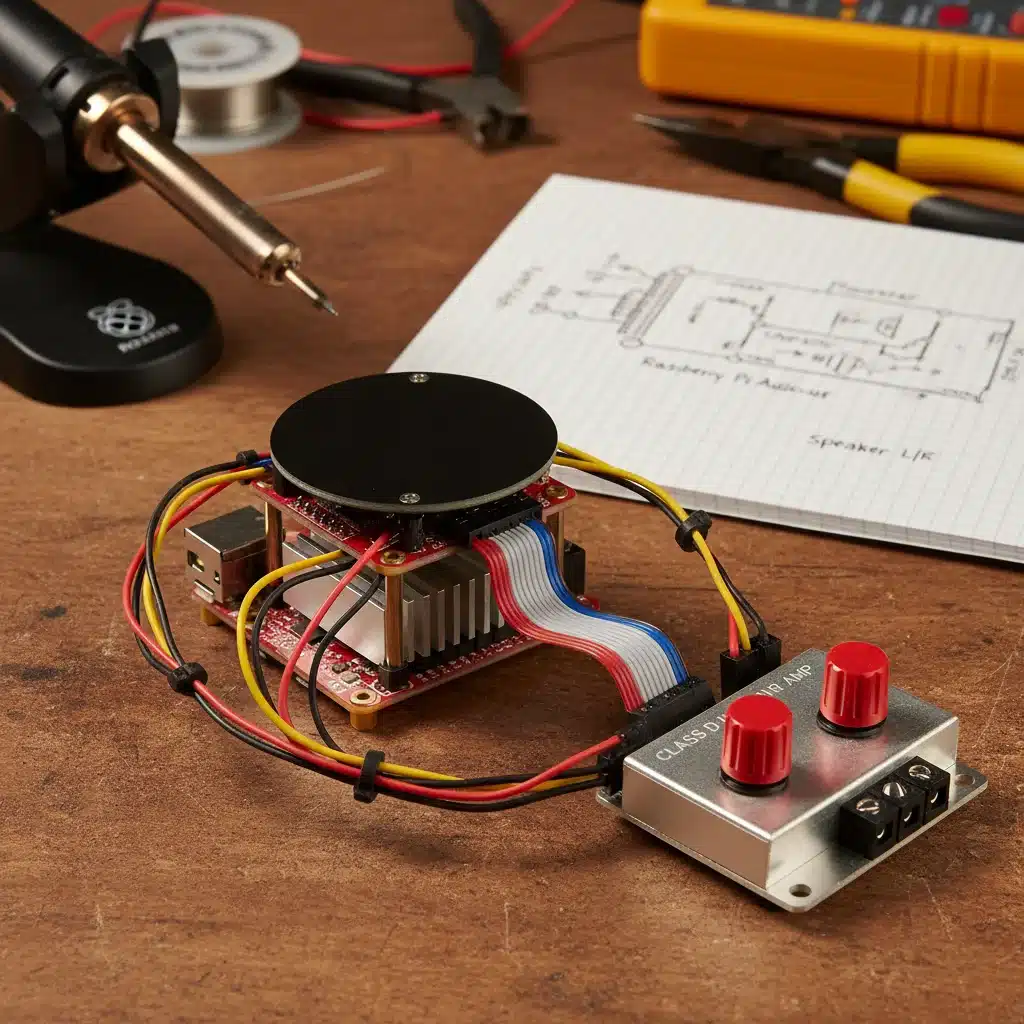
- Raspberry Pi 4 (8GB RAM recommended): This will host your audio server software, music library, and act as the central brain. A powerful model ensures smooth operation.
- High-Speed MicroSD Card (32GB or more, A2 rated): For the operating system and initial software.
- External USB Hard Drive (optional but recommended): For storing your extensive music library.
- Power Supply: Official Raspberry Pi 4 power supply for stability.
- Ethernet Cable: For reliable network connection.
Client Devices (Zone Players):
- Raspberry Pi Zero W 2 or Raspberry Pi 3B+/4 (depending on processing needs): One for each audio zone. The Pi Zero W 2 is excellent for compact, low-power zones.
- MicroSD Card (16GB or more, A1 rated): For the client operating system.
- Power Supply: Appropriate for your chosen Pi model.
- Audio Output Device (Crucial!):
- USB DAC (Digital-to-Analog Converter): For high-quality audio output. Many affordable options exist.
- HAT (Hardware Attached on Top) DAC: Specifically designed for Raspberry Pi, offering excellent sound quality and direct integration. Brands like HiFiBerry, Allo, and IQaudio are popular.
- Built-in 3.5mm Jack: Generally lower quality, only suitable for background music where fidelity isn’t paramount.
- Speakers: Passive speakers require an amplifier, while active speakers are self-powered.
- Amplifier (if using passive speakers): Small Class D amplifiers (e.g., based on TPA3116D2 chip) are affordable and efficient.
- Enclosures (optional): For protection and aesthetics of your Pi devices.
Networking Equipment:
- Reliable Router: With good Wi-Fi coverage and preferably Gigabit Ethernet ports.
- Ethernet Cables: For hardwiring critical components.
Step 3: Operating System Installation (Raspberry Pi OS Lite)
For both your master and client Raspberry Pis, we recommend a headless (no desktop environment) installation of Raspberry Pi OS Lite. This minimizes resource usage and improves performance.
- Download Raspberry Pi Imager: Get it from the official Raspberry Pi website.
- Select OS: Choose ‘Raspberry Pi OS (Legacy) Lite (64-bit)’ or ‘Raspberry Pi OS Lite (64-bit)’.
- Choose Storage: Select your MicroSD card.
- Configure OS (Gear Icon):
- Enable SSH (for remote access).
- Set a username and password.
- Configure Wi-Fi (if not using Ethernet for a client).
- Set locale settings.
- Write Image: Flash the OS to your MicroSD card.
- Initial Boot and SSH Access: Insert the card into your Pi, power it on, and find its IP address (check your router’s connected devices). Use an SSH client (like PuTTY on Windows or Terminal on macOS/Linux) to connect:
ssh username@IP_ADDRESS - Update System: Once connected, run:
sudo apt update && sudo apt upgrade -y
Weekend 2: Software Installation, Configuration, and Optimization
This weekend, we dive into the heart of your DIY multi-room audio system: the software. This is where the magic happens, enabling seamless audio synchronization across all your zones.
Step 4: Choosing Your Open-Source Audio Software
Several excellent open-source options are available for multi-room audio. For this guide, we’ll focus on a popular and robust combination:
- Snapcast: A client-server audio player that streams audio from a Snapserver instance (the master) to multiple Snapclient instances (the clients) synchronously. It’s renowned for its low latency and perfect synchronization.
- MPD (Music Player Daemon): A flexible audio player that runs as a server, managing your music library and playlists. Snapcast can intercept MPD’s output.
- Mopidy: An extensible music server that can play music from local files, Spotify, YouTube, and more. It uses MPD as its core and adds extensive plugin support.
- Volumio/Moode Audio (Alternative Client OS): These are specialized audio player operating systems designed for Raspberry Pi, offering a web interface and often integrating MPD/Snapclient. They can simplify client setup but offer less granular control than a custom Raspberry Pi OS Lite build.
We’ll primarily use Snapcast with MPD/Mopidy for a more flexible and powerful setup.
Step 5: Setting Up the Master Server (Raspberry Pi)
On your central Raspberry Pi (the master node):
Install MPD/Mopidy:
For a robust music server, Mopidy is an excellent choice as it builds upon MPD and offers extensive streaming service integrations.
sudo apt install mopidy mopidy-mpd mopidy-spotify (if you have Spotify Premium) -yConfigure Mopidy (sudo nano /etc/mopidy/mopidy.conf):
- Point to your music library (e.g., on your USB drive).
- Configure Spotify credentials if using the plugin.
- Ensure the MPD interface is enabled and accessible.
Start and enable Mopidy:
sudo systemctl enable mopidy
sudo systemctl start mopidy
Install Snapserver:
Snapserver will take the audio output from Mopidy/MPD and broadcast it to your client devices.
First, add the Snapcast repository:
wget -qO - https://repo.snapcast.org/apt/keyring.asc | sudo gpg --dearmor -o /usr/share/keyrings/snapcast.gpg
echo "deb [signed-by=/usr/share/keyrings/snapcast.gpg] https://repo.snapcast.org/apt stable main" | sudo tee /etc/apt/sources.list.d/snapcast.list
sudo apt update
Then install Snapserver:
sudo apt install snapserver -yConfigure Snapserver (sudo nano /etc/snapserver.conf):
- Set the source to pipe audio from MPD/Mopidy. This often involves pointing Snapserver to a named pipe that MPD/Mopidy writes to.
- A common setup involves using a FIFO pipe:
# In mopidy.conf

output = audioresample ! audioconvert ! audio/x-raw,format=S16LE,rate=48000,channels=2 ! filesink location=/tmp/snapfifo

# In snapserver.conf
[stream]
pipe = /tmp/snapfifo
name = MyStream
codec = flac
Start and enable Snapserver:
sudo systemctl enable snapserver
sudo systemctl start snapserver
Step 6: Setting Up Client Devices (Zone Players)
On each client Raspberry Pi:
Configure Audio Output:
If you’re using a USB DAC or a HAT DAC, you’ll need to configure ALSA (Advanced Linux Sound Architecture) to use it as the default output device.
List your audio devices:
aplay -lEdit ALSA configuration (sudo nano /etc/asound.conf or ~/.asoundrc):
pcm.!default {
  type hw
  card 0 # or 1, 2, etc., depending on your DAC
}
ctl.!default {
  type hw
  card 0 # or 1, 2, etc.
}
Reboot for changes to take effect.
Install Snapclient:
Add the Snapcast repository as you did for the master server, then install Snapclient:
sudo apt install snapclient -yConfigure Snapclient (sudo nano /etc/default/snapclient):
- Set
SNAPCLIENT_SERVERto the IP address of your master Snapserver. - You can also specify the sound card if needed:
SNAPCLIENT_OPTS="--oss --card 1"(adjust card number).
Start and enable Snapclient:
sudo systemctl enable snapclient
sudo systemctl start snapclient
Repeat this process for every client device in your DIY multi-room audio system.
Advanced Configuration and Optimization for Your DIY Multi-Room Audio
Once the basic system is running, you can refine and enhance your DIY multi-room audio experience.
Controlling Your System
With Mopidy running on your master server, you have several control options:
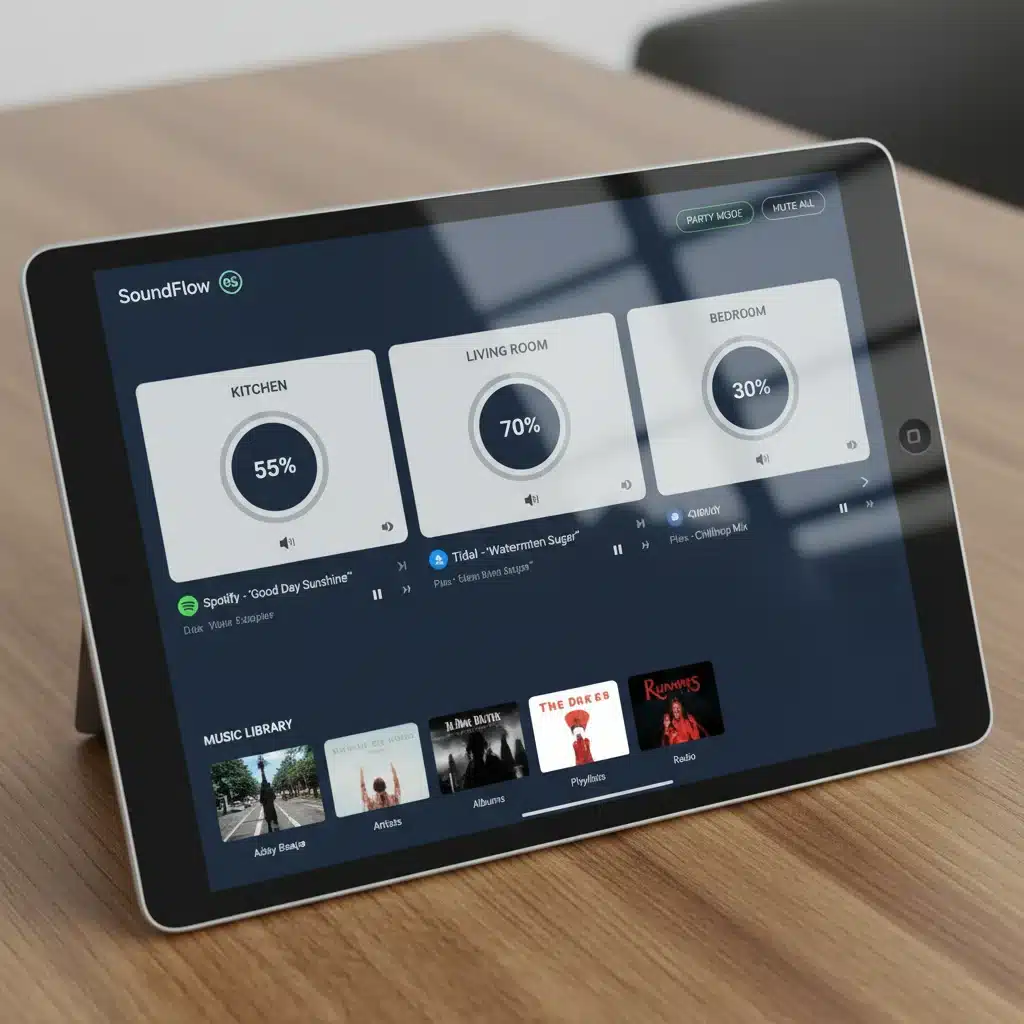
- Web Clients: Mopidy has various web-based frontends like Mopidy-MusicBox-Webclient, Iris, or Pylast. Install one on your master Pi and access it via a web browser on any device in your network.
- MPD Clients: Use any MPD-compatible app on your smartphone, tablet, or computer (e.g., MPDroid for Android, MPaD for iOS, Cantata for desktop).
- Snapweb: Snapcast includes a basic web interface for controlling client volumes and group settings, accessible via
http://SNAPSERVER_IP:1780.
Achieving Perfect Synchronization
Snapcast is designed for perfect synchronization. If you notice any lag or desynchronization:
- Wired Connections: Prioritize Ethernet for both master and clients whenever possible. Wi-Fi can introduce latency.
- Network Quality: Ensure your Wi-Fi network is robust and free from interference.
- Snapclient Buffering: In
/etc/default/snapclient, you can adjust the buffer size (SNAPCLIENT_OPTS="--buffer 1000"for 1000ms, experiment with values). - Server Load: Ensure your master Raspberry Pi isn’t overloaded with other tasks.
Integrating Streaming Services
Mopidy’s plugin architecture makes it easy to integrate services like Spotify, YouTube, SoundCloud, and more. Simply install the relevant Mopidy plugin (e.g., mopidy-spotify, mopidy-youtube) and configure it in /etc/mopidy/mopidy.conf.
Volume Control and Grouping
Snapcast allows you to group clients for synchronized volume control, or adjust individual client volumes. Most web interfaces for Mopidy or Snapcast will provide these controls. You can also automate volume adjustments using home automation platforms.
Home Assistant Integration
For the ultimate smart home experience, integrate your DIY multi-room audio system with Home Assistant. Home Assistant has native integrations for both MPD and Snapcast, allowing you to:
- Control playback, volume, and zones from your Home Assistant dashboard.
- Automate audio playback based on events (e.g., play music when you arrive home, announce notifications through speakers).
- Create complex scenes involving lighting, climate, and music.
This integration significantly enhances the functionality and convenience of your new DIY multi-room audio setup.
Powering Down and Auto-Start
Ensure your Raspberry Pi devices are configured to start Snapclient/Snapserver automatically on boot (which we did using systemctl enable). For graceful shutdowns, consider adding a shutdown button or using a smart plug integrated with Home Assistant.
Troubleshooting Common Issues
- No Sound: Double-check your DAC configuration (
aplay -l), speaker connections, and amplifier power. Ensure Snapclient is running and connected to the Snapserver. - Poor Sound Quality: Verify your DAC is correctly recognized and used. Check for ground loops if you hear humming. Consider higher-quality audio cables.
- Stuttering/Dropouts: This is often network-related. Try wired connections, improve Wi-Fi signal, or increase Snapclient buffer size.
- Clients Not Connecting: Ensure your Snapserver IP address is correct in
/etc/default/snapclient. Check firewall settings on the server if applicable. - Mopidy Not Playing: Check Mopidy logs (
sudo journalctl -u mopidy) for errors. Ensure your music library path is correct and accessible.
Beyond the Basics: Future Enhancements for Your DIY Multi-Room Audio
Once your core system is up and running, the possibilities for expansion are endless:
- Voice Control: Integrate with voice assistants like Amazon Alexa or Google Assistant via Home Assistant or dedicated plugins.
- Physical Controls: Add physical buttons or rotary encoders to each zone for local volume control and playback.
- Higher Fidelity: Explore high-resolution audio formats and even more advanced DACs and amplifiers.
- Multi-Source Streaming: Configure multiple Snapserver sources to allow different audio streams to be played in different zones simultaneously (e.g., radio in the kitchen, podcast in the office).
- Visualizations: Add small displays to your client devices to show album art or track information.
Conclusion: Your Personalized DIY Multi-Room Audio Sanctuary
Congratulations! In just two weekends, you’ve embarked on a rewarding journey to build a personalized, high-quality DIY multi-room audio system using the power of open-source software. You now have complete control over your home’s soundscape, enjoying perfectly synchronized music, podcasts, or radio broadcasts in any or all of your chosen zones. This project not only saves you money but also empowers you with a deeper understanding of smart home technology.
The beauty of open-source is its continuous evolution. Stay engaged with the communities around Snapcast, MPD, Mopidy, and Raspberry Pi to discover new features, plugins, and optimizations. Your DIY multi-room audio system is not just a gadget; it’s a dynamic, customizable platform ready to grow with your smart home needs. Enjoy the symphony of your own making!