Smart Thermostat DIY: Boost HVAC Efficiency 10% by Spring 2026
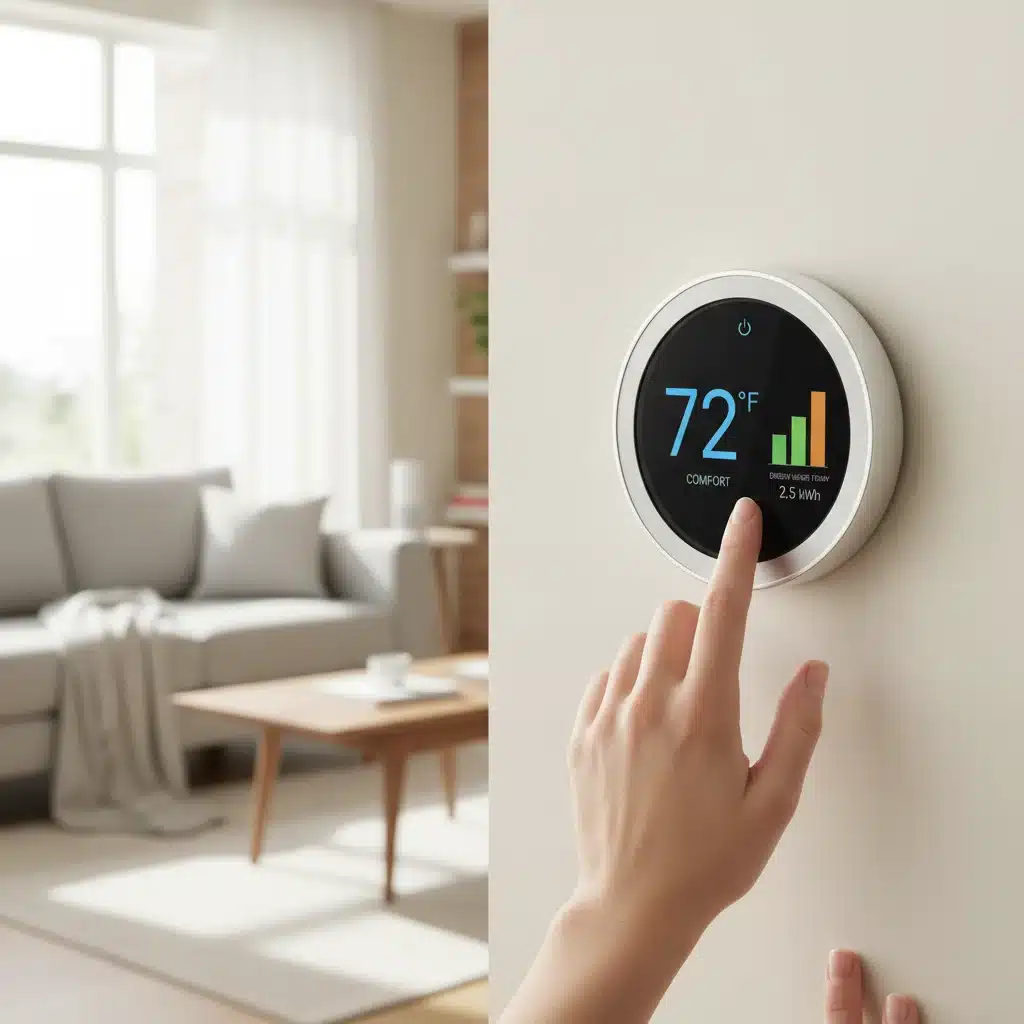
Are you ready to take control of your home’s energy consumption and contribute to a greener planet, all while saving money? The answer might be simpler than you think: a smart thermostat DIY installation. In today’s world, where energy costs are constantly on the rise and environmental consciousness is paramount, optimizing your home’s heating, ventilation, and air conditioning (HVAC) system is not just a luxury but a necessity. By undertaking a smart thermostat DIY project, you’re not only enhancing your home’s comfort and convenience but also setting yourself on a clear path to achieving significant HVAC efficiency gains, potentially up to 10% or more by Spring 2026.
This comprehensive guide is designed to empower you with the knowledge and steps needed to confidently install a smart thermostat yourself. We’ll delve into everything from understanding the benefits and choosing the right device to the step-by-step installation process, troubleshooting common issues, and maximizing your energy savings. Get ready to transform your home into a smarter, more energy-efficient haven.
The Irresistible Allure of a Smart Thermostat DIY Project
Before we dive into the technicalities of a smart thermostat DIY installation, let’s understand why this upgrade is so beneficial. A smart thermostat is more than just a device that controls your home’s temperature; it’s an intelligent hub that learns your preferences, adapts to your schedule, and communicates with other smart home devices to create an optimized living environment. The primary benefits include:
- Significant Energy Savings: This is arguably the biggest draw. Smart thermostats can learn your daily routines, automatically adjusting temperatures when you’re away or asleep. Features like geofencing (adjusting temperature based on your phone’s location) and occupancy sensors further reduce wasted energy. Studies show that smart thermostats can save homeowners between 10-15% on heating and cooling costs annually. Our goal is a conservative but achievable 10% HVAC efficiency increase by Spring 2026.
- Enhanced Comfort: Predictive scheduling and remote access mean your home is always the perfect temperature when you arrive. No more coming home to a freezing or sweltering house.
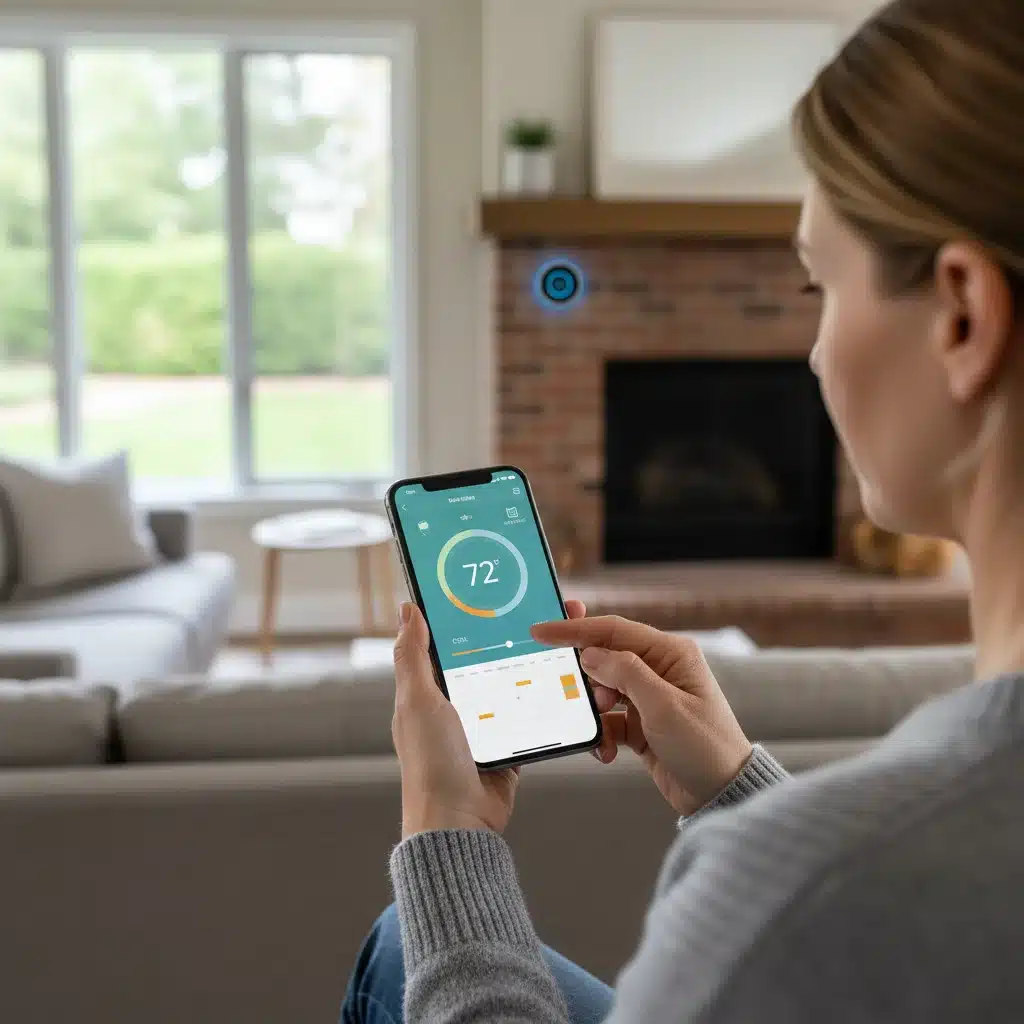
- Remote Control and Monitoring: With a smartphone app, you can adjust your thermostat from anywhere in the world. Forgot to turn down the AC before leaving for vacation? No problem. Want to warm up the house on your way home? Done.
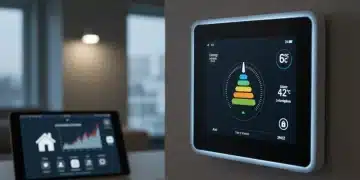
- Detailed Energy Reports: Many smart thermostats provide insights into your energy usage, helping you identify patterns and areas for further optimization. This data is invaluable for understanding your consumption habits.
- Integration with Smart Home Ecosystems: Smart thermostats seamlessly integrate with platforms like Amazon Alexa, Google Assistant, and Apple HomeKit, allowing for voice control and automation routines with other smart devices.
- Environmental Impact: By reducing your energy consumption, you’re also lowering your carbon footprint, contributing to a healthier planet.
Embracing a smart thermostat DIY installation is a proactive step towards a more sustainable and economically sound household.
Choosing the Right Smart Thermostat for Your Home
The market is flooded with various smart thermostat options, each with its unique features and compatibility requirements. Selecting the right one is crucial for a successful smart thermostat DIY project. Here’s what to consider:
1. HVAC System Compatibility
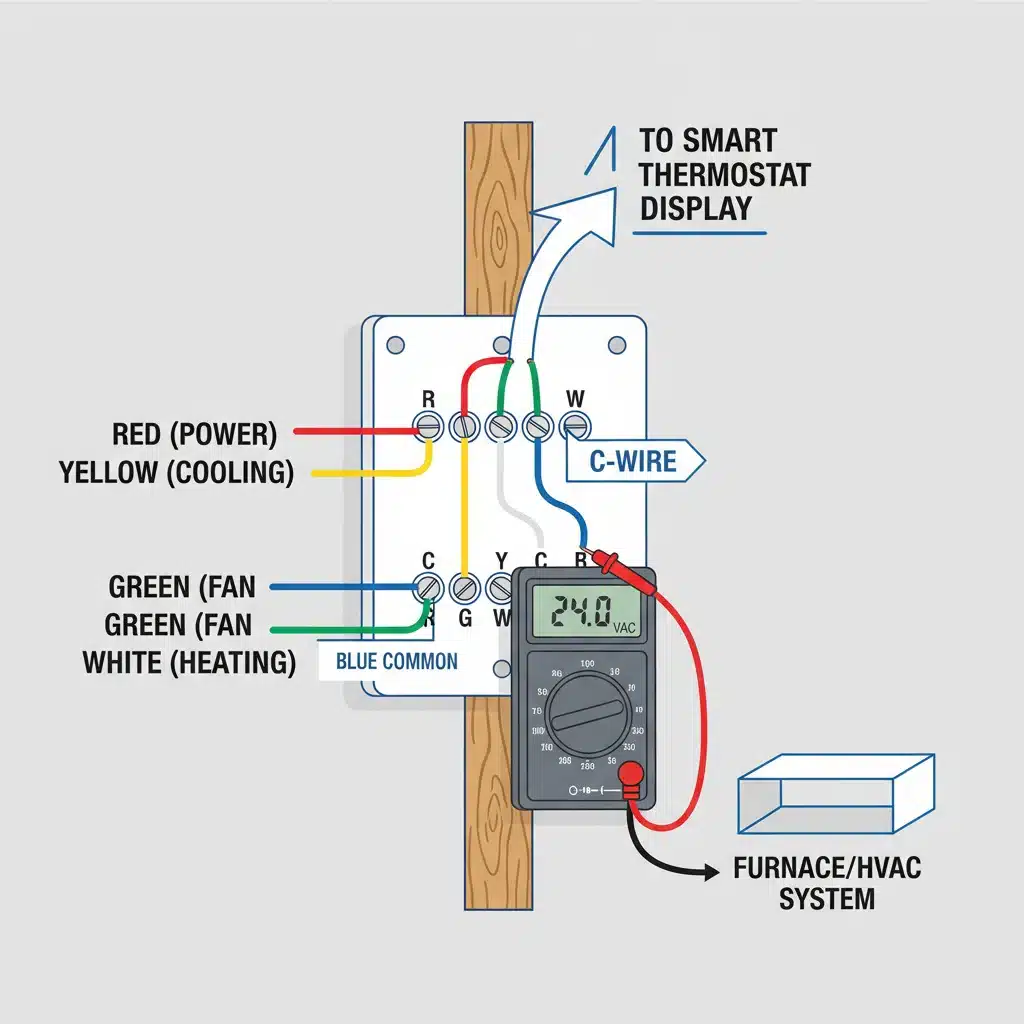
This is the most critical factor. Not all smart thermostats are compatible with all HVAC systems. Check your existing thermostat’s wiring. Common wire (C-wire) is often required to provide continuous power to smart thermostats. If you don’t have a C-wire, some models offer workarounds (like power extenders), or you might need an electrician to install one. Ensure the smart thermostat supports your system type (e.g., conventional, heat pump, multi-stage).
2. Features and Functionality
- Learning Capabilities: Some thermostats, like Nest, learn your preferences over time.
- Geofencing: Uses your phone’s location to know when you’re home or away.
- Occupancy Sensors: Detects if someone is in a room to adjust temperature.
- Remote Sensors: Allow you to monitor and control temperature in specific rooms, not just where the thermostat is located.
- Voice Control Integration: Compatibility with Alexa, Google Assistant, etc.
- Energy Reporting: Detailed insights into your energy consumption.
- Humidity Control: Some advanced models can manage humidity levels.
3. Smart Home Ecosystem Integration
If you already have a smart home ecosystem (e.g., Apple HomeKit, Samsung SmartThings), choose a thermostat that integrates seamlessly with it for a unified experience.
4. User Interface and Ease of Use
Consider how intuitive the device’s interface is, both on the unit itself and through its mobile app. A user-friendly experience will make your smart thermostat DIY journey much smoother.
Popular Smart Thermostat Brands:
- Nest Thermostat: Known for its learning capabilities and sleek design.
- Ecobee Smart Thermostat: Popular for remote sensors and advanced features.
- Honeywell Home Smart Thermostats: Offers a wide range of models with varying features and price points.
- Emerson Sensi Smart Thermostat: Often praised for its straightforward installation and broad compatibility.
Researching and comparing models based on these criteria will help you make an informed decision for your smart thermostat DIY project.
Pre-Installation Checklist: Preparing for Your Smart Thermostat DIY
Preparation is key to a smooth smart thermostat DIY installation. Before you even touch a screwdriver, follow these steps:
1. Gather Your Tools
You’ll typically need:
- Screwdriver (Phillips and flathead)
- Wire strippers (optional, but helpful if wires are damaged)
- Pencil
- Drill (if new mounting holes are needed)
- Level
- Smartphone or tablet for the app setup
- Your new smart thermostat kit (including mounting plate, screws, and any power extenders)
2. Turn Off Power to Your HVAC System
This is paramount for your safety. Go to your circuit breaker and turn off the power to your furnace, air handler, or boiler. It’s often labeled ‘Furnace,’ ‘AC,’ or ‘HVAC.’ Double-check that the power is off by trying to adjust your old thermostat – nothing should happen.
3. Photograph Your Existing Wiring
Before disconnecting any wires, take clear, close-up photos of your current thermostat’s wiring connections. This visual record will be invaluable for reference during your smart thermostat DIY installation.
4. Label Your Wires
Most smart thermostat kits come with labels. Attach these labels to each wire as you disconnect it from your old thermostat. If your kit doesn’t have labels, masking tape and a marker work perfectly. Ensure the labels match the terminals on your old thermostat (e.g., R, G, Y, W, C).
5. Check for a C-Wire (Common Wire)
As mentioned, a C-wire provides continuous 24V AC power to the thermostat. If you have one, your installation will be straightforward. If not, check your smart thermostat’s manual for alternatives like a power extender kit or consult an HVAC professional if you’re uncomfortable with the workaround.
Step-by-Step Smart Thermostat DIY Installation Guide
With preparations complete, it’s time for the actual smart thermostat DIY installation. While specific steps may vary slightly by model, the general process is similar:
Step 1: Remove the Old Thermostat
Gently pull the old thermostat’s faceplate away from its base. You might need to unscrew it. Once the faceplate is off, unscrew the mounting plate from the wall. Be careful not to let the wires fall back into the wall cavity.
Step 2: Install the New Mounting Plate
Thread the wires through the opening in your new smart thermostat’s mounting plate. Position the plate on the wall, using a level to ensure it’s straight. Mark the screw holes with a pencil. If the new holes don’t align with the old ones, you may need to drill new pilot holes. Secure the mounting plate to the wall with the provided screws.
Step 3: Connect the Wires
This is where your photos and labels come in handy. Match each labeled wire to the corresponding terminal on the new smart thermostat’s base plate. Most smart thermostats have clear diagrams or guides within their app to assist with this. Push the wires firmly into their terminals until they are secure. If any wires are frayed, use wire strippers to expose fresh copper.
Step 4: Attach the Smart Thermostat Faceplate
Once all wires are securely connected, carefully attach the smart thermostat faceplate to the mounting plate. It usually snaps or clicks into place. Ensure it’s flush against the wall.
Step 5: Restore Power and Initial Setup
Return to your circuit breaker and restore power to your HVAC system. Your smart thermostat should power on. Follow the on-screen prompts or the instructions in the accompanying app to complete the initial setup. This typically involves connecting to your home’s Wi-Fi network, setting your location, and configuring basic preferences.
Post-Installation: Optimizing Your Smart Thermostat for Maximum Efficiency
Your smart thermostat DIY installation is complete, but the journey to maximum HVAC efficiency is just beginning. Here’s how to optimize its performance:
1. Calibrate and Test
After installation, run a test to ensure both heating and cooling functions work correctly. Compare the thermostat’s temperature reading with an independent thermometer to check for accuracy. Most smart thermostats have a calibration setting if needed.
2. Set Up Schedules and Preferences
Take advantage of the scheduling features. Create a schedule that aligns with your daily routine, setting different temperatures for when you’re home, away, or asleep. Be realistic with your temperature settings; even a one-degree adjustment can impact energy consumption.
3. Enable Smart Features
- Geofencing: If your thermostat supports it, enable geofencing so it can automatically adjust the temperature when you leave and return home.
- Learning Mode: Allow learning thermostats to observe your habits for a week or two to develop an optimized schedule. Resist the urge to constantly override settings.
- Occupancy Sensors: If you have remote sensors, place them in frequently used rooms and enable occupancy sensing.
- Energy Saving Modes: Activate eco-modes or energy-saving presets offered by your thermostat.
4. Monitor Energy Reports
Regularly review the energy usage reports provided by your smart thermostat’s app. This data will help you understand how your HVAC system is performing and identify opportunities for further savings. Look for spikes or inconsistencies that might indicate issues or areas for adjustment.
5. Integrate with Other Smart Devices
Connect your smart thermostat with other smart home devices. For example, you can set up routines where your lights turn off and your thermostat adjusts when you leave the house, or your smart blinds close when the AC is running to reduce solar gain.
Troubleshooting Common Smart Thermostat DIY Issues
Even with careful planning, you might encounter a few hiccups during your smart thermostat DIY installation. Here are some common issues and their solutions:
1. No Power to the Thermostat
- Check Breaker: Ensure the power to your HVAC system is on at the circuit breaker.
- C-Wire Connection: Verify the C-wire is properly connected at both the thermostat and the furnace/air handler. If you don’t have a C-wire, ensure your power extender kit is correctly installed.
- Loose Wires: Recheck all wire connections at the thermostat terminals to ensure they are secure.
2. HVAC System Not Responding (No Heating/Cooling)
- Wiring: The most common cause. Double-check your wiring against your photos and the thermostat’s manual. Ensure wires are in the correct terminals.
- System Type Setting: Many smart thermostats require you to specify your HVAC system type during setup (e.g., conventional, heat pump). Ensure this setting is correct.
- Safety Switch: Check if your furnace or air handler has a safety switch that might have been tripped during installation (often found on the access panel).
3. Wi-Fi Connectivity Issues
- Router Proximity: Ensure your thermostat is within range of your Wi-Fi router.
- Password: Double-check your Wi-Fi password.
- Network Band: Most smart thermostats operate on the 2.4 GHz Wi-Fi band. Ensure your router is broadcasting on this band and that your phone is connected to it during setup.
- Restart: Try restarting your router and the thermostat.
4. Inaccurate Temperature Readings
- Drafts: Ensure the thermostat isn’t located in a drafty area or directly exposed to sunlight, which can skew readings.
- Calibration: Check if your thermostat has a calibration setting in its advanced menu.
If you’ve exhausted these troubleshooting steps and are still facing issues with your smart thermostat DIY, don’t hesitate to consult the thermostat’s manufacturer support or a qualified HVAC technician.
Achieving 10% HVAC Efficiency by Spring 2026: A Roadmap
Our ambitious yet achievable goal is to boost your HVAC efficiency by 10% by Spring 2026 through your smart thermostat DIY project. Here’s a roadmap to get you there:
Phase 1: Immediate Savings (Months 1-3 Post-Installation)
- Initial Setup and Basic Scheduling: Immediately after installation, set up a basic schedule based on your typical occupancy. This alone will yield initial savings.
- Geofencing Activation: Enable geofencing if available to ensure your system adjusts when you leave and return.
- Learning Period: Allow your smart thermostat to learn your preferences. Resist the urge to constantly override settings.
- Temperature Setback: Implement a significant temperature setback (5-7 degrees Fahrenheit) when you’re away or sleeping.
Phase 2: Data-Driven Optimization (Months 3-12)
- Analyze Energy Reports: Regularly review the energy reports from your thermostat’s app. Identify peak usage times and adjust schedules accordingly.
- Fine-Tune Schedules: Based on your energy data and personal comfort, fine-tune your schedules. Experiment with slight temperature adjustments.
- Remote Sensors: If you have remote sensors, strategically place them to address hot or cold spots and ensure even comfort.
- Seasonal Adjustments: Create distinct schedules for different seasons, taking into account external temperatures and solar gain.
Phase 3: Advanced Strategies and Maintenance (Months 12-24+)
- Smart Home Integration: Explore advanced automations with other smart devices (e.g., smart blinds closing when AC is on).
- HVAC Maintenance: While not directly part of the thermostat, regular HVAC maintenance (filter changes, professional tune-ups) complements your smart thermostat’s efforts by ensuring your system runs at peak efficiency.
- Thermostat Firmware Updates: Keep your smart thermostat’s firmware updated to access the latest features and efficiency improvements.
- Continuous Monitoring: Continue to monitor energy reports and make small, incremental adjustments to maintain and improve efficiency.
By following this roadmap, your smart thermostat DIY project will not only provide immediate comfort and convenience but will also steadily contribute to significant, measurable HVAC efficiency gains, putting you well on track to achieve that 10% target by Spring 2026.
Beyond Installation: Maximizing Your Smart Thermostat’s Potential
A smart thermostat DIY installation is just the first step. To truly unlock its potential and maximize your energy savings, consider these additional tips:
1. Understand Your Home’s Thermal Envelope
Even the smartest thermostat can’t compensate for a poorly insulated home. Consider assessing your home’s insulation, sealing air leaks around windows and doors, and upgrading to energy-efficient windows if needed. These improvements work hand-in-hand with your smart thermostat to reduce energy waste.
2. Leverage Geofencing and Occupancy Sensing
These features are powerful tools for energy saving. Geofencing ensures your HVAC system isn’t running unnecessarily when no one is home, while occupancy sensors can fine-tune comfort in specific zones. Make sure these are properly configured and working as intended.
3. Utilize Vacation Mode
If you’re going away for an extended period, enable your thermostat’s vacation mode. This maintains a safe temperature to prevent pipes from freezing or extreme heat buildup, but at a much lower energy cost than your regular settings.
4. Participate in Demand Response Programs
Many utility companies offer demand response programs where they provide incentives (often bill credits) for allowing them to make minor adjustments to your thermostat during peak energy demand. Your smart thermostat can often integrate directly with these programs, offering additional savings without significantly impacting your comfort.
5. Regular Maintenance of Your HVAC System
A clean, well-maintained HVAC system is an efficient one. Change your air filters regularly (every 1-3 months), and schedule annual professional tune-ups. A dirty filter or an uncalibrated system can negate some of the energy savings your smart thermostat provides.
6. Stay Updated with Firmware
Smart thermostats often receive firmware updates that introduce new features, improve performance, and enhance energy-saving algorithms. Ensure your device is set to automatically update or manually check for updates periodically.
Conclusion: Embrace the Future of Home Comfort and Efficiency
Undertaking a smart thermostat DIY installation is an investment that pays dividends in comfort, convenience, and significant energy savings. By following this detailed guide, you’re not just installing a device; you’re actively participating in the future of home automation and sustainable living. The journey to achieving 10% HVAC efficiency by Spring 2026 is well within your reach, providing you with a more comfortable home and a lighter environmental footprint.
So, gather your tools, choose your smart thermostat, and embark on this rewarding DIY project. The control, savings, and peace of mind you gain will make it one of the smartest upgrades you’ve made to your home. Your energy bills (and the planet) will thank you.