DIY Smart Plugs: Control 5 Appliances Remotely for Energy Savings
In an increasingly connected world, the concept of a smart home is no longer a futuristic dream but a tangible reality for many. Among the myriad of smart devices available, DIY Smart Plugs stand out as an accessible and highly effective tool for enhancing home automation, convenience, and perhaps most importantly, energy efficiency. This comprehensive guide will walk you through the process of setting up and utilizing DIY smart plugs to remotely control up to five of your home appliances, with a specific focus on achieving a significant 5% reduction in phantom load – that insidious energy drain from devices even when they appear to be off.
The journey towards a smarter, more energy-conscious home doesn’t have to be complicated or expensive. With a strategic approach to DIY Smart Plugs, you can transform ordinary appliances into smart ones, gaining unprecedented control over your energy consumption. We’ll delve into the ‘why’ behind tackling phantom load, the ‘what’ of smart plugs, and the ‘how’ of their practical implementation, ensuring you have all the knowledge to embark on this rewarding project.
Understanding Phantom Load: The Silent Energy Thief
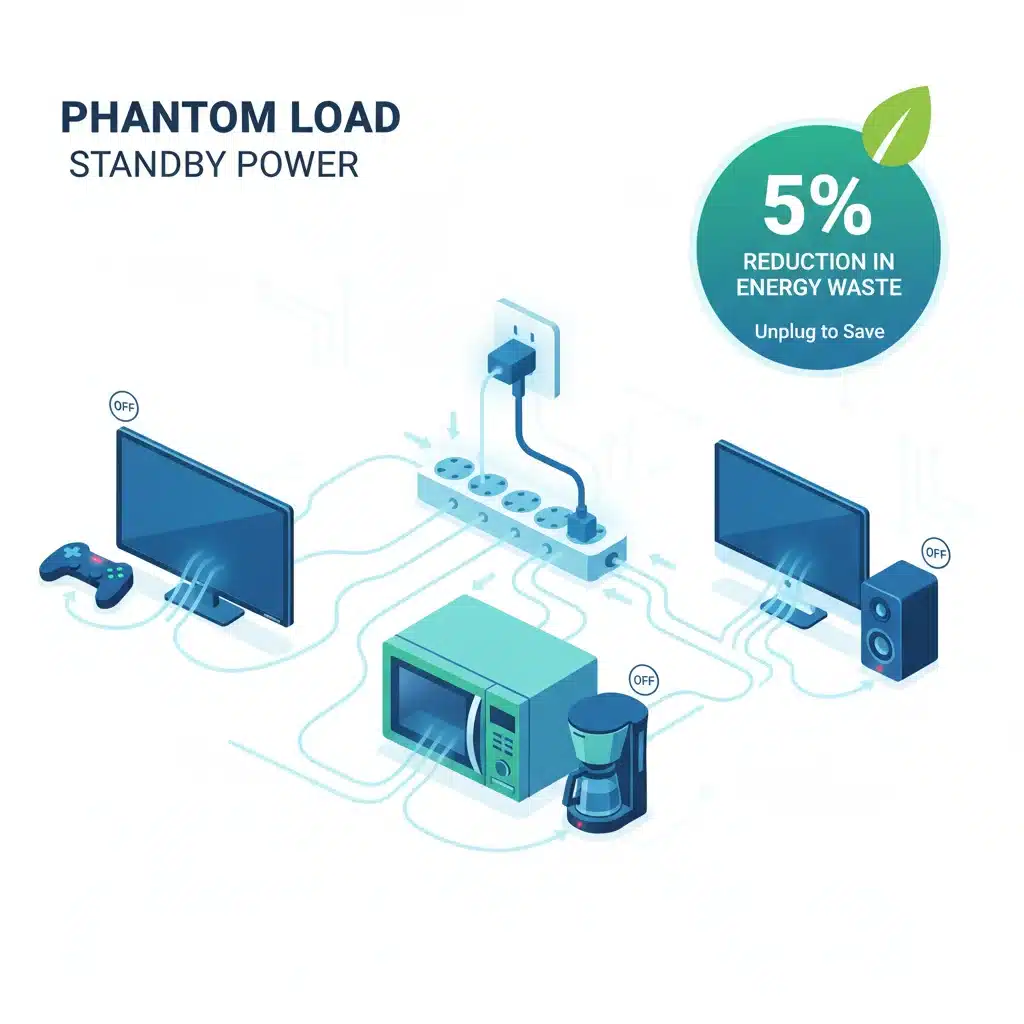
Before we dive into the exciting world of DIY Smart Plugs, it’s crucial to understand the problem they are designed to solve: phantom load, also known as standby power. This refers to the electricity consumed by electronic devices when they are switched off or in standby mode. Think about your TV, computer, coffee maker, or even phone chargers – many of these continue to draw power even when not actively in use, slowly but surely adding to your electricity bill.
Studies have shown that phantom load can account for 5% to 10% of an average household’s electricity consumption. While a single device’s standby power might seem negligible, the cumulative effect of multiple devices across your home can be substantial. Imagine a dozen or more devices constantly sipping power, day in and day out. Over a year, this can translate into a significant amount of wasted energy and money. Identifying and mitigating phantom load is a key step towards true energy efficiency.
The challenge with phantom load is that it’s often invisible. You can’t see the electricity being drawn, and it’s easy to assume that an appliance that’s ‘off’ isn’t consuming power. This is where DIY Smart Plugs become invaluable. They offer a simple, visual, and quantifiable way to cut off power completely to devices when they’re not needed, eliminating phantom load at its source.
Our goal with this guide is not just to introduce you to smart plugs but to empower you to specifically target and reduce this often-overlooked energy drain. By focusing on five key appliances, we aim for a measurable 5% reduction in your overall phantom load, contributing to both a greener planet and a lighter wallet.
What Are DIY Smart Plugs and How Do They Work?
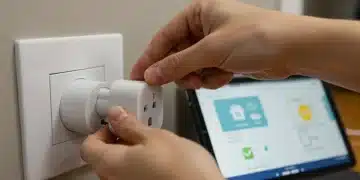
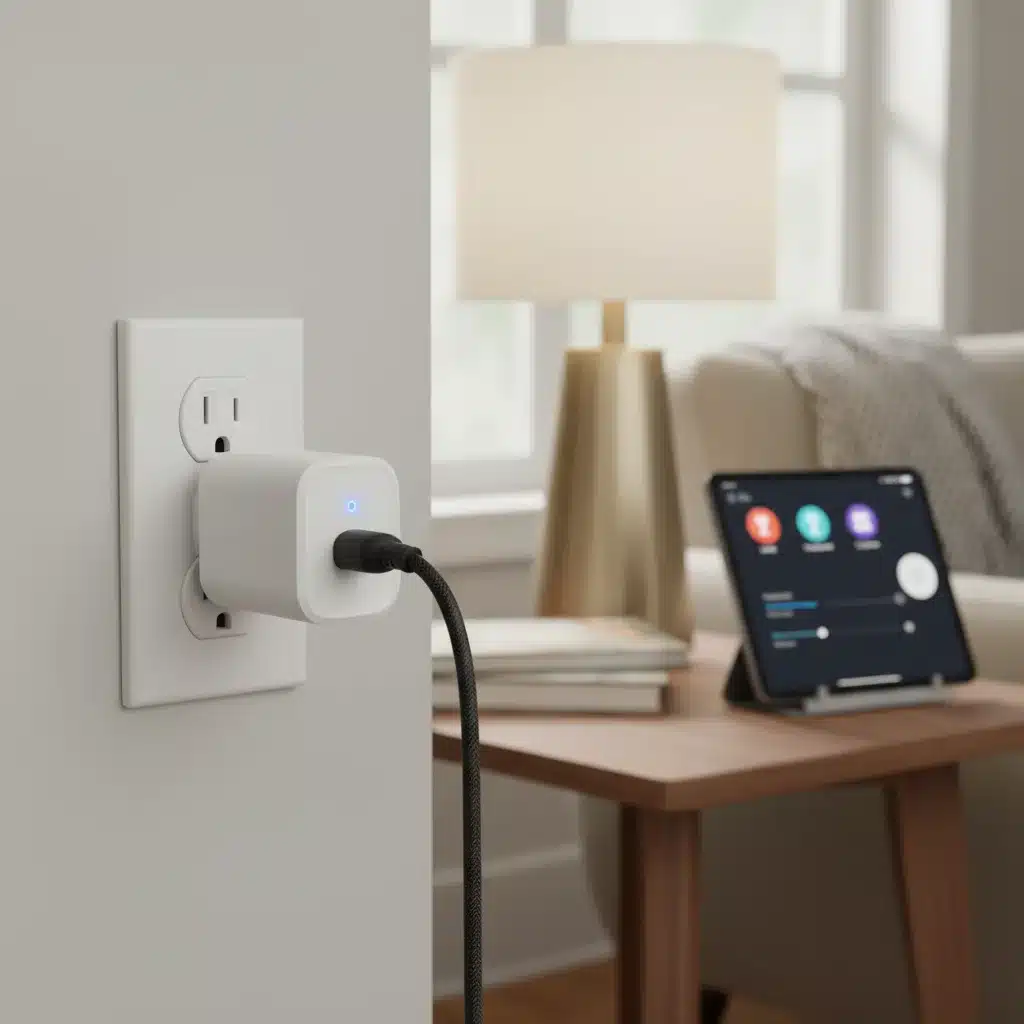
At their core, DIY Smart Plugs are intelligent adapters that fit between your wall outlet and an appliance’s power cord. What makes them ‘smart’ is their ability to communicate with your home’s Wi-Fi network, allowing them to be controlled remotely via a smartphone app, voice commands (through smart assistants like Alexa or Google Assistant), or even automated schedules. They effectively act as a remote-controlled on/off switch for any non-smart appliance.
The ‘DIY’ aspect comes from the ease of installation and configuration. Unlike complex smart home systems that might require professional installation, smart plugs are typically plug-and-play. You simply plug them into an existing outlet, connect them to your home Wi-Fi using a manufacturer’s app, and then plug your appliance into the smart plug. This accessibility makes them a perfect entry point for anyone interested in home automation and energy management.
Key Features and Benefits of DIY Smart Plugs:
- Remote Control: Turn appliances on or off from anywhere using your smartphone. Forgot to turn off the iron? No problem. Want to turn on the lights before you get home? Easy.
- Scheduling: Set specific times for devices to power on or off. This is excellent for coffee makers, lamps, or even holiday lights.
- Voice Control: Integrate with smart assistants for hands-free operation. “Hey Google, turn off the living room fan.”
- Energy Monitoring: Many smart plugs offer built-in energy monitoring, allowing you to track the power consumption of connected devices. This feature is crucial for identifying phantom load and verifying your energy savings.
- Cost-Effectiveness: Compared to replacing entire appliances with smart versions, smart plugs are a much more affordable way to introduce smart functionality.
- Easy Installation: No wiring or technical expertise required.
The beauty of DIY Smart Plugs lies in their versatility. They can be used with almost any appliance that has a physical on/off switch or that retains its ‘on’ state when power is restored. This opens up a world of possibilities for automating your home and significantly impacting your energy usage by completely cutting power to devices that would otherwise be drawing standby current.
Choosing the Right DIY Smart Plugs for Your Home
With a plethora of smart plugs on the market, selecting the right ones for your DIY Smart Plugs project is essential. While many brands offer similar core functionalities, there are several factors to consider to ensure compatibility, reliability, and the best value for your investment.
Factors to Consider:
- Compatibility with Smart Home Ecosystems: If you already use a smart assistant (Alexa, Google Assistant, Apple HomeKit), ensure the smart plugs are compatible. This allows for seamless voice control and integration into existing routines.
- Energy Monitoring Capabilities: For our goal of reducing phantom load and tracking a 5% energy reduction, smart plugs with integrated energy monitoring are highly recommended. This feature provides real-time and historical data on power consumption, empowering you to make informed decisions.
- App Functionality and User Interface: A user-friendly app is crucial for easy setup, scheduling, and remote control. Look for apps with intuitive interfaces and robust features.
- Size and Design: Consider the physical size of the smart plug. Some can be bulky and block adjacent outlets. Look for compact designs if you have limited space or want to use multiple plugs in a power strip.
- Reliability and Brand Reputation: Opt for reputable brands known for producing reliable smart home devices. Read reviews and check for customer support availability.
- Wi-Fi Standards: Most smart plugs operate on 2.4 GHz Wi-Fi. Ensure your home network supports this frequency, as 5 GHz networks are not typically compatible with these devices.
- Safety Certifications: Always check for safety certifications (e.g., UL, ETL) to ensure the product meets safety standards.
Recommended Smart Plug Brands (Examples):
- TP-Link Kasa Smart Plugs: Known for their ease of use, reliable performance, and often include energy monitoring. They integrate well with Alexa and Google Assistant.
- Wyze Plugs: Budget-friendly option, often with basic scheduling and remote control features. Some models offer energy monitoring.
- Meross Smart Plugs: Offer good value, often support multiple smart home platforms (Alexa, Google Assistant, HomeKit), and some models have energy monitoring.
- Feit Electric Smart Plugs: Available at many retail stores, generally affordable, and compatible with common smart assistants.
For this project, we recommend purchasing at least five smart plugs, ideally ones with energy monitoring. This will allow you to control your target appliances and accurately track the energy savings, validating your 5% phantom load reduction goal. Investing a little more in quality DIY Smart Plugs can save you headaches and provide more accurate data in the long run.
Identifying Your 5 Target Appliances for Phantom Load Reduction
The success of our DIY Smart Plugs project hinges on strategically choosing the right appliances to control. The goal is to identify five devices that contribute significantly to phantom load and are suitable for remote power cycling. Not all appliances are good candidates for smart plug control (e.g., refrigerators, medical devices, or items that require constant power).
How to Identify High Phantom Load Appliances:
- Use an Energy Monitor (Optional but Recommended): If you have an existing Kill A Watt meter or a smart plug with energy monitoring, use it to test various appliances. Plug the meter into the wall, then plug your appliance into the meter. Turn the appliance off (or put it in standby) and observe the wattage. Devices showing consistent wattage draw even when off are prime targets.
- Common Suspects: Some categories of devices are notorious for phantom load:
- Entertainment Systems: TVs, soundbars, gaming consoles (PlayStation, Xbox), cable boxes, streaming devices (Roku, Apple TV). These often maintain a low power state for quick startup or updates.
- Computer Peripherals: Desktop monitors, speakers, printers, external hard drives.
- Kitchen Appliances: Coffee makers with digital displays, microwaves with clocks, toasters with electronic controls.
- Chargers: Phone, laptop, tablet chargers left plugged in without a device connected. While individual chargers might draw very little, their cumulative effect can be notable.
- Home Office Equipment: Desk lamps, shredders, smaller office electronics.
- Consider Usage Patterns: Choose appliances that you don’t need to be constantly powered on. For instance, a coffee maker that you only use in the morning is a perfect candidate for scheduling, cutting power for the rest of the day. A TV you only watch in the evenings can have its power completely cut during the day and overnight.
Example Target Appliances (Choose 5 from this list or similar):
- Television & Soundbar: Often draws significant standby power for quick turn-on or software updates.
- Gaming Console (e.g., PlayStation/Xbox): Stays in low-power mode for updates and remote wake-up.
- Coffee Maker with Digital Display: The clock and internal electronics can draw power constantly.
- Desktop Computer Monitor & Speakers: Even when the computer is off, these peripherals might draw power.
- Phone/Laptop Charger (with no device attached): While minimal, cutting power to these when not in use is a good habit.
- Desk Lamp: Simple on/off control, perfect for scheduling.
- Router/Modem (if not critical for constant internet access): This can be a significant phantom load, but only suitable if you don’t mind a brief internet interruption when it powers back on.
Once you’ve identified your five target appliances, make a list. This list will be your roadmap for implementing your DIY Smart Plugs and achieving your energy-saving goals. Remember, the key is to pick devices where cutting power won’t cause inconvenience or data loss.
Step-by-Step Installation and Configuration of Your DIY Smart Plugs
Now that you have your DIY Smart Plugs and your list of target appliances, it’s time to bring your smart home vision to life. The installation process is generally straightforward, but following these steps will ensure a smooth setup.
Phase 1: Physical Installation
- Unpack Your Smart Plugs: Remove all smart plugs from their packaging. It’s a good idea to label them (e.g., ‘TV’, ‘Coffee Maker’) if they look identical, to avoid confusion during setup.
- Plug In the Smart Plug: Insert one smart plug into a wall outlet near your first target appliance.
- Plug In the Appliance: Plug your target appliance’s power cord into the smart plug. Ensure the appliance is initially turned off.
- Repeat for All 5 Appliances: Follow steps 2 and 3 for each of your five chosen appliances. Try to use outlets that are easily accessible for the initial setup.
Phase 2: App Setup and Wi-Fi Connection
- Download the Manufacturer’s App: Search for and download the official app for your specific brand of smart plugs (e.g., Kasa Smart, Wyze, Meross) from your smartphone’s app store (Google Play Store or Apple App Store).
- Create an Account: Open the app and create a new user account if you don’t already have one. This usually involves providing an email address and creating a password.
- Add a Device: In the app, look for an option like “Add Device,” “+,” or “Add Plug.” Follow the on-screen instructions.
- Power Cycle the Smart Plug (if prompted): Many apps will ask you to plug in the smart plug and wait for a blinking light, indicating it’s in pairing mode. You might need to press and hold a button on the smart plug itself for a few seconds to initiate pairing mode.
- Connect to Wi-Fi: The app will guide you to connect the smart plug to your home’s 2.4 GHz Wi-Fi network. You’ll need to enter your Wi-Fi password. Make sure your phone is also connected to the 2.4 GHz network during this step.
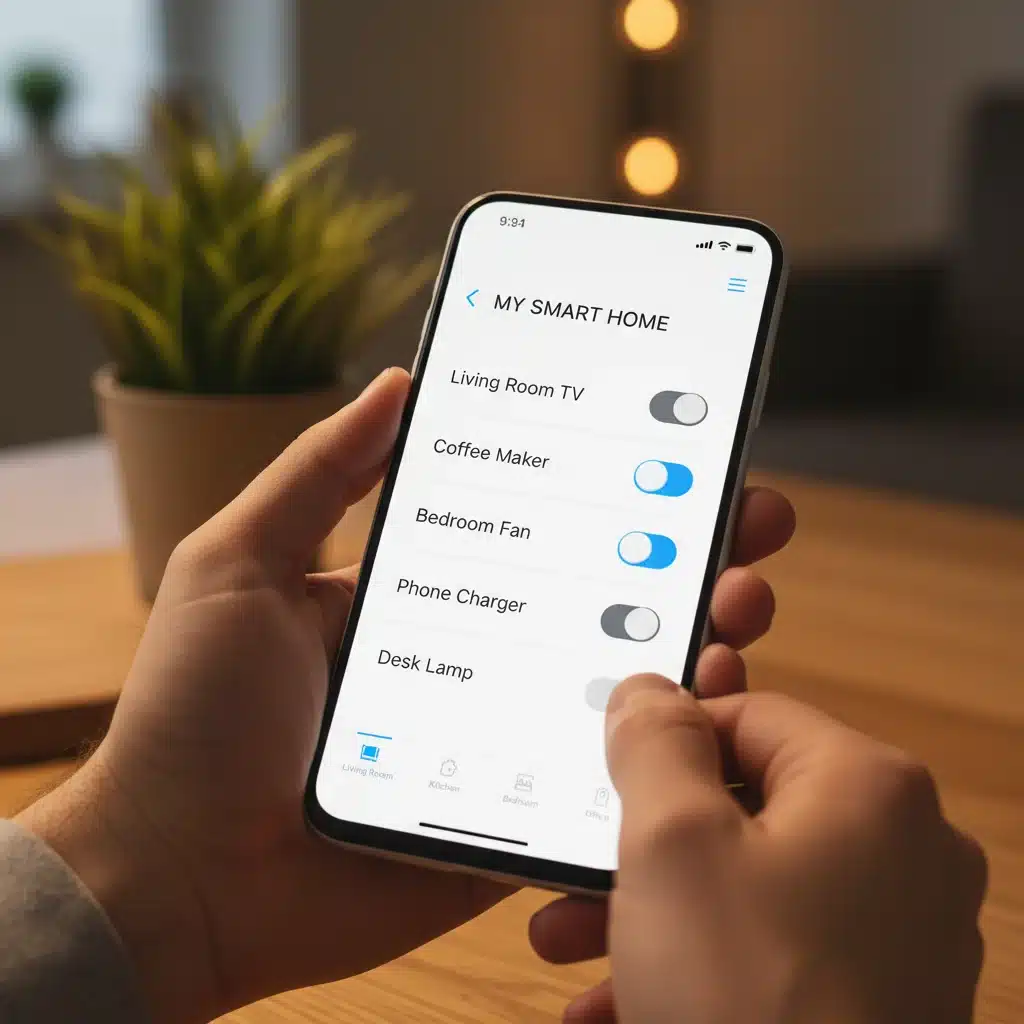
- Name Your Smart Plug: Once connected, the app will prompt you to name the smart plug. Use descriptive names that correspond to your appliances (e.g., “Living Room TV,” “Kitchen Coffee Maker,” “Office Monitor”). This is crucial for easy identification and voice control.
- Repeat for All Smart Plugs: Go through steps 3-6 for each of your five DIY Smart Plugs until all are connected and named in the app.
Phase 3: Testing and Initial Remote Control
- Test Each Plug Individually: From the app, tap on each named smart plug and use the on/off toggle switch. Verify that the connected appliance powers on and off as expected.
- Check Appliance Behavior: For appliances like TVs, ensure they return to their desired state (fully off or standby) after being powered off by the smart plug and then powered back on. Some devices might require you to manually press their power button after being reconnected to power.
Congratulations! You’ve successfully installed and configured your DIY Smart Plugs. You now have remote control over your five chosen appliances, laying the groundwork for significant energy savings.
Implementing Schedules and Automations for 5% Phantom Load Reduction
With your DIY Smart Plugs set up, the real work of energy saving begins. This section focuses on leveraging the scheduling and automation features of your smart plugs to achieve our goal of a 5% reduction in phantom load. The key is to completely cut power to your target appliances during periods when they are not in active use.
Strategy for Phantom Load Reduction:
The most effective way to eliminate phantom load is to schedule your smart plugs to turn off completely when the appliance is not needed. This means no standby power draw whatsoever.
Setting Up Schedules and Timers:
Most smart plug apps offer robust scheduling features. Here’s how to approach it for your five appliances:
- Living Room TV & Soundbar:
- Schedule: Set the smart plug to turn off completely from 1:00 AM to 5:00 PM (or whenever you typically don’t watch TV).
- Benefit: Eliminates standby power for the TV and soundbar for over 16 hours a day.
- Gaming Console:
- Schedule: Set to turn off from 11:00 PM to 4:00 PM the next day.
- Benefit: Prevents the console from drawing power for background updates or quick resume modes when not in use.
- Kitchen Coffee Maker:
- Schedule: Set to turn on at 6:30 AM and off at 8:00 AM (after your morning coffee ritual). Turn it back on for a brief period in the afternoon if you have an evening coffee.
- Benefit: The clock and internal components are only powered during active use times.
- Office Monitor & Speakers:
- Schedule: Set to turn off from 6:00 PM to 8:00 AM.
- Benefit: Ensures these peripherals are completely powered down outside of working hours, eliminating their standby draw.
- Phone/Laptop Charger (at night or when leaving home):
- Schedule: Set to turn off from 10:00 PM to 6:00 AM, or during the hours you are typically away from home.
- Benefit: Avoids the minimal but constant draw of chargers left plugged in.
Integrating with Smart Assistants (Optional but Recommended):
For added convenience and flexibility, integrate your DIY Smart Plugs with your smart assistant (Alexa, Google Assistant). This allows you to override schedules or manually control devices with voice commands.
- Link Accounts: In your smart assistant app, look for the option to add devices or link services. Select your smart plug brand’s service and log in with your smart plug app credentials.
- Discover Devices: The smart assistant will then discover all your named smart plugs.
- Create Routines: Go beyond simple on/off commands. Create routines like “Good Morning” that turn on your coffee maker and a lamp, or “Goodnight” that turns off all five phantom load appliances.
By diligently setting up these schedules and automations, you are actively combating phantom load. The next step is to verify the impact of your efforts.
Monitoring and Verifying Your 5% Energy Savings
The true measure of success for this DIY Smart Plugs project lies in verifying the energy savings. If you chose smart plugs with energy monitoring capabilities, this process will be much easier and more accurate. Our target is a 5% reduction in overall phantom load, which can significantly contribute to your total household energy savings.
How to Monitor and Verify:
- Baseline Measurement (If Possible): Before implementing schedules, use the energy monitoring feature of your smart plugs (or a separate Kill A Watt meter) to record the standby power consumption of each of your five target appliances over a 24-hour period. Sum these up to get your baseline phantom load estimate for these devices.
- Post-Implementation Monitoring: After implementing your schedules and automations for a week or two, revisit the energy monitoring data in your smart plug app. Most apps provide daily, weekly, and monthly consumption reports.
- Calculate Savings: Compare the ‘before’ (baseline) and ‘after’ energy consumption for your five appliances. If you’ve completely cut power during off-peak hours, the energy consumption for those periods should drop to zero.
- Estimate Overall Household Impact: While directly calculating a 5% reduction in *total household phantom load* is challenging without a whole-home energy monitor, you can estimate it. If your five chosen appliances were contributing, for example, 30% of your total phantom load, and you’ve eliminated 80% of their standby draw through smart plugs, you’ve made a substantial dent. Many households find that 5-10 devices account for the majority of the phantom load.
- Look at Your Electricity Bill: Over a few billing cycles, you should start to see a noticeable (albeit potentially small initially) dip in your overall electricity consumption, especially if you’re consistent with your smart plug usage. Remember, every little bit adds up!
Tips for Maximizing Savings with DIY Smart Plugs:
- Be Consistent: Adhere to your schedules. If you frequently override them, the savings will diminish.
- Review and Adjust: Periodically review your appliance usage patterns and adjust schedules as needed. Perhaps you now watch TV later on weekends, or your work hours have changed.
- Expand Your Smart Plug Network: Once you see the benefits, consider adding more DIY Smart Plugs to other high-phantom-load devices in your home.
- Educate Household Members: Ensure everyone in your home understands how the smart plugs work and the importance of adhering to the energy-saving routines.
By diligently monitoring and adjusting your smart plug usage, you can confidently verify the energy savings achieved and take pride in your contribution to a more energy-efficient home. The 5% reduction in phantom load is not just a number; it’s a measurable step towards sustainable living and lower utility bills.
Advanced Tips and Further Smart Home Integration
Once you’ve mastered the basics of DIY Smart Plugs and achieved your 5% phantom load reduction, you might be ready to explore more advanced functionalities and further integrate your smart plugs into a broader smart home ecosystem. The versatility of smart plugs extends far beyond simple on/off scheduling.
Grouping Plugs for Unified Control:
Most smart plug apps allow you to group multiple plugs together. For example, you could create a “Living Room Entertainment” group that includes your TV, soundbar, and gaming console smart plugs. With a single tap or voice command, you can then turn off (or on) all these devices simultaneously, ensuring no standby power is drawn from any component of your entertainment system.
Creating Scenes and Routines:
Beyond simple on/off schedules, smart home apps and assistants enable the creation of complex scenes or routines. These allow multiple actions to occur with a single command or trigger. For instance:
- “Good Morning” Scene: Triggers your coffee maker smart plug to turn on, along with a smart lamp, and perhaps even adjusts your smart thermostat.
- “Movie Night” Scene: Turns on your TV and soundbar smart plugs, dims smart lights, and closes smart blinds.
- “Away” Routine: Powers off all non-essential smart plugs, ensuring no phantom load while you’re out.
Integration with Other Smart Devices:
Your DIY Smart Plugs can interact with other smart home devices for even greater automation:
- Motion Sensors: Connect a smart plug controlling a light to a motion sensor, so the light only turns on when someone enters the room and turns off after a period of inactivity. This is excellent for utility rooms or hallways.
- Door/Window Sensors: If a window is left open, a smart plug connected to a fan or portable AC unit could automatically turn off to save energy.
- Smart Thermostats: While direct integration with smart plugs isn’t always common for thermostats themselves, you could use smart plugs for supplemental heating/cooling devices (like space heaters or window ACs) and tie their operation to the thermostat’s schedule or your home’s occupancy.
Using Location-Based Automation (Geofencing):
Many smart home apps offer geofencing capabilities. This allows your smart plugs to react based on your smartphone’s location. For example, you could set up a routine where all designated “away” smart plugs (those controlling phantom load appliances) automatically turn off when you leave a certain radius from your home, and then turn on essential ones (like lights) when you return.
Leveraging IFTTT (If This Then That):
For even more intricate automations, consider using IFTTT. This web-based service allows you to create custom applets (small programs) that connect different smart devices and services. For example, “If the weather forecast predicts a heatwave, then turn on the fan connected to my smart plug.” IFTTT expands the possibilities for how your DIY Smart Plugs can interact with the wider digital world.
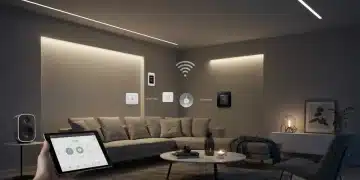
By exploring these advanced tips, you can transform your initial energy-saving project into a truly intelligent and responsive smart home system. The power of DIY Smart Plugs extends far beyond simply cutting power; it’s about creating a more convenient, efficient, and personalized living environment.
Troubleshooting Common DIY Smart Plug Issues
While DIY Smart Plugs are generally straightforward to set up, you might occasionally encounter issues. Knowing how to troubleshoot common problems can save you time and frustration, ensuring your smart home remains functional and energy-efficient.
1. Smart Plug Not Connecting to Wi-Fi:
- Check Wi-Fi Band: Most smart plugs only support 2.4 GHz Wi-Fi. Ensure your router is broadcasting a 2.4 GHz network and your phone is connected to it during setup. If you have a dual-band router with a single SSID, temporarily disable the 5 GHz band during setup if possible, or try moving closer to the router.
- Wi-Fi Signal Strength: The smart plug might be too far from your router. Try moving it closer temporarily for setup, or consider a Wi-Fi extender.
- Correct Password: Double-check that you’re entering the correct Wi-Fi password.
- Router Overload: Too many devices on your Wi-Fi network can sometimes cause issues. Try unplugging a few non-essential devices temporarily.
- Reset the Smart Plug: Most smart plugs have a reset button (often the power button held for 5-10 seconds) that will put it back into pairing mode.
2. Remote Control Not Working:
- Internet Connection: Ensure both your smartphone and your home Wi-Fi (where the smart plugs are connected) have an active internet connection.
- App Glitch: Close and reopen the smart plug app. Sometimes a simple restart is all that’s needed.
- Firmware Update: Check the app for any pending firmware updates for your smart plugs. Outdated firmware can sometimes cause connectivity issues.
- Smart Plug Status: Check the indicator light on the smart plug itself. Is it solid (connected) or blinking (trying to connect)?
3. Schedules Not Activating:
- Time Zone Settings: Ensure your smart plug app’s time zone settings are correct and match your location.
- App Permissions: On your smartphone, check that the smart plug app has necessary permissions (e.g., background app refresh) to run schedules.
- Server Issues: Occasionally, there might be temporary server issues with the smart plug manufacturer. Check their support page or social media for outages.
- Conflicting Schedules/Routines: If you have multiple schedules or smart assistant routines for the same plug, they might conflict. Simplify or consolidate your schedules.
4. Energy Monitoring Data Missing or Inaccurate:
- Feature Availability: Confirm that your specific smart plug model actually has energy monitoring capabilities.
- App Refresh: Pull down to refresh the data in the app. Data might not update in real-time.
- Plug Integrity: Ensure the appliance is fully plugged into the smart plug and the smart plug is fully plugged into the wall. A loose connection can affect readings.
5. Appliance Not Responding After Power Cycle:
- Appliance Type: Some appliances (especially older ones or those with complex electronics) might not power back on automatically after power is restored. They might require a manual press of their power button. This is important to consider when choosing which appliances to automate with DIY Smart Plugs.
- Smart Plug Capacity: Ensure the appliance’s wattage does not exceed the smart plug’s maximum rated capacity. Overloading can damage the plug or the appliance.
When in doubt, consult the user manual for your specific smart plug model or the manufacturer’s online support resources. Most smart plug brands have extensive FAQs and troubleshooting guides. With a little patience, most issues can be resolved, allowing you to continue enjoying the benefits of your DIY Smart Plugs.
The Future of Smart Plugs and Energy Efficiency
The journey with DIY Smart Plugs doesn’t end with controlling five appliances and achieving a 5% phantom load reduction. This is merely the beginning of leveraging smart home technology for greater energy efficiency and convenience. The landscape of smart plugs and home automation is constantly evolving, promising even more sophisticated and integrated solutions.
Emerging Trends in Smart Plug Technology:
- Matter and Thread Compatibility: New industry standards like Matter and Thread are designed to improve interoperability between different smart home devices, making it easier for smart plugs from various brands to work together seamlessly. This will simplify setup and expand automation possibilities.
- Advanced AI and Machine Learning: Future smart plugs might incorporate more advanced AI to learn your habits and predict when to turn devices on or off, optimizing energy use without manual scheduling. Imagine a smart plug that knows you usually leave for work at 8 AM and automatically cuts power to your entertainment system.
- Grid Integration and Demand Response: Smart plugs could play a role in smart grids, automatically adjusting power consumption during peak demand times to help balance the energy load and potentially earn you rebates from utility providers.
- Enhanced Security Features: As homes become smarter, the focus on cybersecurity for IoT devices, including smart plugs, will increase, ensuring your data and home network remain secure.
Expanding Your Smart Home Ecosystem:
Your experience with DIY Smart Plugs can be a stepping stone to a broader smart home ecosystem. Consider integrating other smart devices that complement your energy-saving goals:
- Smart Lighting: Replace traditional bulbs with smart ones to control brightness, color, and schedules, further reducing lighting energy consumption.
- Smart Thermostats: Intelligently manage your heating and cooling, learning your preferences and adjusting based on occupancy and external weather.
- Smart Power Strips: For areas with multiple devices (like entertainment centers), a smart power strip offers individual control over each outlet, maximizing phantom load reduction.
- Smart Sensors: Motion, occupancy, and door/window sensors can provide valuable data to automate your smart plugs and other devices more intelligently.
The continuous innovation in smart home technology means that the potential for energy savings and enhanced living is ever-growing. By staying informed and open to new advancements, you can continue to refine your smart home setup, making it even more efficient, convenient, and tailored to your lifestyle.
Conclusion: Empowering Your Home with DIY Smart Plugs
You’ve now embarked on a rewarding journey to transform your home into a smarter, more energy-efficient space using DIY Smart Plugs. From understanding the silent drain of phantom load to strategically selecting and installing your smart plugs, and then meticulously setting up schedules for five key appliances, you’ve gained invaluable knowledge and practical skills. The targeted 5% reduction in phantom load is not just an arbitrary number; it represents a tangible step towards lower energy bills, a reduced carbon footprint, and a more convenient lifestyle.
The power of DIY Smart Plugs lies in their simplicity and effectiveness. They provide an accessible entry point into home automation, allowing you to gain remote control over ordinary devices and make intelligent decisions about your energy consumption. By consistently applying the techniques outlined in this guide – identifying high-consumption standby devices, utilizing precise scheduling, and monitoring your savings – you are actively contributing to a more sustainable future.
Remember that this is an ongoing process. As you become more comfortable with your smart plugs, you can expand their use, integrate them with other smart home devices, and explore advanced automations. The benefits extend beyond monetary savings; they encompass greater peace of mind, enhanced control, and a modern living experience.
Take pride in the smart choices you’ve made. Your efforts in deploying DIY Smart Plugs demonstrate a commitment to both personal efficiency and environmental responsibility. Continue to explore, innovate, and enjoy the ever-evolving world of smart home technology. Your journey to a smarter, greener home has just begun.