Build Your Own Smart Home Hub: A 2026 Guide to Integrating 8+ Devices Seamlessly
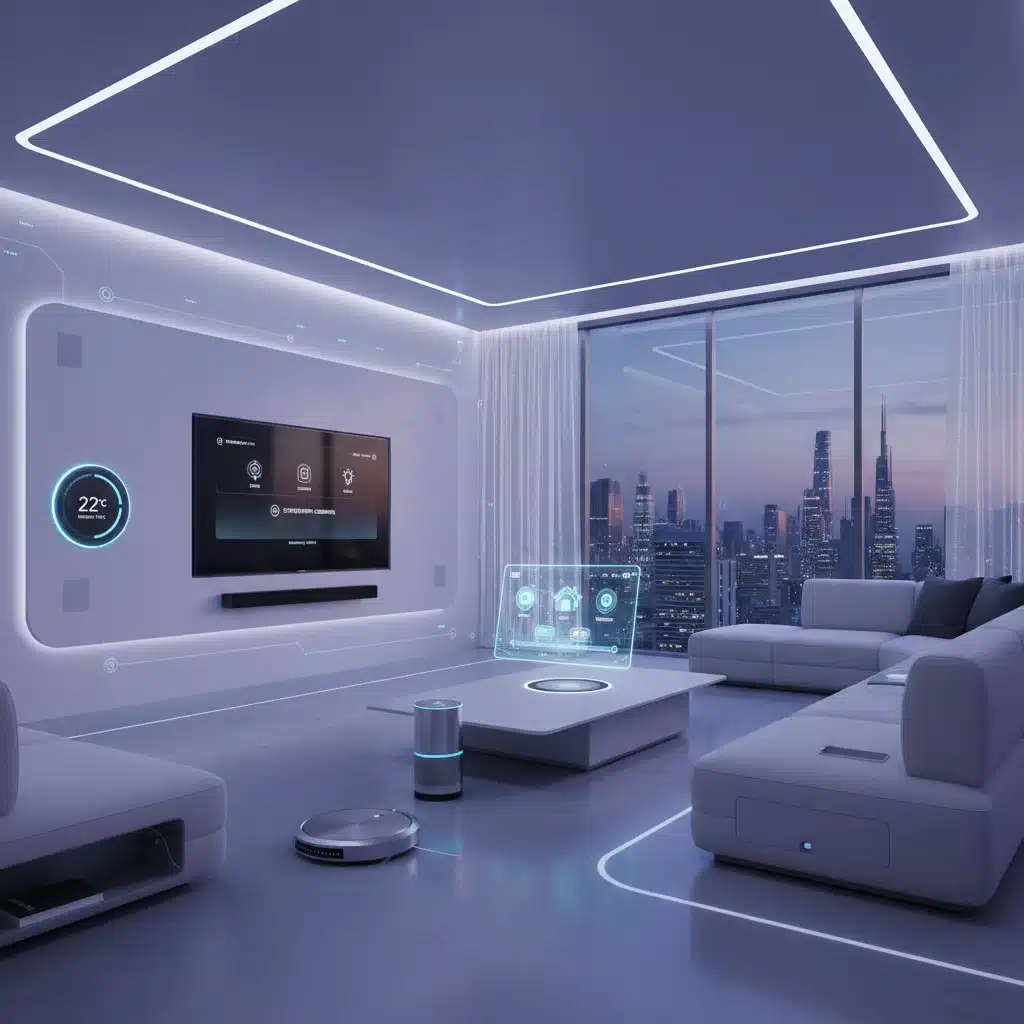
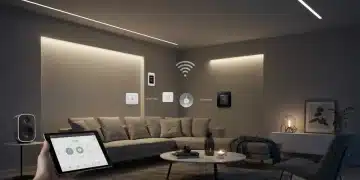
The year 2026 marks a pivotal moment in home automation. What was once a collection of disparate gadgets is now evolving into a cohesive ecosystem. However, achieving true synergy often requires a central brain – a smart home hub. While commercial options abound, building your own smart home hub offers unparalleled customization, privacy, and control. This comprehensive guide will walk you through the process, ensuring you can seamlessly integrate eight or more devices for a truly intelligent living space. Get ready to transform your home into a futuristic haven tailored precisely to your needs.
The Evolution of Smart Homes: Why a Custom Hub is the Future
For years, smart home enthusiasts have grappled with compatibility issues, limited features, and data privacy concerns inherent in off-the-shelf solutions. As we move further into 2026, the demand for a more robust, flexible, and secure smart home infrastructure has never been higher. A custom-built smart home hub addresses these challenges head-on. It empowers you to choose your preferred hardware, software, and communication protocols, creating a truly unified system that works exactly how you envision it.
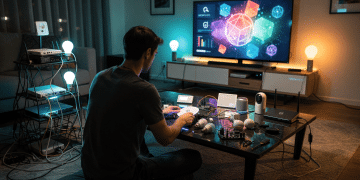
Think beyond just turning lights on and off. Imagine a system where your smart thermostat adjusts based on your calendar and the weather forecast, your security cameras alert you only to genuine threats, and your entertainment system anticipates your preferences. This level of sophisticated automation is within reach when you decide to build your own smart home hub.
Understanding the Core Components of a DIY Smart Home Hub
Before diving into the build, it’s crucial to understand the fundamental components that make up a functional DIY smart home hub. These include:
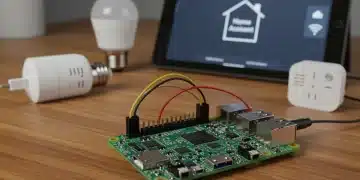
- Hardware Platform: This is the physical computer that will run your smart home software. Popular choices include the Raspberry Pi, Intel NUC, or even an old laptop.
- Operating System: A lightweight, reliable operating system is essential. Linux distributions like Raspbian (for Raspberry Pi) or Ubuntu are common.
- Smart Home Software/Controller: This is the brain of your hub, managing device communication, automation rules, and user interfaces. Examples include Home Assistant, OpenHAB, Domoticz, and Homebridge.
- Communication Protocols: Your hub needs to speak the language of your devices. This often involves USB dongles or built-in radios for Z-Wave, Zigbee, Wi-Fi, and Bluetooth.
- Storage: An SD card (for Raspberry Pi) or SSD/HDD for storing the OS, software, and logs.
- Power Supply: A stable and sufficient power source for your chosen hardware.
Each of these components plays a vital role in creating a robust and reliable DIY smart home hub. Carefully consider your needs and technical comfort level when making your selections.
Step-by-Step Guide: Building Your DIY Smart Home Hub in 2026
Embarking on the journey to build your own smart home hub might seem daunting, but by breaking it down into manageable steps, you’ll find it an incredibly rewarding experience. This guide focuses on a popular and highly capable setup using a Raspberry Pi and Home Assistant, a combination known for its flexibility and extensive device support.
Phase 1: Hardware Selection and Setup
-
Choose Your Hardware Platform
For most DIYers, the Raspberry Pi 4 Model B (4GB or 8GB RAM) is the ideal choice. It’s powerful enough for Home Assistant, energy-efficient, and has a vast community for support. Alternatives like the Raspberry Pi 5 offer even more power for future expansion. Ensure you have a good quality microSD card (32GB or 64GB, Class 10 or higher) for the operating system.
-
Essential Peripherals
You’ll need a stable power supply (USB-C for Pi 4/5), an appropriate case for heat dissipation (especially if running 24/7), and optionally, a micro HDMI cable and monitor for initial setup if you prefer a direct connection over headless setup.
-
Communication Radios
To integrate Z-Wave and Zigbee devices, you’ll need USB dongles. Look for multi-protocol USB sticks that support both standards to simplify your setup, such as those from Aeotec or Sonoff. These will plug directly into your Raspberry Pi.
Phase 2: Software Installation and Configuration
-
Install Home Assistant Operating System (HAOS)
The easiest way to get started is by installing Home Assistant Operating System directly onto your microSD card. Download the Home Assistant OS image for your Raspberry Pi model. Use a tool like Balena Etcher to flash the image to your microSD card. Once flashed, insert the card into your Raspberry Pi and power it on. Connect it to your network via Ethernet for the most reliable initial setup.
-
Initial Home Assistant Onboarding
After booting, Home Assistant will be accessible via your web browser. Typically, you can find it by navigating to
http://homeassistant.local:8123or by its IP address (you can find this through your router’s administration page). Follow the on-screen prompts to create your first user account, set your location, and enable basic integrations. -
Configure Z-Wave and Zigbee USB Sticks
Once Home Assistant is up and running, navigate to Settings > Devices & Services > Add Integration. Search for ‘Z-Wave JS’ and ‘Zigbee Home Automation’ (ZHA). During the setup process, Home Assistant will usually auto-detect your USB dongles. If not, you may need to manually specify the USB port path (e.g.,
/dev/ttyACM0). Follow the prompts to complete the setup for each protocol, allowing your hub to communicate with a wide array of devices.
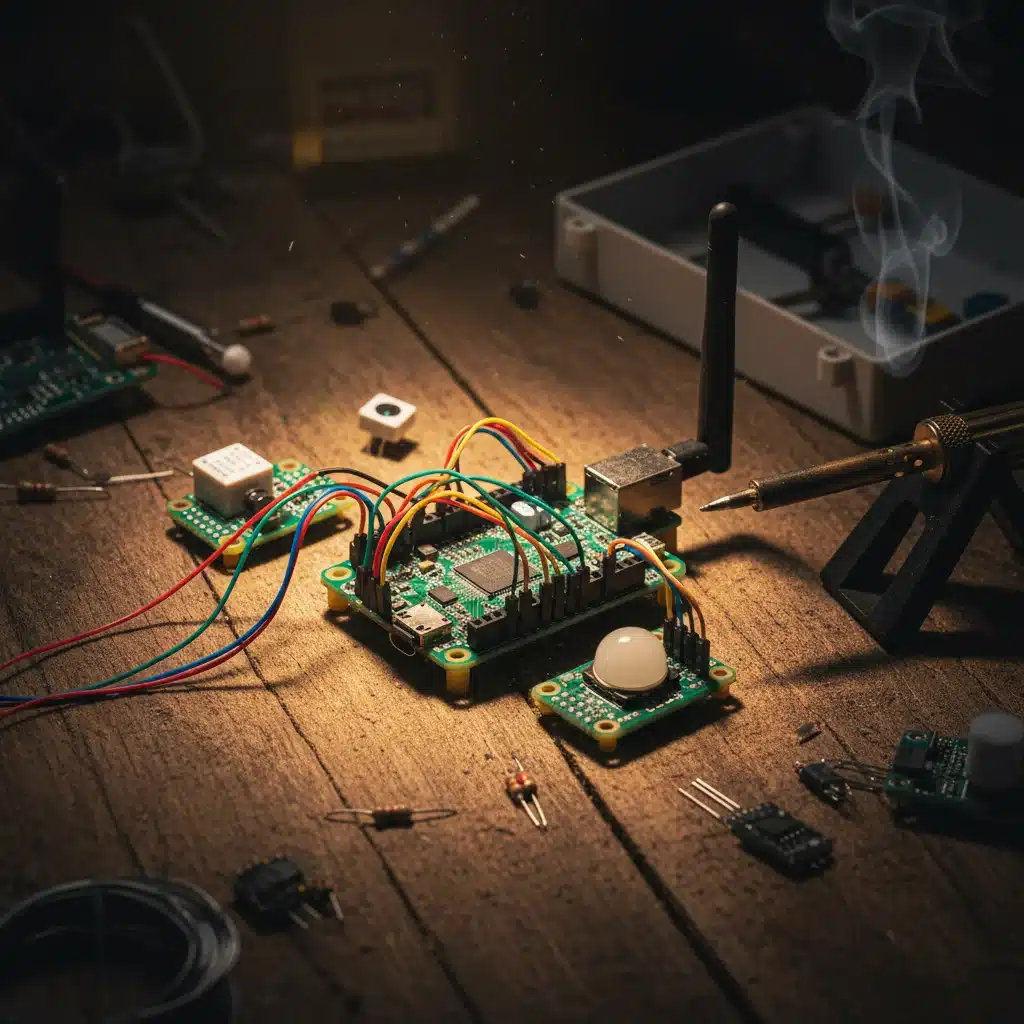
Integrating 8+ Devices Seamlessly with Your DIY Smart Home Hub
Now that your DIY smart home hub is operational, the real fun begins: integrating your smart devices. The power of Home Assistant lies in its vast array of integrations, supporting thousands of devices and services. Here’s how to integrate a diverse set of devices, ensuring a seamless and unified experience.
Category 1: Lighting and Power Control
-
Smart Bulbs/Switches (Zigbee/Z-Wave/Wi-Fi)
- Zigbee/Z-Wave: Put your bulbs/switches into pairing mode (refer to their manual). In Home Assistant, go to your ZHA or Z-Wave JS integration, click ‘Add Device’ or ‘Add Node’, and it should discover them.
- Wi-Fi (e.g., Philips Hue, LIFX, TP-Link Kasa): Most Wi-Fi devices have official Home Assistant integrations. Go to Settings > Devices & Services > Add Integration and search for your brand. Follow the authentication steps (e.g., linking your account or pressing a button on a Hue Bridge).
Integration Count: 2-4 devices (e.g., 2 smart bulbs, 2 smart switches)
Category 2: Climate Control
-
Smart Thermostat (Wi-Fi/Z-Wave)
- Wi-Fi (e.g., Ecobee, Nest, Tado): Search for the specific integration in Home Assistant. You’ll typically need to log in with your thermostat’s account credentials.
- Z-Wave: Put your Z-Wave thermostat into pairing mode and add it via the Z-Wave JS integration.
Integration Count: 1 device
Category 3: Security and Monitoring
-
Door/Window Sensors (Zigbee/Z-Wave)
These are typically battery-powered and easy to pair. Activate pairing mode on the sensor and add it through your ZHA or Z-Wave JS integration. Home Assistant will automatically recognize them as binary sensors (open/closed).
-
Smart Cameras (IP/RTSP/ONVIF)
For local control and privacy, aim for cameras that support RTSP or ONVIF protocols. Use the ‘Generic Camera’ or ‘ONVIF’ integration in Home Assistant, providing the camera’s IP address and stream URL. Many popular brands also have specific integrations (e.g., Reolink, Unifi Protect).
Integration Count: 2-3 devices (e.g., 2 sensors, 1 camera)
Category 4: Entertainment and Media
-
Smart TV/Media Player (Wi-Fi/Network)
Home Assistant supports many smart TVs (e.g., Samsung, LG WebOS, Android TV) and media players (e.g., Apple TV, Chromecast, Sonos). Search for the relevant integration and follow the steps, which often involve enabling API control on the device itself or providing its IP address.
Integration Count: 1 device
Category 5: Miscellaneous Smart Devices
-
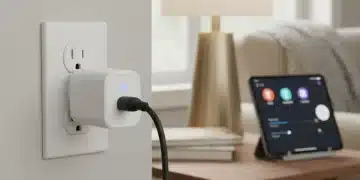
Smart Plugs (Zigbee/Z-Wave/Wi-Fi)
Similar to smart switches, these can be added via their respective protocol integrations (ZHA/Z-Wave JS) or dedicated Wi-Fi integrations (e.g., Tuya, SmartThings).
-
Voice Assistants (Google Assistant/Amazon Alexa)
While not directly integrated *into* your hub, Home Assistant can expose your devices to these assistants. This usually requires configuring the Google Assistant or Amazon Alexa integration, often through a Nabu Casa subscription or manual configuration.
Integration Count: 1-2 devices (e.g., 1 smart plug, voice assistant connectivity)
By following these steps, you will have easily integrated 8 or more diverse devices into your DIY smart home hub. The beauty of Home Assistant is its flexibility; you can continue adding more devices as your smart home evolves.
Advanced Automation and Customization with Your DIY Smart Home Hub
The true power of your DIY smart home hub isn’t just in controlling devices, but in automating them to work together intelligently. Home Assistant offers robust automation capabilities that can transform your living experience.
Crafting Intelligent Automations
Home Assistant’s automation engine allows you to create rules based on triggers (e.g., time, sensor state, device action) and execute actions (e.g., turn on lights, send notifications, adjust thermostat). Here are some examples:
- Morning Routine: At 7 AM on weekdays, if you’re home, gradually turn on bedroom lights, start the coffee maker (via a smart plug), and play your favorite news podcast on a smart speaker.
- Security Alert: If a door/window sensor opens while the alarm is armed, flash all smart lights red, send a notification to your phone with a camera snapshot, and play a loud siren sound.
- Energy Saving: If no motion is detected in a room for 15 minutes, turn off the lights and adjust the thermostat to an away setting.
- Climate Comfort: If the living room temperature exceeds 24°C and a window is closed, turn on the smart fan.
These automations are built using YAML code or through the visual automation editor within Home Assistant, making it accessible to users of all skill levels.
Creating a Personalized Dashboard
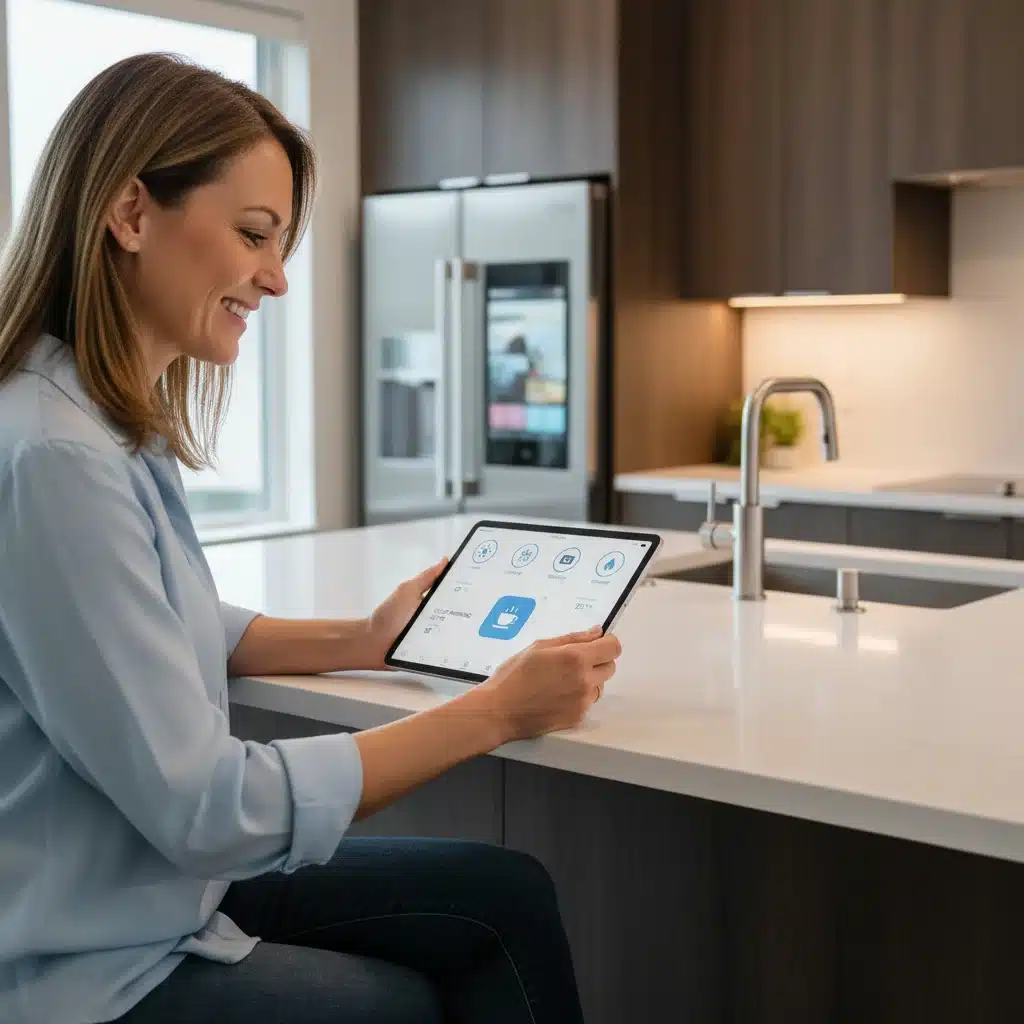
Home Assistant allows you to design custom dashboards (Lovelace UI) that give you a centralized control panel for your entire home. You can arrange cards for lights, thermostats, cameras, media players, and even energy consumption in a way that makes sense to you. This provides a unified interface, eliminating the need to jump between multiple apps.
Enhancing Privacy and Security
One of the significant advantages of a DIY smart home hub is enhanced privacy. With Home Assistant, much of your data processing happens locally on your hub, reducing reliance on cloud services. To further bolster security:
- Network Segmentation: Consider setting up a separate VLAN for your IoT devices to isolate them from your main network.
- Strong Passwords: Use unique, strong passwords for Home Assistant and all integrated services.
- Regular Updates: Keep Home Assistant and its underlying operating system updated to patch security vulnerabilities.
- Secure Remote Access: If you need remote access, use Home Assistant Cloud (Nabu Casa) for a secure, easy solution, or set up a VPN to your home network. Avoid direct port forwarding.
Troubleshooting and Maintenance Tips for Your DIY Smart Home Hub
Even with the most meticulous setup, issues can arise. Here are some common troubleshooting tips and maintenance practices to keep your DIY smart home hub running smoothly in 2026 and beyond.
Common Issues and Solutions
- Device Not Responding: Check device power, network connectivity (Wi-Fi signal strength), and ensure it’s within range of your Zigbee/Z-Wave coordinator. Try re-pairing the device.
- Home Assistant Unresponsive: Check your Raspberry Pi’s power supply and network connection. If accessible, try restarting Home Assistant from the UI (Settings > System > Restart). If not, a hard reboot of the Pi might be necessary (unplug and replug power).
- Automation Not Triggering: Review your automation’s trigger conditions and actions carefully. Check the Home Assistant logs (Settings > System > Logs) for any errors related to the automation or involved devices.
- Slow Performance: Ensure your microSD card is high-quality. Consider moving to an SSD for faster and more reliable storage on your Raspberry Pi. Check the CPU and RAM usage of your Pi.
- Network Issues: Ensure your Raspberry Pi has a static IP address or a DHCP reservation in your router to prevent its IP from changing, which can break integrations.
Essential Maintenance Practices
- Regular Backups: Set up automated backups of your Home Assistant configuration. This is crucial for recovery in case of SD card corruption or other failures. Home Assistant has a built-in backup feature, and add-ons like ‘Google Drive Backup’ can automate cloud storage.
- Keep Software Updated: Regularly update Home Assistant Core, Operating System, and any add-ons. Updates bring new features, bug fixes, and security patches. Always read release notes before updating.
- Monitor System Health: Keep an eye on your Raspberry Pi’s temperature and resource usage. Ensure it has adequate cooling.
- Check Logs Regularly: Periodically review Home Assistant logs for warnings or errors that might indicate underlying issues.
- Clean Up Unused Entities: Over time, you might have old devices or integrations that are no longer in use. Remove them to keep your system tidy and efficient.
The Future is Now: Your Personalized Smart Home Awaits
Building your own smart home hub in 2026 is more than just a tech project; it’s an investment in a more convenient, secure, and personalized living environment. By following this guide, you’ve gained the knowledge and tools to create a robust system that seamlessly integrates eight or more devices, putting you in complete control of your home’s intelligence.
The journey of home automation is continuous. As new devices emerge and your needs evolve, your DIY smart home hub, powered by flexible platforms like Home Assistant, is perfectly positioned to adapt and grow with you. Embrace the power of open-source, community support, and personal customization. Welcome to the future of your smart home – a future you built yourself.