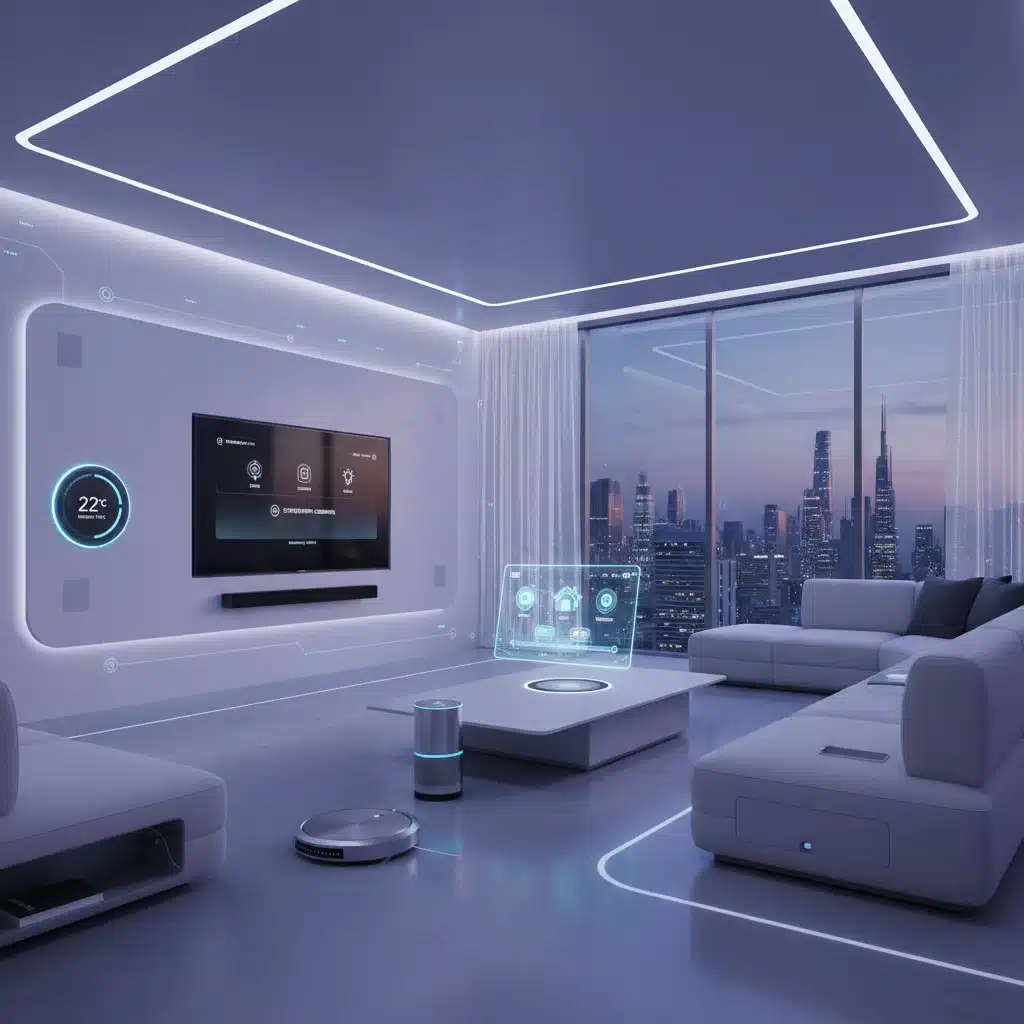
In an increasingly digital world, our entertainment options have exploded, leading to a common dilemma: a cluttered media setup with multiple streaming devices, each demanding its own remote and interface. Imagine a world where all your favorite content, from Netflix to Disney+, YouTube to your local media server, is accessible through a single, intuitive interface. This isn’t a futuristic fantasy; it’s the promise of a Smart Media Center, and by Q3 2026, you can build your own, unifying three streaming devices for unparalleled control and convenience. This comprehensive guide will walk you through every step, from planning to execution, ensuring you transform your living room into the ultimate entertainment hub.
The journey to building a DIY Smart Media Center is not just about consolidating devices; it’s about optimizing your viewing experience, reducing complexity, and embracing the power of home automation. We’ll delve into the ‘why,’ the ‘what,’ and the ‘how,’ providing you with the knowledge and confidence to tackle this exciting project. Whether you’re a seasoned tech enthusiast or a curious beginner, this article is designed to empower you to create a seamless, integrated entertainment system that truly understands your needs.
The Vision: A Unified Smart Media Center by Q3 2026
The goal is clear: by the third quarter of 2026, you will have a fully operational Smart Media Center that effortlessly integrates at least three distinct streaming devices. This integration means more than just having them plugged into the same TV. It means unified control, a cohesive user interface, and the ability to switch between content sources without ever fumbling for a different remote or navigating complex input menus. Think of it as the conductor of your digital orchestra, bringing harmony to your streaming chaos.
Why three devices, specifically? Most households today utilize a combination of streaming sticks (e.g., Roku, Amazon Fire TV, Chromecast), dedicated media players (e.g., Apple TV, Nvidia Shield), and perhaps a gaming console with streaming capabilities (e.g., PlayStation, Xbox). By focusing on three, we cover the most common scenarios and provide a robust framework that can be scaled up or down as needed. The principles we’ll discuss are universally applicable, setting you up for future expansions and customizations.
Understanding the Benefits of a Unified Smart Media Center
- Simplified User Experience: No more switching inputs or searching for the right remote. Everything is accessible from one central point.
- Enhanced Efficiency: Spend less time managing devices and more time enjoying your content.
- Reduced Clutter: Minimize the number of physical remotes and streamline your entertainment setup.
- Future-Proofing: A modular system allows for easy upgrades and additions of new streaming technologies.
- Personalized Control: Tailor your interface and automation rules to suit your specific preferences.
- Cost Savings: While there’s an initial investment, a DIY approach can often be more cost-effective than proprietary, all-in-one solutions, and offers greater flexibility.
Phase 1: Planning Your Smart Media Center Ecosystem
Before you even think about buying hardware, meticulous planning is crucial. This phase lays the groundwork for a successful and frustration-free build. Consider your existing devices, your technical comfort level, and your ultimate goals for your Smart Media Center.
Identifying Your Core Streaming Devices
First, list the three (or more) streaming devices you intend to integrate. Common choices include:
- Roku Devices: Known for their simplicity and vast app selection.
- Amazon Fire TV Sticks/Cubes: Deep integration with Amazon’s ecosystem and Alexa voice control.
- Apple TV: Premium experience, especially for Apple users, with excellent app support and HomeKit integration.
- Chromecast with Google TV: Google’s answer to streaming sticks, offering a comprehensive Android TV experience.
- Nvidia Shield TV: A powerful Android TV box, popular among gamers and those seeking advanced media server capabilities.
- Gaming Consoles (PS5, Xbox Series X/S): Often used for streaming in addition to gaming.
Understanding the capabilities and limitations of each device will inform your integration strategy. For instance, some devices are more open to third-party control than others.
Choosing Your Central Hub: The Brain of Your Operation
The central hub is the heart of your Smart Media Center, responsible for aggregating control and potentially hosting media. Several options exist, each with its pros and cons:
Option 1: Dedicated Mini PC (e.g., Intel NUC, Custom Build)
- Pros: High processing power, full operating system (Windows/Linux), maximum flexibility for software.
- Cons: Higher cost, potentially larger footprint, requires more technical expertise.
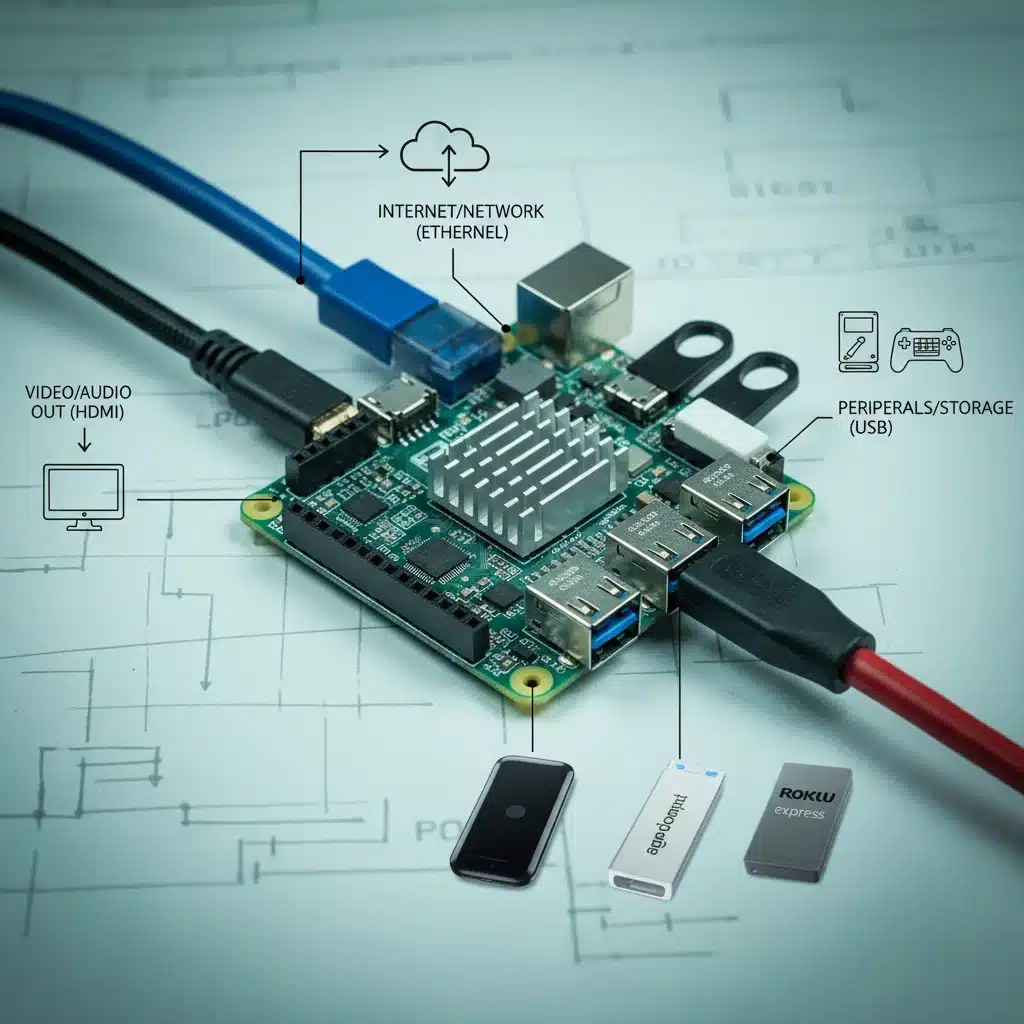
Option 2: Single Board Computer (SBC) (e.g., Raspberry Pi)
- Pros: Affordable, compact, low power consumption, vast community support.
- Cons: Limited raw power compared to a mini PC, may struggle with very demanding tasks, Linux-based OS requires some command-line familiarity.
Option 3: Advanced Media Player (e.g., Nvidia Shield TV Pro)
- Pros: Combines streaming and hub functionalities, powerful, user-friendly Android TV interface.
- Cons: Less flexible than a dedicated PC or SBC for custom software, higher cost than a basic streaming stick.
For most DIY enthusiasts aiming for unified control of existing devices, a Raspberry Pi running a media center OS like LibreELEC (Kodi) or Home Assistant is an excellent, cost-effective choice. This guide will often reference a Raspberry Pi-based setup due to its popularity and versatility.
Selecting Your Control Interface: The Universal Remote
The essence of a Smart Media Center is unified control. You’ll need a way to send commands to your central hub and, by extension, your connected devices. Options include:
- Universal Remote Controls (e.g., Logitech Harmony – if you can still find one, or newer programmable options): Physical remotes that can learn IR commands and control multiple devices.
- Smartphone/Tablet Apps: Apps like Home Assistant Companion, Kodi Remote, or manufacturer-specific apps can control devices over Wi-Fi/Bluetooth.
- Voice Assistants (e.g., Alexa, Google Assistant): Integrate your media center with your smart home ecosystem for voice commands.
- Dedicated Touchscreen Controllers: Tablets or custom-built touchscreens running control software.
A combination of these often works best. For example, a smartphone app for quick access and a universal remote for traditional couch control.
Network Considerations: The Backbone of Your Smart Media Center
A stable and fast network is paramount. Most modern streaming devices rely heavily on Wi-Fi, but for the central hub and high-bandwidth streaming, a wired Ethernet connection is always preferred. Ensure your router can handle multiple concurrent streams without buffering issues. Consider Quality of Service (QoS) settings to prioritize media traffic.
Phase 2: Hardware Assembly and Initial Setup
With your plan in hand, it’s time to gather your components and begin the physical setup of your Smart Media Center.
Gathering Your Components
- Central Hub: Raspberry Pi 4 (recommended) or chosen alternative.
- Power Supply for Hub: Ensure it’s adequate for your chosen device.
- MicroSD Card (for Raspberry Pi): 32GB or 64GB Class 10 for the OS.
- HDMI Cables: High-speed HDMI cables for connecting devices to your TV/AV receiver.
- HDMI Switch/Matrix (Optional but Recommended): If your TV has limited HDMI inputs, a smart HDMI switch can automatically or manually switch between inputs. Look for models with IR or CEC control.
- IR Blaster/USB-UIRT (for IR Control): If your streaming devices rely on IR remotes and don’t offer network control, an IR blaster connected to your hub will be essential.
- USB Keyboard/Mouse (for initial setup of hub): Temporary for configuration.
- Ethernet Cables: For reliable network connectivity.
Connecting Your Streaming Devices
Connect your three streaming devices to your TV or AV receiver. If using an HDMI switch, connect them to the switch, and then the switch to your TV/receiver. Label your inputs clearly on your TV/receiver for easy identification during configuration.
Setting Up Your Central Hub (Raspberry Pi Example)
For a Raspberry Pi, the process generally involves:
- Flashing the OS: Download your chosen operating system (e.g., LibreELEC, Raspberry Pi OS with Kodi, Home Assistant OS) and use a tool like Raspberry Pi Imager to write it to your microSD card.
- Initial Boot: Insert the microSD card, connect power, HDMI, and a keyboard/mouse to your Pi. Boot it up and follow any on-screen prompts for initial setup (network, language, etc.).
- Network Configuration: Ensure your Pi is connected to your home network, preferably via Ethernet for stability. Note its IP address, as you’ll need it for remote access.
- Enable SSH: For headless management and advanced configuration, enable SSH (Secure Shell) access.
Phase 3: Software Integration and Unified Control
This is where the magic happens – bringing all your devices under one umbrella. The approach will vary depending on your chosen central hub and control software.
Choosing Your Media Center Software
Kodi (formerly XBMC)
- Description: A free and open-source media player software application. Kodi allows users to play and view most videos, music, podcasts, and other digital media files from local and network storage media and the internet.
- Integration Potential: Kodi can serve as a unified interface for local media, and with various add-ons, it can launch external streaming apps (though direct control of those apps can be limited). It supports CEC (Consumer Electronics Control) for basic TV/device control and has extensive remote control options.
- Best For: Those with large local media libraries who also want a central launchpad for streaming services.
Home Assistant
- Description: An open-source home automation platform that prioritizes local control and privacy. It’s incredibly powerful for integrating a vast array of smart devices.
- Integration Potential: Home Assistant excels at controlling devices through various integrations (APIs, IR blasters, CEC). You can create custom dashboards and automations to switch inputs, launch apps on supported devices, and control playback.
- Best For: Users who want deep automation capabilities, unified control of *all* smart home devices (including media), and are comfortable with a steeper learning curve.
Plex
- Description: A client-server media player system that organizes video, music, and photos from your media libraries and streams them to your devices.
- Integration Potential: While primarily a media server, Plex clients (available on most streaming devices) can be launched from a central hub. It doesn’t directly control other streaming apps but provides a beautiful interface for your personal media.
- Best For: Those with extensive personal media collections who want a polished, Netflix-like experience for their own content, alongside their streaming services.
Integrating Your Streaming Devices with the Central Hub
This is the core challenge of building a Smart Media Center. The method depends heavily on your streaming devices’ capabilities and your chosen hub software.
Method 1: HDMI CEC (Consumer Electronics Control)
Many modern TVs and HDMI-connected devices support CEC, which allows devices to control each other over HDMI. For example, your central hub could tell your TV to switch to a specific input or tell a connected streaming device to play/pause. This is often the simplest form of integration, but its reliability can vary between manufacturers.
- How to use: Enable CEC on your TV and all connected devices. Your central hub (e.g., Raspberry Pi with Kodi) can then send CEC commands.
- Limitations: Not all commands are supported by all devices; can be finicky.
Method 2: IR Control (Infrared)
For older devices or those that don’t support network control/CEC, an IR blaster connected to your central hub is necessary. The hub sends IR signals, mimicking your original remote.
- How to use: Connect a USB IR blaster (like USB-UIRT or a cheaper alternative) to your Raspberry Pi. Use software like LIRC (Linux Infrared Remote Control) to learn and send IR codes. Home Assistant has integrations for IR blasters.
- Limitations: Requires line-of-sight to each device; can be slower than network control.
Method 3: Network-Based Control (APIs, Integrations)
This is the most powerful and reliable method. Many modern streaming devices offer APIs (Application Programming Interfaces) that allow other devices on the same network to control them. Home Assistant excels at this.
- Roku: Has a well-documented External Control API. Home Assistant has a direct Roku integration.
- Amazon Fire TV: Can be controlled via ADB (Android Debug Bridge) over the network. Home Assistant has an Android TV integration that works with Fire TV.
- Apple TV: Can be controlled via HomeKit (if enabled) or specific APIs. Home Assistant has an Apple TV integration.
- Chromecast: Easily controlled by Home Assistant and many other apps.
With network control, your central hub can:
- Turn devices on/off.
- Launch specific apps (e.g., “Launch Netflix on Fire TV”).
- Control playback (play, pause, skip).
- Adjust volume (if the streaming device supports it, or through your AV receiver).
- Switch HDMI inputs on a smart HDMI switch.
Building Your Unified Interface
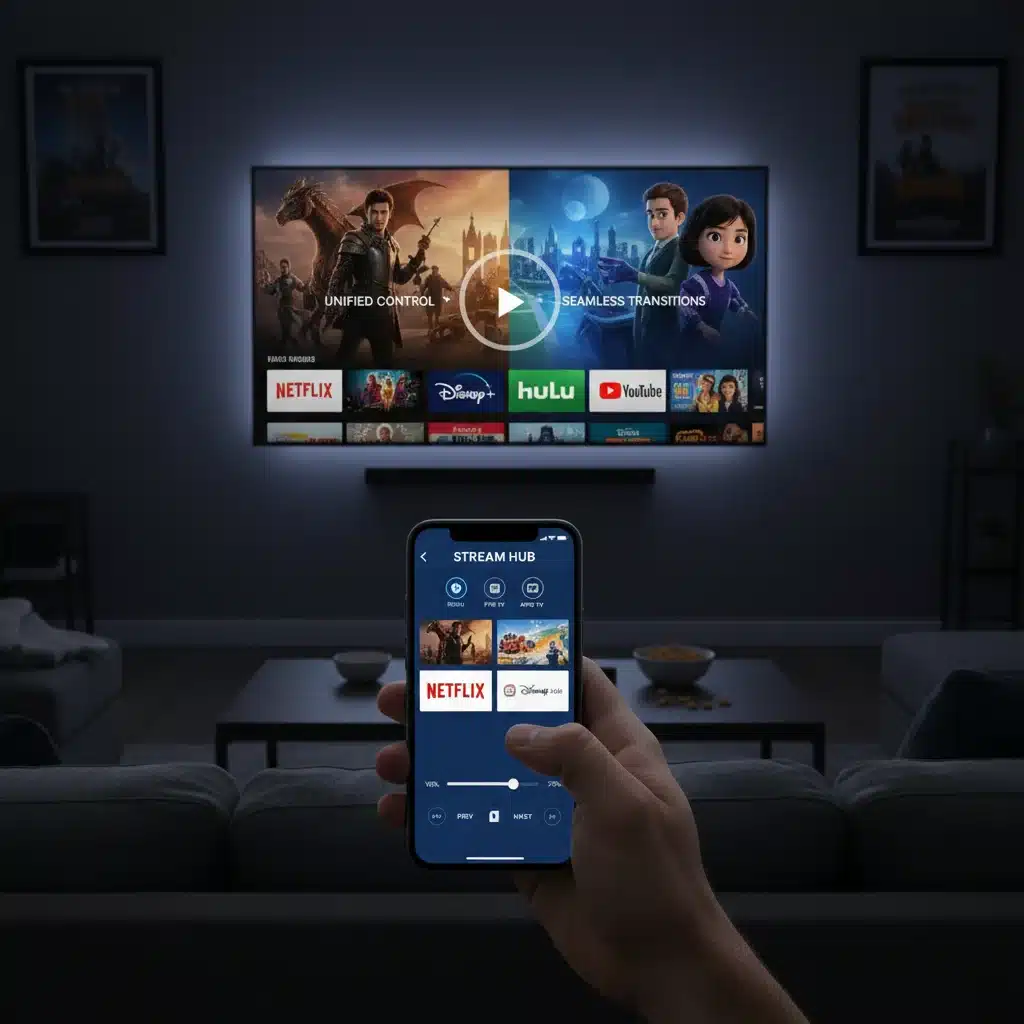
Once you have the control mechanisms in place, you need a user-friendly interface. This is where your chosen central hub software shines.
- Kodi: Customize skins, create shortcuts to launch external apps (using add-ons like Advanced Launcher), and integrate local media libraries.
- Home Assistant: Build custom dashboards with ‘picture glance’ cards for each streaming device, ‘media player’ cards for control, and ‘button’ cards to launch specific apps or switch inputs. You can even create complex automations like “When I select ‘Movie Night,’ turn on the TV, switch to Apple TV, dim the lights, and launch Netflix.”
Phase 4: Automation and Advanced Customization
The true power of a Smart Media Center lies in its ability to automate tasks and adapt to your preferences. This phase focuses on making your system truly smart.
Creating Smart Scenes and Automations
Using Home Assistant, you can create powerful automations:
- “Watch Movie” Scene: Turns on TV, switches to Apple TV input, launches Plex, dims lights, adjusts thermostat.
- “Gaming Time” Scene: Switches to console input, turns on specific bias lighting, sets sound profile.
- Automatic Input Switching: When you start playing content on a specific streaming device, the TV automatically switches to that input.
- Voice Commands: Integrate with Alexa or Google Assistant to trigger scenes or control individual devices with your voice.
- Power Management: Automatically turn off devices after a period of inactivity.
Integrating Local Media and Other Services
Your Smart Media Center isn’t just for streaming services. Integrate your local media library (movies, music, photos) hosted on a NAS (Network Attached Storage) or an external hard drive connected to your central hub.
- Plex/Kodi: Excellent for organizing and streaming local media.
- Music Services: Integrate Spotify, Apple Music, or other audio streaming services into your central control.
- Smart Home Devices: Extend control beyond media to include smart lights, thermostats, blinds, and more, all from your unified interface.
Troubleshooting and Optimization
Building a DIY system often involves some troubleshooting. Here are common areas:
- Network Issues: Ensure stable Wi-Fi or, ideally, use Ethernet. Check for IP address conflicts.
- CEC Compatibility: If CEC is unreliable, consider an IR blaster or network control for those specific devices.
- Software Updates: Keep your central hub’s OS and media center software updated.
- Remote Control Mapping: Ensure all buttons on your universal remote or app are correctly mapped to their functions.
- Performance: If your hub feels sluggish, check resource usage (CPU, RAM). Upgrade hardware if necessary, or optimize software configurations.
Future-Proofing Your Smart Media Center
Technology evolves rapidly, but a well-designed DIY Smart Media Center can adapt. Keep these principles in mind:
- Modularity: Choose components that can be easily upgraded or swapped out.
- Open Standards: Prioritize devices and software that support open standards (e.g., MQTT for IoT, widely used APIs) rather than proprietary ecosystems.
- Community Support: Opt for platforms with active communities (like Raspberry Pi, Home Assistant, Kodi) for ongoing support and development.
- Regular Backups: Back up your central hub’s configuration and OS image to prevent data loss.
Conclusion: Your Ultimate Smart Media Center Awaits by Q3 2026
Building a DIY Smart Media Center that integrates three streaming devices for unified control by Q3 2026 is an ambitious yet highly rewarding project. It transforms a collection of disparate gadgets into a cohesive, intelligent entertainment system that caters to your every whim. From the initial planning stages to the final touches of automation, every step brings you closer to a streamlined, clutter-free, and truly smart viewing experience.
Embrace the challenge, learn along the way, and enjoy the unparalleled convenience of a media setup that finally works *for* you, not against you. The days of juggling multiple remotes and inputs will be a distant memory, replaced by the effortless elegance of your own custom-built Smart Media Center. The future of home entertainment is here, and you’re the architect.