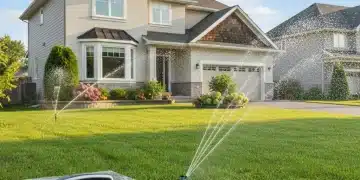
In an era where sustainability and efficiency are paramount, optimizing our home systems has become more critical than ever. One area often overlooked but with significant potential for improvement is lawn and garden irrigation. Traditional sprinkler systems often lead to excessive water waste due to fixed schedules, regardless of actual plant needs or prevailing weather conditions. This is where a smart sprinkler system comes into play, offering a revolutionary approach to water management. By integrating advanced technology, these systems can significantly reduce water consumption, lower utility bills, and promote healthier landscapes. This comprehensive guide will walk you through the process of building your own DIY smart sprinkler system, focusing on a 6-zone, weather-based setup that can optimize water usage by up to 25%.
Imagine a world where your sprinkler system automatically adjusts to real-time weather, soil moisture, and even the specific needs of different plant types in your garden. No more overwatering during a rain shower, or underwatering during a heatwave. A smart sprinkler system makes this a reality, leveraging data to provide precise irrigation. This not only conserves a precious resource but also ensures your plants receive exactly what they need to thrive, preventing common issues like root rot from overwatering or wilting from dehydration. The journey to a smarter, greener lawn starts here.
Understanding the Benefits of a Smart Sprinkler System
Before diving into the technicalities, let’s fully grasp why investing time and effort into a smart sprinkler system is a worthwhile endeavor. The advantages extend far beyond mere water saving.
Significant Water Conservation
The most immediate and impactful benefit is water conservation. Traditional systems operate on a fixed schedule, often leading to irrigation when it’s not needed. A smart sprinkler system, however, uses local weather forecasts, historical data, and even soil moisture sensors to determine optimal watering times and durations. This precision can lead to a reduction in water usage by 25% or more, directly contributing to environmental sustainability and reducing your carbon footprint.
Lower Utility Bills
Naturally, conserving water translates directly into lower water bills. For homeowners, especially those with large lawns or gardens, the savings can be substantial over a year. The initial investment in a smart sprinkler system often pays for itself within a few seasons through these reduced operational costs.
Healthier Landscape
Overwatering is just as detrimental to plants as underwatering. It can lead to fungal diseases, nutrient runoff, and shallow root systems. A smart sprinkler system provides the right amount of water at the right time, promoting deeper root growth, increased plant resilience, and a vibrant, healthy landscape. Different zones can be programmed for different plant types, ensuring each area receives tailored care.
Convenience and Remote Control
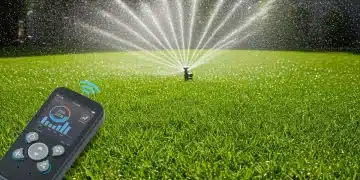
Modern life is busy. The ability to manage your irrigation system from anywhere via a smartphone app is incredibly convenient. Whether you’re at work, on vacation, or simply don’t want to walk outside, you can adjust schedules, pause watering, or check system status with a few taps. Many systems also offer automatic seasonal adjustments, further reducing the need for manual intervention.
Increased Property Value
A well-maintained garden and an efficient home system can increase your property’s appeal and value. A smart sprinkler system is a modern amenity that showcases a commitment to efficiency and sustainability, making your home more attractive to potential buyers.
Components of Your DIY Smart Sprinkler System
To build a 6-zone weather-based smart sprinkler system, you’ll need several key components. Understanding each part’s role is crucial for a successful installation.
1. Smart Sprinkler Controller
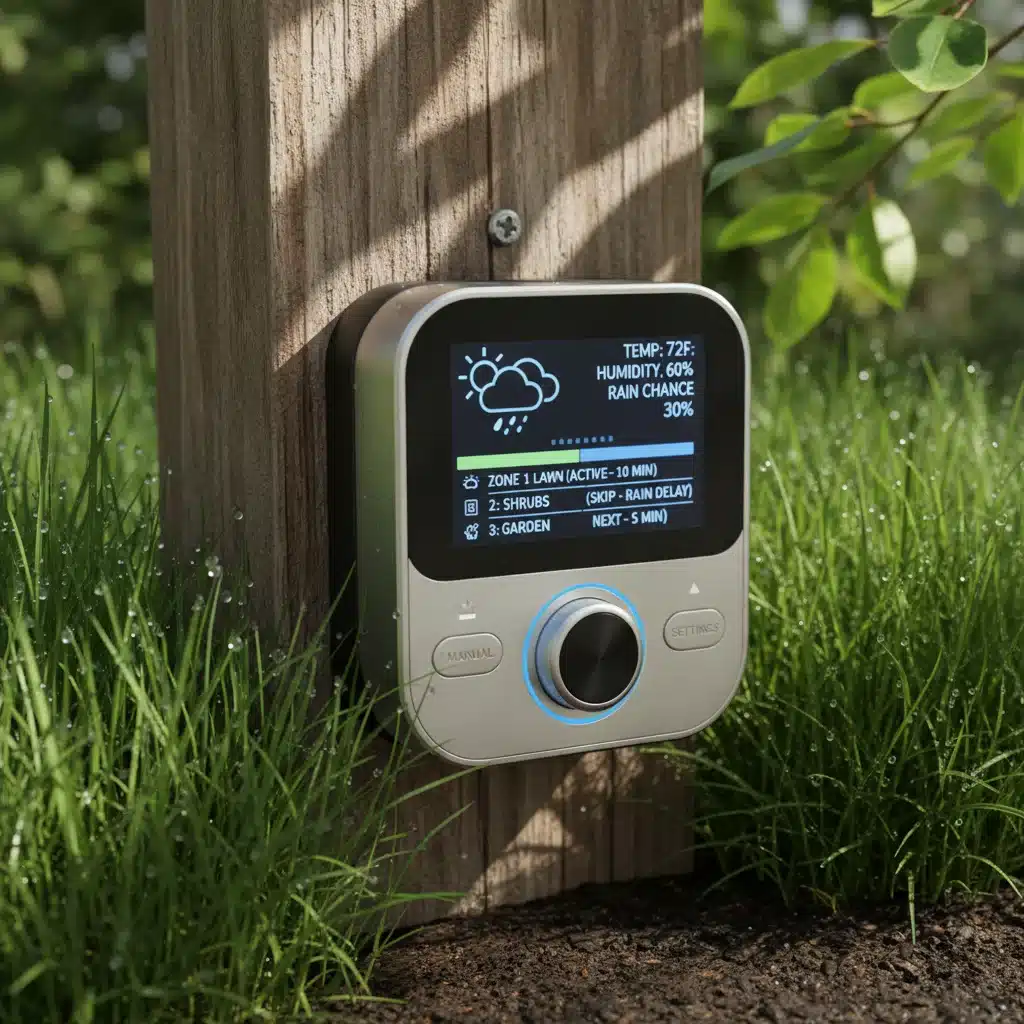
This is the brain of your system. It connects to your home Wi-Fi and uses internet-based weather data (or local sensors) to make intelligent watering decisions. Look for controllers that support at least 6 zones. Popular brands include Rachio, Hunter Hydrawise, and Rain Bird LNK WiFi.
2. Existing Sprinkler Valves and Manifold
If you have an existing traditional sprinkler system, you likely already have a valve manifold where individual zone valves are located. These valves control the flow of water to each specific watering zone. Your smart controller will interface with these existing valves.
3. Weather Sensor (Optional but Recommended)
While most smart controllers use internet weather data, a local weather sensor (rain sensor, wind sensor, or freeze sensor) can provide even more accurate, real-time data for your specific microclimate. A rain sensor, for example, can immediately pause watering if it detects rainfall, even if the internet forecast didn’t predict it.
4. Soil Moisture Sensors (Optional for Advanced Optimization)
For ultimate precision, soil moisture sensors can be installed in each zone. These sensors directly measure the moisture content in the soil, allowing the smart sprinkler system to water only when the soil moisture drops below a predefined threshold. This is particularly useful for zones with varying soil types or plant needs.
5. Wiring
You’ll need low-voltage irrigation wire to connect the smart controller to each of your zone valves. Ensure you have enough length and the correct gauge wire for your setup.
6. Tools and Supplies
- Wire strippers
- Screwdrivers
- Multimeter (for troubleshooting)
- Waterproof wire connectors (grease caps)
- PVC cutter and primer/glue (if modifying existing plumbing)
- Mounting hardware for the controller
Planning Your 6-Zone Smart Sprinkler System
Careful planning is the cornerstone of a successful DIY project. This phase involves assessing your current setup, mapping your zones, and understanding your garden’s specific needs.
1. Assess Your Existing System (If Applicable)
If you’re upgrading, locate your current sprinkler controller and valve manifold. Document which wire corresponds to which zone. Test each zone manually to ensure all existing components are functional. Note any areas with poor coverage or leaks that need addressing.
2. Map Your Zones
Identify the distinct watering needs of different areas in your yard. A 6-zone system allows for excellent customization:
- Zone 1: Front Lawn (Sunny, high water needs)
- Zone 2: Backyard Lawn (Partially shaded, moderate water needs)
- Zone 3: Flower Beds (Specific plant types, potentially drip irrigation)
- Zone 4: Vegetable Garden (High water needs, frequent watering)
- Zone 5: Shrubs/Trees (Deeper, less frequent watering)
- Zone 6: Special Area (e.g., new plantings, shady corner, or an area for future expansion)
Consider sun exposure, soil type, plant type, and slope when defining your zones. A well-defined zone strategy is critical for efficient water use.
3. Choose Your Smart Controller
Research different smart sprinkler controllers that support at least 6 zones. Read reviews, compare features (e.g., app interface, weather intelligence, sensor compatibility, IFTTT integration), and consider your budget. Ensure it’s compatible with your home Wi-Fi network.
4. Gather Additional Components
Decide if you want to integrate optional sensors like rain sensors or soil moisture sensors. Purchase these along with the necessary wiring and connectors.
Installation Steps for Your DIY Smart Sprinkler System
Now, let’s get hands-on. Follow these steps carefully to install your new smart sprinkler system.
Step 1: Disconnect Your Old Controller (If Upgrading)
Safety First: Turn off the power to your old sprinkler controller at the circuit breaker. Take a photo of the existing wiring connections before disconnecting anything. Label each wire with its corresponding zone number. Disconnect the common wire (usually white) and transformer wires.
Step 2: Mount Your New Smart Controller
Choose a location that is protected from direct weather, has access to a power outlet, and is within good Wi-Fi range. Mount the new smart controller securely to the wall using the provided hardware. Most smart controllers are designed for outdoor use, but protection from direct rain and sun will prolong their lifespan.
Step 3: Wire the Smart Controller
This is where your labeled wires come in handy. Connect each zone wire to its corresponding terminal on the new smart controller. Connect the common wire to the ‘C’ or ‘Common’ terminal. Connect the power adapter wires as instructed by the manufacturer. If you’re installing a rain sensor or soil moisture sensor, connect their wires to the designated sensor terminals.
Pro Tip: Use waterproof wire connectors for all outdoor connections, especially at the valve manifold, to prevent corrosion and ensure longevity.
Step 4: Connect to Wi-Fi and Configure the App
Once wired, restore power to the controller. Download the manufacturer’s app on your smartphone or tablet. Follow the in-app instructions to connect your smart controller to your home Wi-Fi network. This usually involves a simple pairing process.
Step 5: Program Your Zones
This is the core of optimizing your smart sprinkler system. Within the app, you’ll configure each of your 6 zones:
- Zone Type: Specify what’s in each zone (e.g., lawn, flower bed, shrubs, garden).
- Plant Type: Select the specific plant types (e.g., cool-season grass, warm-season grass, annuals, perennials, vegetables).
- Soil Type: Indicate the soil type (e.g., clay, loam, sand) – this affects water absorption.
- Sun Exposure: Full sun, partial sun, or shade.
- Slope: Flat, moderate slope, or steep slope (affects runoff).
- Nozzle Type: Rotor, fixed spray, drip, etc.
The app will use this information, combined with real-time weather data, to create an optimized watering schedule for each zone. It will automatically adjust for rain, temperature, humidity, and even wind.
Step 6: Test Your System
Manually run each zone from the app to ensure all valves open and close correctly and that water is distributed as expected. Check for any leaks or issues with your existing sprinkler heads. Make any necessary adjustments to head alignment or nozzle types.
Optimizing Water Usage with Weather-Based Zones
The real power of your smart sprinkler system lies in its weather-based intelligence. Here’s how to maximize its efficiency:
Leveraging Weather Intelligence
Your smart controller will continuously monitor local weather data. This includes:
- Rain Skip: Automatically pauses watering if rain is detected or forecast.
- Freeze Skip: Prevents watering when temperatures drop below freezing, protecting your pipes and plants.
- Seasonal Adjustments: Automatically increases watering during hot, dry periods and reduces it during cooler, wetter times.
- Wind Skip: Some advanced systems can even detect high winds and pause watering to prevent excessive evaporation and poor distribution.
Ensure these features are enabled and configured to your preference within the app.
Fine-Tuning with Soil Moisture Sensors (If Installed)
If you’ve installed soil moisture sensors, calibrate them according to the manufacturer’s instructions. These sensors provide direct feedback, allowing the system to water only when the soil truly needs it, overriding predictive models if necessary. This is the ultimate in precise irrigation.
Adjusting for Plant-Specific Needs
Remember your 6 zones? Use the app’s advanced settings to fine-tune each one. For example:
- Your vegetable garden (Zone 4) might need more frequent, shallow watering.
- Your established shrubs (Zone 5) might benefit from deeper, less frequent watering to encourage deep root growth.
- New plantings or delicate flower beds (Zone 3) might require more gentle, consistent moisture.
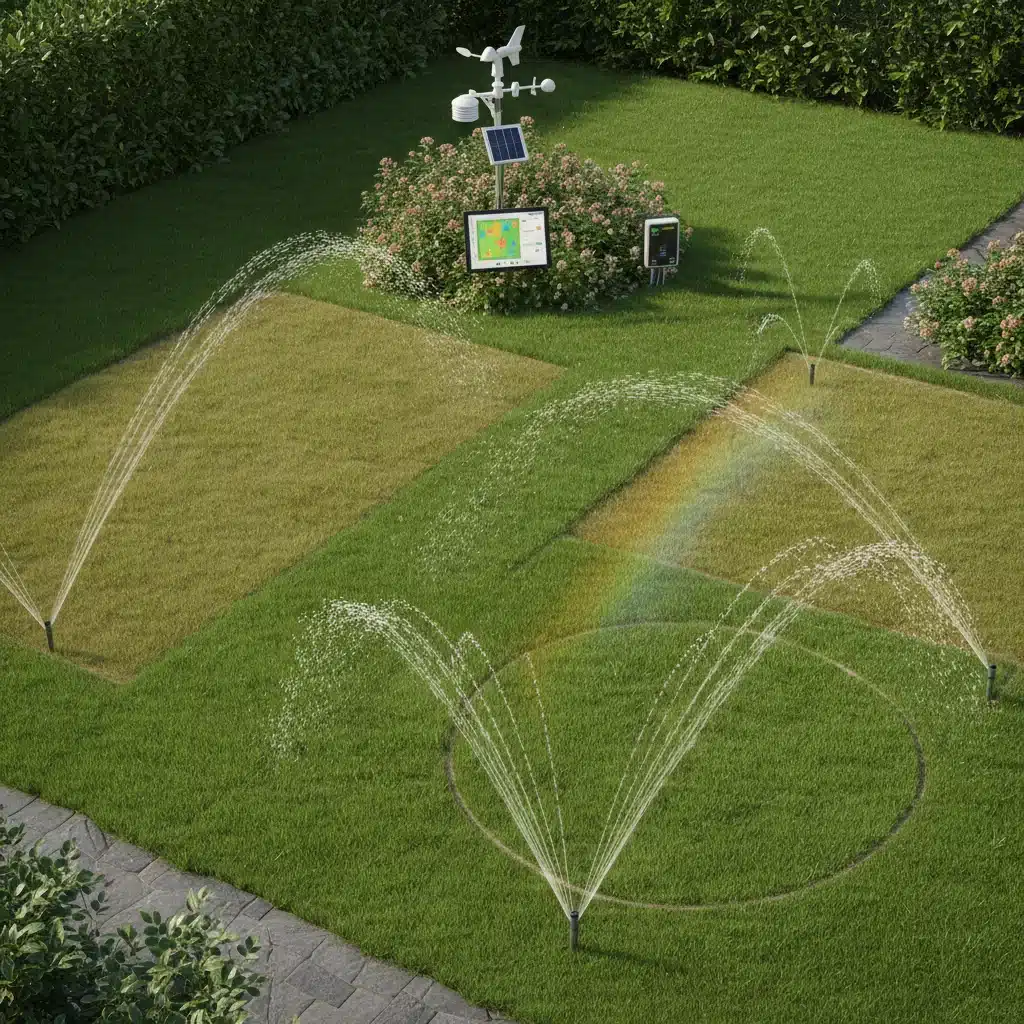
Experiment with watering durations and frequencies for each zone. Many apps offer a ‘cycle and soak’ feature, which breaks up watering times into shorter intervals with soak periods in between. This prevents runoff on sloped areas and allows water to penetrate deeper into the soil, especially in clay-heavy areas.
Advanced Tips for Your Smart Sprinkler System
To truly master your smart sprinkler system and achieve maximum efficiency, consider these advanced tips.
Regular System Checks
Even with a smart system, periodic manual checks are essential. Walk your zones regularly to:
- Identify broken or clogged sprinkler heads.
- Check for leaks in pipes or connections.
- Observe water distribution patterns and adjust heads if necessary.
- Monitor plant health – if certain areas are struggling, you might need to adjust their zone settings.
Water Audits
Consider performing a simple water audit for each zone. Place catch cans (like tuna cans) at various points within a zone and run it for a set period (e.g., 15 minutes). Measure the amount of water collected to understand your sprinkler heads’ precipitation rate. This data can be entered into your smart controller app for even more accurate watering calculations.
Seasonal Adjustments and Winterization
While smart controllers offer automatic seasonal adjustments, it’s good practice to review these at the start of each season. In colder climates, remember to properly winterize your smart sprinkler system to prevent freeze damage. This typically involves blowing out the lines with an air compressor and shutting off the main water supply.
Integrating with Other Smart Home Devices
Many smart irrigation systems can integrate with other smart home platforms like Amazon Alexa, Google Home, or Apple HomeKit. This allows for voice control and the creation of complex routines. For example, you could set up a routine that pauses irrigation if your smart security camera detects activity in the garden, or resumes it once the activity ceases.
Understanding Evapotranspiration (ET)
Many advanced smart controllers use Evapotranspiration (ET) data. ET is the process by which water is transferred from the land to the atmosphere by evaporation from the soil and other surfaces and by transpiration from plants. Your smart sprinkler system uses local ET data, along with your zone specific parameters, to calculate precisely how much water your plants have lost and how much they need to replenish. Understanding this concept helps you appreciate the intelligence behind your system’s decisions.
Troubleshooting Common Smart Sprinkler System Issues
Even the most well-planned DIY projects can encounter bumps. Here are some common issues and their solutions for your smart sprinkler system:
No Power to the Controller
- Check the circuit breaker.
- Ensure the power adapter is securely plugged into both the outlet and the controller.
- Test the outlet with another device.
Controller Not Connecting to Wi-Fi
- Verify your Wi-Fi password.
- Ensure the controller is within range of your Wi-Fi router.
- Try restarting your router and the smart controller.
- Check the manufacturer’s troubleshooting guide for specific Wi-Fi connection steps.
A Zone Isn’t Watering or Won’t Shut Off
- No Water: Check the wiring to that specific zone’s valve. Ensure the common wire is securely connected. Manually turn the valve on (if possible) to check for water pressure. The valve might be faulty and need replacement.
- Won’t Shut Off: The valve might be stuck open due to debris, or the solenoid (the electrical component on the valve) might be faulty. Try cleaning the valve or replacing the solenoid.
Inaccurate Weather Data or Watering Schedules
- Ensure your location is correctly set in the app.
- Check if any local weather sensors (if installed) are functioning correctly.
- Review the specific zone parameters (plant type, soil type, sun exposure) in the app – incorrect settings will lead to inaccurate watering.
App Issues
- Ensure your app is updated to the latest version.
- Try force-closing and reopening the app.
- If problems persist, uninstall and reinstall the app.
The Future of Your Smart Landscape
By building and optimizing your DIY smart sprinkler system, you’re not just installing a gadget; you’re investing in a more sustainable, efficient, and beautiful landscape. The ability to save up to 25% on water usage across 6 weather-based zones is a testament to the power of smart home technology when applied to outdoor spaces. This project empowers you to take control of your water consumption, contribute to environmental conservation, and enjoy a thriving garden with minimal effort.
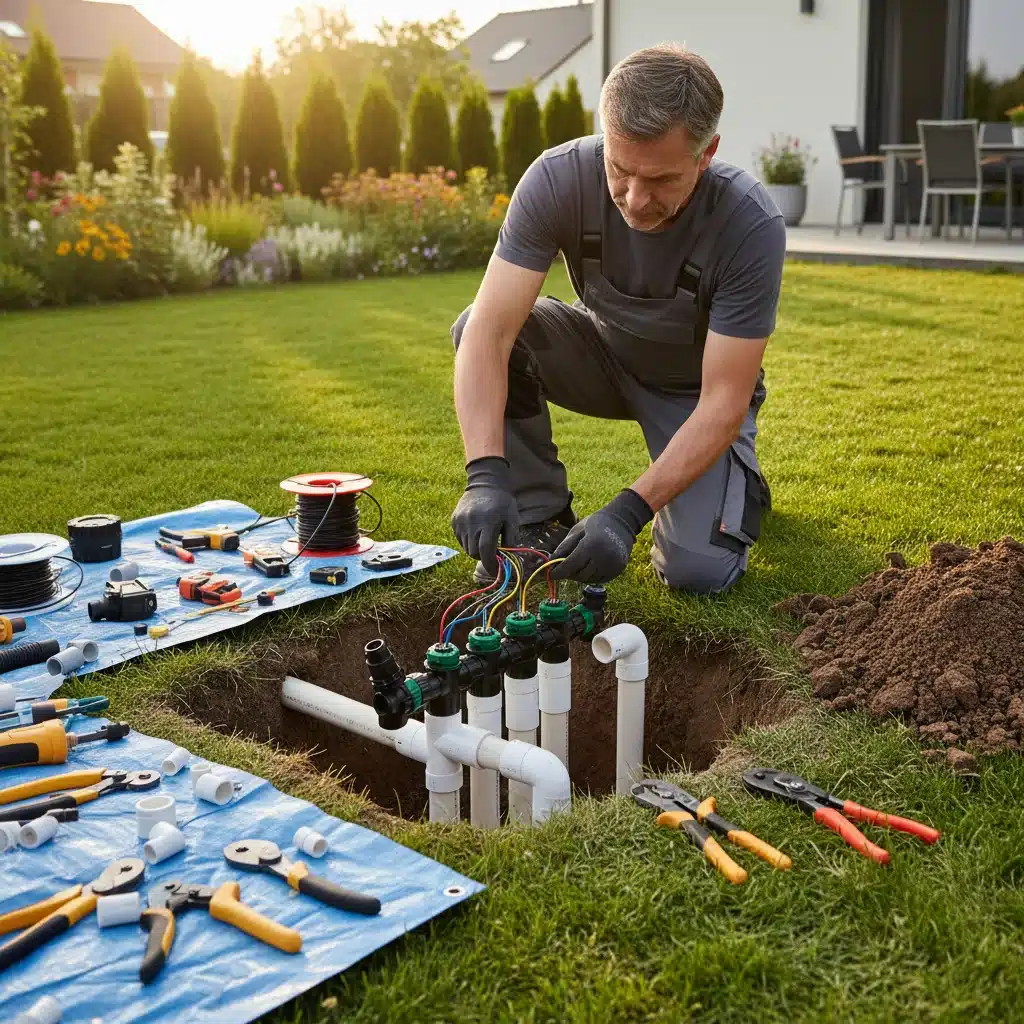
The continuous advancements in smart home technology mean that these systems will only become more intuitive and powerful. Features like hyper-local weather predictions, advanced soil analysis integration, and even AI-driven plant health monitoring are on the horizon. Your DIY smart sprinkler system is a step into this future, offering a blend of environmental responsibility and modern convenience. Embrace the change, enjoy the savings, and watch your garden flourish like never before.
Remember, a smart system is only as smart as its programming and maintenance. Regular checks, occasional fine-tuning, and staying updated with the latest app features will ensure your smart sprinkler system continues to perform at its peak, providing optimal hydration for your landscape for years to come.